
To propagate asparagus fern, divide the root ball and plant the divisions in separate pots. Asparagus fern, also known as Asparagus densiflorus, is a popular houseplant with delicate, feathery foliage.
If you’re wondering how to expand your collection or share this beautiful plant with friends, propagating it through division is a simple and effective method. By carefully separating the root ball and planting the divisions in separate pots, you can easily create new plants that will thrive and bring a touch of elegance to any indoor space.
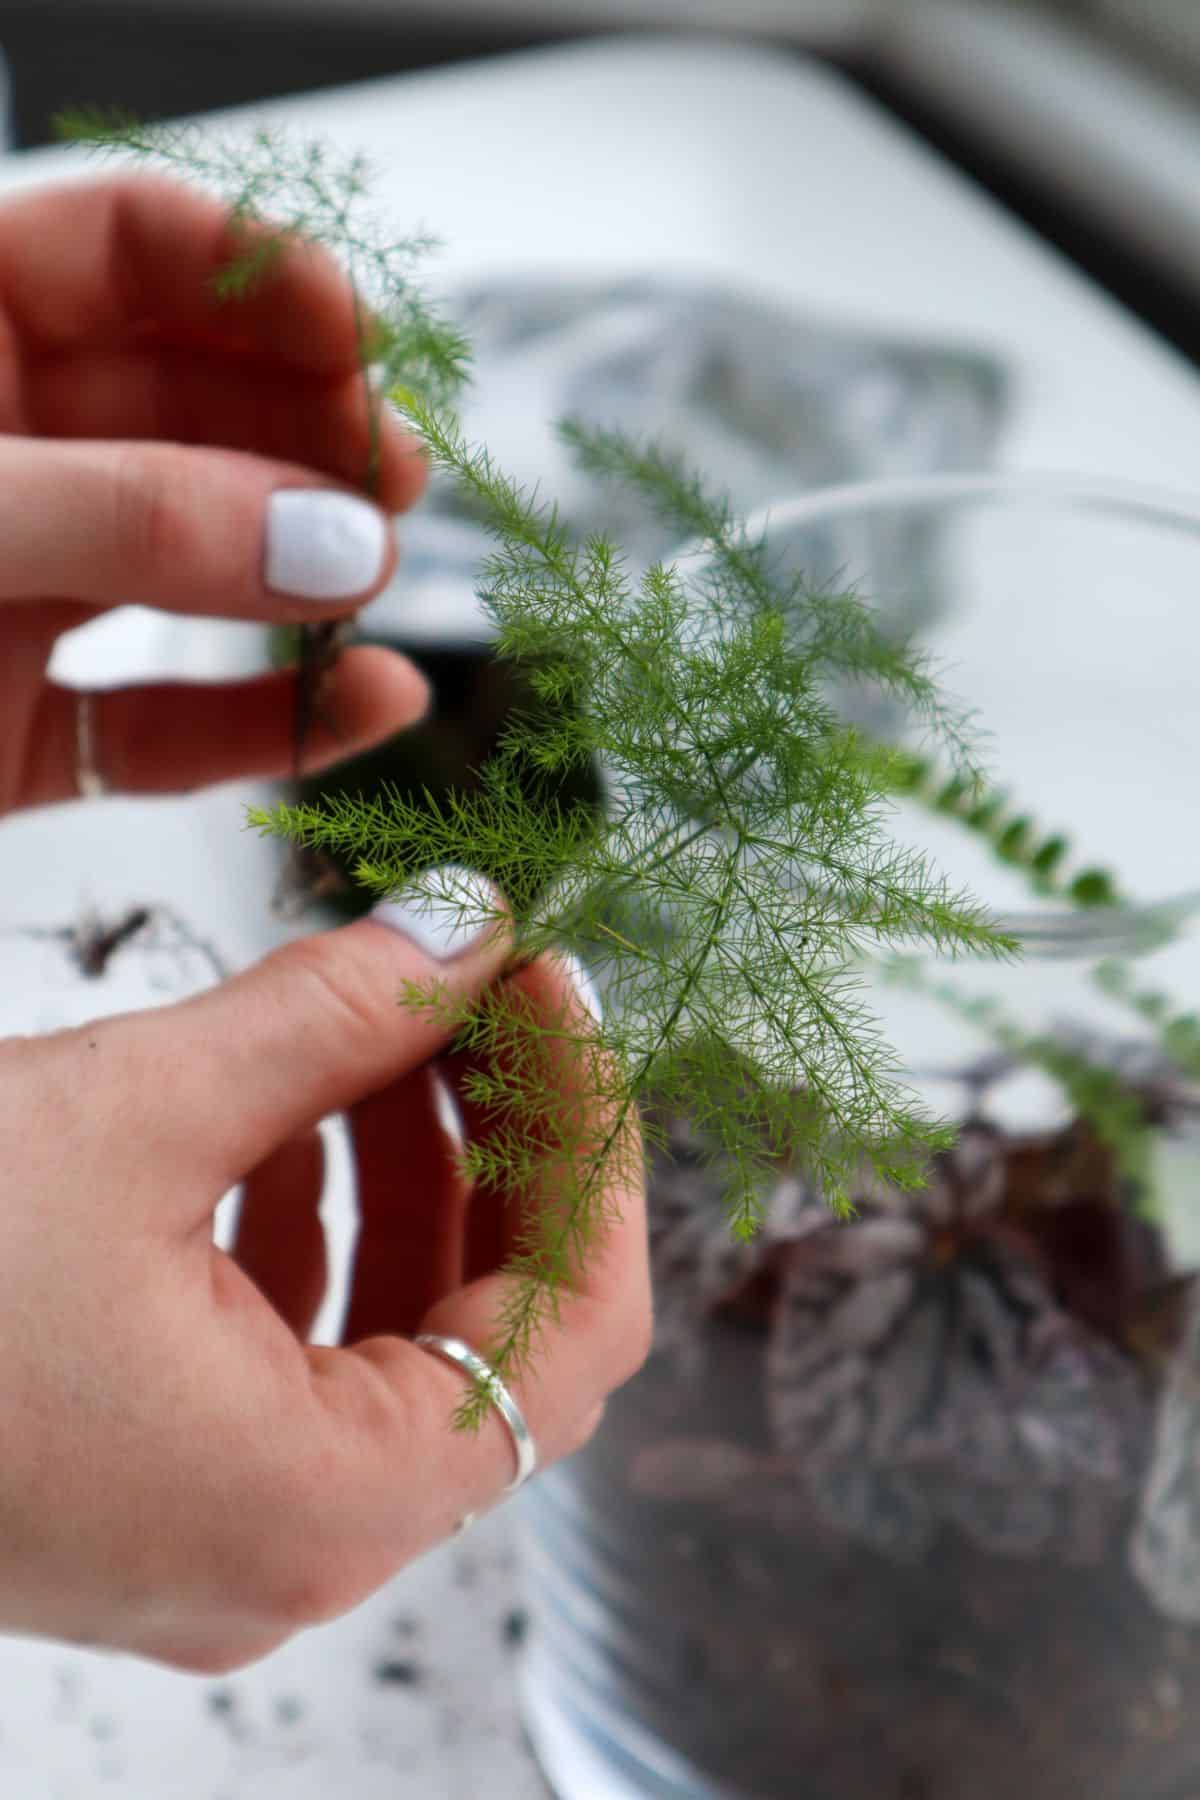
Credit: terrariumtribe.com
Whether you’re a seasoned gardener or new to plant propagation, this guide will walk you through the process of propagating asparagus fern, helping you expand your green thumb and enjoy the benefits of this beautiful plant.
How to Propagate Asparagus Fern : Step by Step Guide
Propagating asparagus fern (Asparagus densiflorus) is a rewarding activity for beginner gardeners. This long-lived, evergreen perennial is native to South Africa and is well-loved for its delicate, feathery foliage. Understanding the needs of the asparagus fern is crucial before diving into the propagation process.
There are several reasons why propagating asparagus fern is beneficial:
- Expanding your plant collection: Propagation allows you to multiply the asparagus ferns in your garden or indoor spaces.
- Sharing with others: Propagating allows you to gift plants to friends and family.
- Cost-effective gardening: Instead of purchasing new plants, you can propagate asparagus ferns for free.
Before you begin, gather the following tools and materials:
- Pruning shears: Use sharp pruning shears to take cuttings from your existing asparagus fern.
- Rooting hormone: A rooting hormone can be helpful in encouraging successful root development.
- Potting mix: Choose a well-draining potting mix that retains moisture but doesn’t become waterlogged.
- Pots or containers: Select pots or containers that are the appropriate size for your cuttings.
- Watering can or spray bottle: A watering can or spray bottle will be needed to provide moisture to the propagated plants.
- Clear plastic bags or propagation domes: These will create a humid environment for the cuttings to root.
With the right tools and materials in hand, you’ll be well-prepared to begin propagating your asparagus fern and enjoy the satisfaction of growing new plants.

Division: The Simplest Way To Propagate Asparagus Fern
Division is the simplest and most effective method for propagating asparagus fern. Identifying the right time for division is crucial to ensure successful propagation. When the parent plant becomes overcrowded with dense root systems, it’s a clear indication that division is necessary.
Preparing the parent plant for division is essential for the process to be successful. Begin by carefully removing the asparagus fern from its pot or garden bed. Gently shake off any excess soil from the roots, being mindful not to damage them. Trim any diseased or damaged roots as well as any dead or dying fronds.
| Step-by-Step Division Process |
|---|
| 1. Locate natural divisions in the root ball of the parent plant. |
| 2. Use a sharp, sterilized knife or pruning shears to carefully separate each division. Ensure that each division has healthy roots and a sufficient amount of foliage. |
| 3. Place each division in a separate pot or garden bed filled with well-draining soil. |
| 4. Water the divisions thoroughly and place them in a location with indirect sunlight. |
| 5. Keep the divisions moist but avoid overwatering. |
By following these steps, you can successfully propagate asparagus fern through division. With time and proper care, each division will establish itself as a healthy individual plant.
Propagation From Seeds: Sowing Asparagus Fern
Propagating asparagus fern from seeds is an exciting way to add more of these beautiful plants to your garden. To get started, you’ll need to collect and store asparagus fern seeds. After the plant has finished flowering, keep an eye out for the small, red berries that typically appear.
These berries contain the seeds you’ll need to grow new plants. To collect them, gently squeeze the berries to release the seeds. Once you’ve collected the seeds, it’s important to properly store them to ensure their viability. Store the seeds in a cool, dry place until you’re ready to sow them.
Before sowing the asparagus fern seeds, you’ll need to prepare a seed tray. This can be a plastic or wooden tray with drainage holes. Fill the tray with a well-draining seed-starting mix. Make sure the soil is moist but not waterlogged. Allow any excess water to drain away before proceeding.
When sowing asparagus fern seeds, sprinkle them evenly across the surface of the seed tray. Do not cover the seeds with soil, as they require light to germinate. Instead, gently press them into the soil so they make good contact. Keep the soil consistently moist while waiting for the seeds to germinate, which typically takes 1-3 months.
Once the seeds have germinated and the asparagus fern seedlings emerge, provide them with bright, filtered light. Keep the soil evenly moist but not soggy. As the seedlings grow, you may need to thin them out to prevent overcrowding. After 6-8 weeks, the seedlings should be ready for transplantation into individual pots or outdoor containers.

Propagation Via Rhizome Cuttings: Ensuring Success
Propagating asparagus fern through rhizome cuttings is a reliable way to expand your plant collection. Here’s a step-by-step guide to ensure the success of your propagation:
Selecting Healthy Rhizomes For Propagation
When choosing rhizomes for propagation, opt for healthy and disease-free ones. Look for rhizomes that are firm, plump, and free from any signs of decay or rot. These rhizomes should also have multiple buds or nodes, indicating active growth potential.
Preparing The Cuttings
To prepare the cuttings, start by sterilizing your tools to avoid any contamination. Using a sharp, clean knife, carefully divide the rhizomes into sections, ensuring that each section has at least one bud. Remove any dead or damaged parts. Allow the cuttings to dry and callus for a few days before planting.
Ideal Growing Conditions
Asparagus ferns thrive in bright, indirect light. Choose a well-draining potting mix and plant the rhizome cuttings at a shallow depth, with the bud facing upward. Maintain a consistently moist but not waterlogged soil. Provide a warm and humid environment, preferably with a temperature range of 70-80°F (21-27°C).
Caring For Rhizome Cuttings
Regularly monitor the moisture levels of the soil and water as needed to keep it slightly moist. Mist the foliage occasionally to enhance humidity. Avoid exposing the cuttings to direct sunlight, as it can scorch the delicate foliage. With proper care and patience, your asparagus fern rhizome cuttings will develop roots and new growth, turning into thriving plants.
Propagation Through Root Division: A Tried And Tested Method
Propagation through Root Division: A Tried and Tested Method
Asparagus ferns can be propagated through root division during the spring season. Look for active growth with healthy roots as a sign that the plant is ready for division. Choose a day with mild temperatures and cloudy weather to reduce stress on the plant.
Start by watering the plant thoroughly to make the roots easier to handle. Gently remove the fern from its pot, taking care not to damage the delicate roots. Shake off excess soil, and if necessary, tease apart the root ball with your hands or a sterilized gardening tool.
Identify natural division points in the root system and use a sharp, sterilized knife to carefully separate the roots. Each divided section should have at least a few healthy roots attached. Trim any dead or damaged roots to promote new growth.
Plant each divided section into individual pots filled with a well-draining potting mix. Water thoroughly and place the pots in a bright, but indirect light location. Keep the soil consistently moist, but not waterlogged, until new growth starts to emerge.

Frequently Asked Questions Of How To Propagate Asparagus Fern
Can You Grow Asparagus Fern From A Cutting?
Yes, you can grow asparagus fern from a cutting.
Can Asparagus Fern Grow From Stem?
Yes, asparagus fern can grow from stems. The stems produce new roots, allowing the plant to spread and propagate.
Does Asparagus Regrow After Cutting?
Yes, asparagus regrows after cutting. It’s a perennial vegetable that can produce additional spears for several years once established. The spears are harvested while still young and tender, allowing the plant to continue growing and producing new spears throughout the growing season.
How Do You Take A Cutting From A Fern?
To take a cutting from a fern, choose a healthy frond and cut it close to the base. Remove any lower leaves and dip the cut end in rooting hormone. Plant the cutting in a well-draining potting mix, keep it moist, and place it in indirect light.

Conclusion
Propagating asparagus fern is a simple and rewarding process that allows you to multiply your plant collection effortlessly. By carefully following the steps outlined in this guide, anyone can successfully propagate asparagus ferns. Remember, patience is key when it comes to plant propagation.
With time and care, you’ll have a collection of thriving asparagus ferns in no time. Happy propagating!