
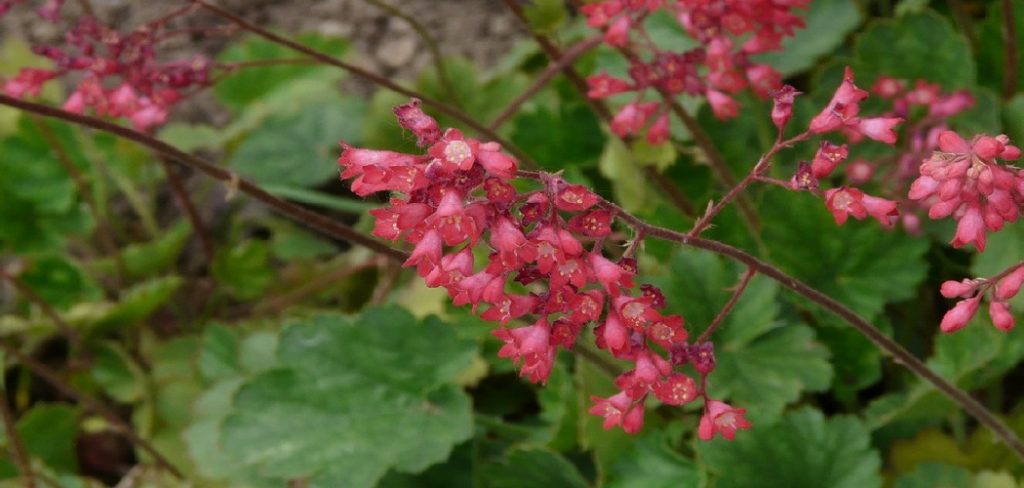
Are you interested in growing your own Heuchera plants? These beautiful and versatile perennials are a favorite among gardeners for their colorful foliage, charming flowers, and low maintenance requirements.
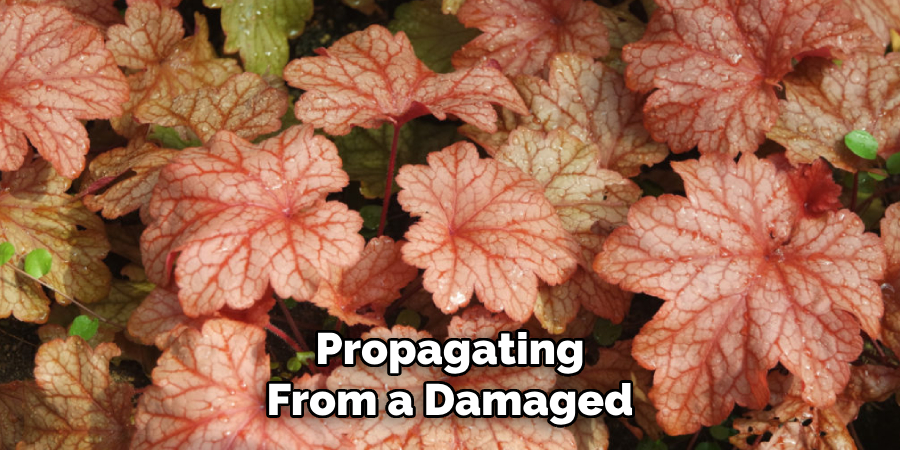
Propagating heuchera plants, commonly known as coral bells, is an effective way to expand your garden with these vibrant, shade-loving perennials. Known for their striking foliage and tiny, bell-shaped flowers, heucheras are a favorite among gardeners seeking color and texture in their landscape.
This guide on how to propagate heuchera plants will walk you through the process of propagating these hardy plants, whether through division, cuttings, or seeds, ensuring healthy and thriving additions to your garden. With the right techniques and care, you can easily multiply your collection and enjoy the beauty of heucheras year after year.
What Are the Benefits of Propagating Heuchera Plants?
Propagating heuchera plants offers a variety of benefits for gardeners, including:
- Cost Savings: Rather than purchasing new plants from a nursery every season, propagating heucheras allows you to multiply your collection for free.
- Diversity in Your Garden: By propagating heuchera plants, you can create a diverse array of colors and textures in your garden by growing different varieties.
- Healthier Plants: Propagation helps maintain the health and vigor of heucheras as they are not prone to diseases and pests that commonly affect store-bought plants.
- Personal Satisfaction: There is a sense of satisfaction that comes with successfully propagating your plants and watching them thrive in your garden.
- Cost Savings: Instead of purchasing new heuchera plants every season, propagating them allows you to have a continuous supply without breaking the bank.
- Sustainable Gardening: Propagation is a sustainable gardening practice as it reduces waste and minimizes the need for transportation and production of new plants.
What Will You Need?
To successfully propagate heuchera plants, you will need the following materials:
- Pruning shears or a sharp knife
- Clean potting soil
- Planting containers or pots
- Rooting hormone (optional)
- Watering can or mist sprayer
- Plastic bag or clear plastic cover
It is important to note that rooting hormone is not necessary for propagating heuchera plants, but it can help speed up root development and increase the success rate.
10 Easy Steps on How to Propagate Heuchera Plants
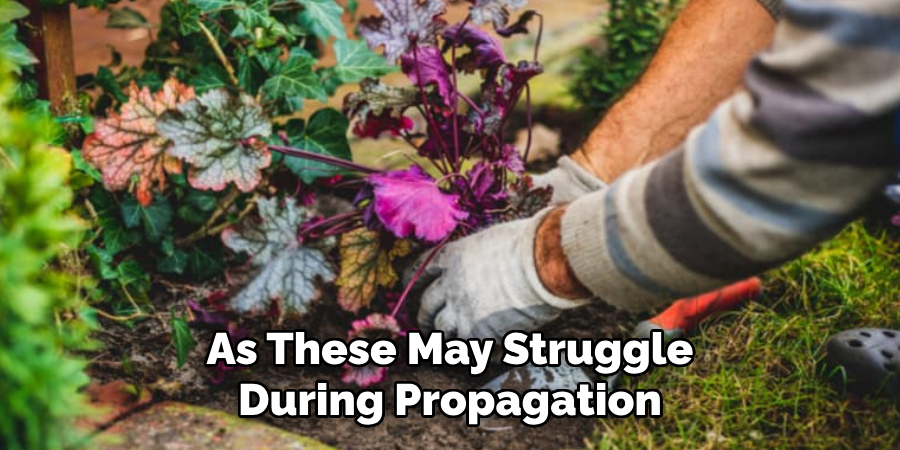
Step 1. Choose a Healthy Heuchera Plant
Select a mature heuchera plant that is thriving and free from any signs of disease or pest infestations. Look for vibrant leaves and a strong, well-established root system. This ensures that the parent plant is healthy enough to support propagation, increasing the likelihood of successful growth for the cuttings or divisions. Avoid using plants that appear wilted, discolored, or damaged, as these may struggle during propagation.
Step 2. Prepare Your Tools
Ensure you have all the necessary tools for propagation cleaned and ready for use. This typically includes a sharp pair of pruning shears or a garden knife for making precise cuts, a small hand trowel for digging, and a pair of gardening gloves to protect your hands. Sterilizing your cutting tools with rubbing alcohol or a diluted bleach solution is essential to prevent the spread of diseases. Additionally, prepare clean pots or containers with well-draining soil if you plan to propagate indoors or transplant the divisions. Having the right tools prepared beforehand will make the propagation process smoother and more efficient.
Step 3. Select and Cut the Stem or Crown Division
When selecting the stem or crown division for propagation, choose a healthy and mature part of the plant. Look for stems or crowns that are robust, free from pests, and have visible new growth or buds. Using your prepared cutting tools, make a clean and precise cut just below a node or at the base of the crown, ensuring minimal damage to the plant. Be gentle during this process to avoid stressing the plant, and immediately dip the cut end into rooting hormone if recommended for the specific plant species. This will promote faster and healthier root development in the new propagation.
Step 4. Apply Rooting Hormone
Rooting hormone is a helpful aid in encouraging root growth during plant propagation. Begin by selecting a suitable rooting hormone, which can be found in powder, liquid, or gel form. Gently dip the cut end of your plant into the hormone, ensuring an even coating on the area that will be planted. Avoid excessive application, as this can hinder the rooting process. Once applied, plant the cutting into a well-prepared, moist medium such as soil or water, depending on the needs of the species.
Step 5. Prepare the Planting Container
Choose a clean planting container with proper drainage holes to prevent waterlogging, which can lead to root rot. The size of the container should be appropriate for the cutting, providing enough room for root development without being excessively large, as this can retain too much moisture. Fill the container with a well-draining potting mix or a medium suited to the plant species. Make sure the medium is slightly moist but not soggy, creating an ideal environment for the cutting to establish roots. Finally, ensure the container is placed in a location that provides the required light and temperature conditions for the plant.
Step 6. Plant the Cutting or Division
Insert the prepared cutting or division into the planting medium, ensuring that the base is firmly in contact with the soil. For cuttings, make sure that any leaves near the base are removed to avoid rot, and position it so that the nodes, where roots will develop, are slightly buried. For divisions, arrange the roots naturally and cover them with soil without compacting it too tightly. After planting, gently water the soil to settle it around the cutting or division, taking care not to dislodge them. Maintain a consistent level of moisture to encourage root growth, but avoid overwatering to prevent root rot.
Step 7. Water Thoroughly
Watering thoroughly is a critical step in ensuring the successful establishment of your plants. After planting, use a watering can or a gentle spray from a hose to saturate the soil evenly. This helps eliminate air pockets around the roots and provides essential hydration that aids in root development. Make sure the water reaches the root zone without pooling on the surface, as this can lead to waterlogging. Depending on the plant species and environmental conditions, continue to monitor the soil’s moisture levels closely, keeping it consistently damp but not overly wet. Proper watering at this stage lays the foundation for healthy, thriving plants.
Step 8. Create a Humid Environment
Creating a humid environment is crucial for young plants or cuttings to thrive, as it helps prevent excessive water loss through transpiration. You can achieve this by using a simple plastic dome or a clear plastic bag to cover the plants, trapping moisture around them. Be sure to leave some ventilation openings to avoid mold or fungal growth. Alternatively, placing a tray of water near the plants or using a humidifier in the room can also increase humidity levels. Monitor the humidity regularly to ensure it stays between 50-70%, as this range is optimal for most plants. Providing the right humidity will encourage steady growth and reduce plant stress during this vital stage.
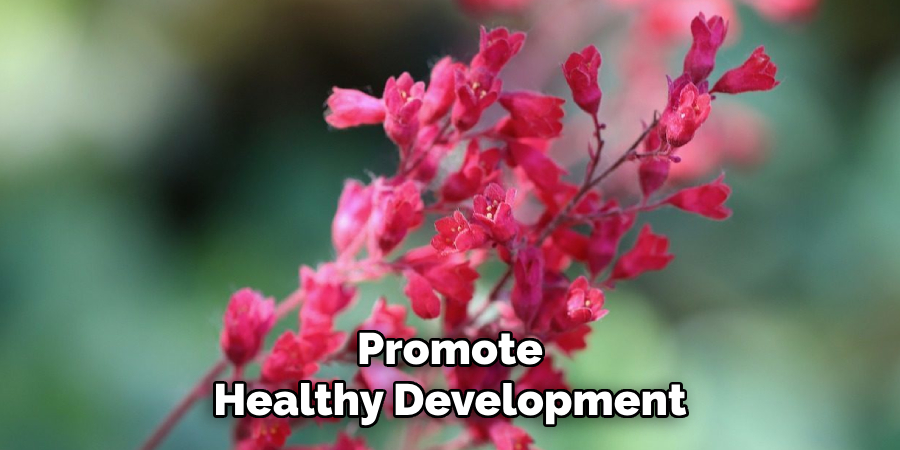
Step 9. Place in Indirect Light
Position your plants in a location where they can receive bright, indirect light. This can be near a north or east-facing window, or you can use sheer curtains to diffuse the sunlight coming through a south or west-facing window. Avoid placing plants in direct sunlight, as it can cause scorching or drying out, which can hinder their growth. If natural light is inadequate, consider using grow lights to supplement and ensure they receive 12-16 hours of light daily. Proper lighting is essential to support photosynthesis and promote healthy development.
Step 10. Monitor and Wait for Root Development
Once your cuttings are in place, it’s time to exercise patience and monitor their progress. Check the cuttings regularly for signs of growth, ensuring the medium remains moist but not waterlogged. Overwatering can lead to rot, while insufficient moisture could dry out the cuttings. Look for small root formations emerging from the base, which may take anywhere from a few days to a few weeks, depending on the plant species. Be gentle when checking for root growth, as handling them too often could disturb the delicate roots. When healthy roots are established, your cuttings will be ready for transplanting into soil or a larger container.
By following these steps, you can successfully propagate heuchera plants to expand your garden or share them with others!
5 Things You Should Avoid
- Overwatering the Cuttings
Excessive watering can lead to root rot and hinder the development of healthy roots. Ensure the medium is moist but not waterlogged.
- Placing Cuttings in Direct Sunlight
Too much direct sunlight can scorch the cuttings and dry them out before they have a chance to root. Instead, place them in a bright, indirect light location.
- Using Dull or Dirty Tools
Cutting heuchera stems with tools that are not sharp or clean can increase the risk of infections and make it harder for the plant to heal and root effectively.
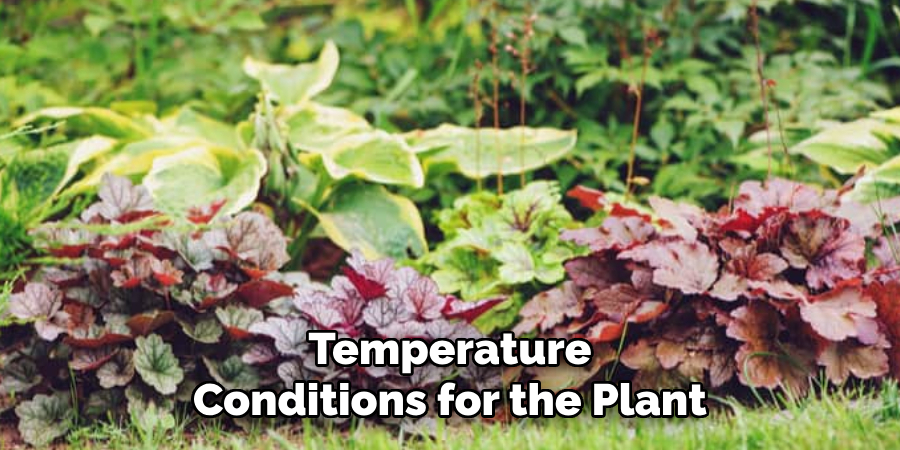
- Ignoring Temperature and Humidity Levels
Heuchera cuttings thrive in warm and humid conditions. Failing to maintain these conditions could slow down root formation or cause the cuttings to wither.
- Neglecting to Check for Pests or Disease
Propagating from a damaged or pest-infested plant can transfer these issues to your new cuttings. Always inspect the parent plant for any signs of problems before taking cuttings.
Conclusion
How to propagate heuchera plants is a rewarding process that allows you to enjoy their vibrant foliage throughout your garden or share them with fellow gardening enthusiasts.
By ensuring proper cutting techniques, providing the right conditions for root development, and exercising patience, you can achieve successful propagation. This method not only saves resources but also adds a personal touch to your gardening experience.
With time and care, your propagated heucheras will thrive, enhancing the beauty of your outdoor space.