
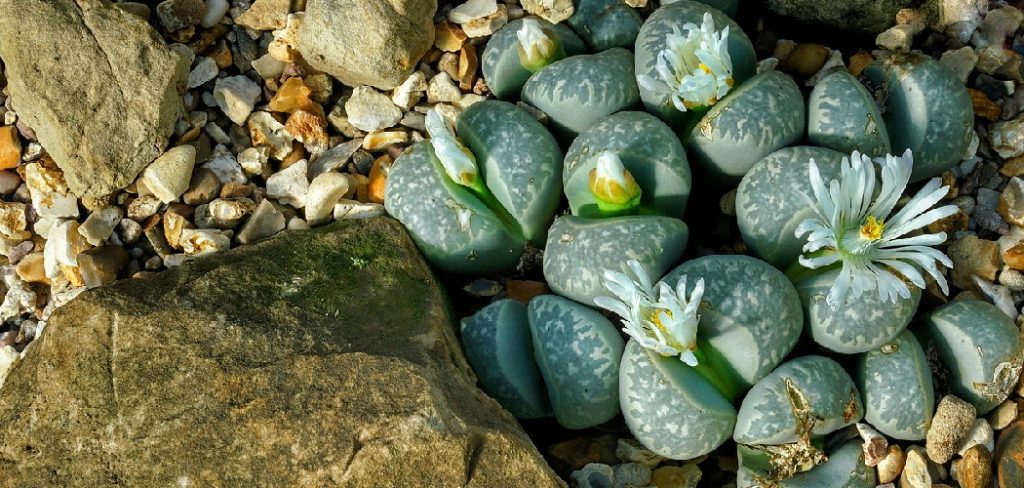
Lithops, commonly known as “living stones,” are fascinating succulent plants renowned for their unique appearance and low-maintenance nature. Native to arid regions of southern Africa, these small, stone-like plants have adapted to survive extreme conditions by mimicking the appearance of surrounding rocks.
Propagating Lithops can be a rewarding process for plant enthusiasts, but it requires patience and care to ensure success. This guide on how to propagate lithops will provide you with the essential steps and tips to propagate Lithops effectively, helping you expand your collection of these remarkable plants.
Understanding Lithops Growth and Reproduction
Lithops grow slowly and follow a unique annual cycle that mirrors the harsh environments they originate. Each Lithops plant consists of a pair of thick, fleshy leaves that store water, with a small slit at the center where flowers or new leaves emerge. During their active growing season, typically in late summer or early fall, Lithops may produce daisy-like flowers in shades of white or yellow.
Reproduction in Lithops occurs both sexually, through pollination and seed production, and asexually, through the division of the plant into new pairs of leaves. Pollination usually requires external aid, as many Lithops species are not self-pollinating and rely on insects or manual pollination by humans. Seeds can then be sown to grow new plants, but this process demands time and careful attention due to the delicate nature of young seedlings.
Division, on the other hand, involves separating clumps of mature plants, which is a quicker and more controlled method of propagation. Understanding these growth and reproduction patterns is key to maintaining healthy Lithops and expanding your collection.
Tools and Materials Needed for Propagation
- High-quality Lithops Seeds (From Trusted Sources)
- Shallow Seed Trays or Pots With Drainage Holes
- Well-draining Cactus or Succulent Soil Mix
- Fine Sand or Grit for Top Dressing
- Spray Bottle for Gentle Watering
- Transparent Cover or Plastic Dome for Humidity Control
6 Simple Step-by-Step Guidelines on How to Propagate Lithops:
Step 1: Choose the Right Time for Propagation
Timing is crucial when propagating Lithops to ensure success. The best period for propagation is during their active growing season, typically in the late spring or summer months.
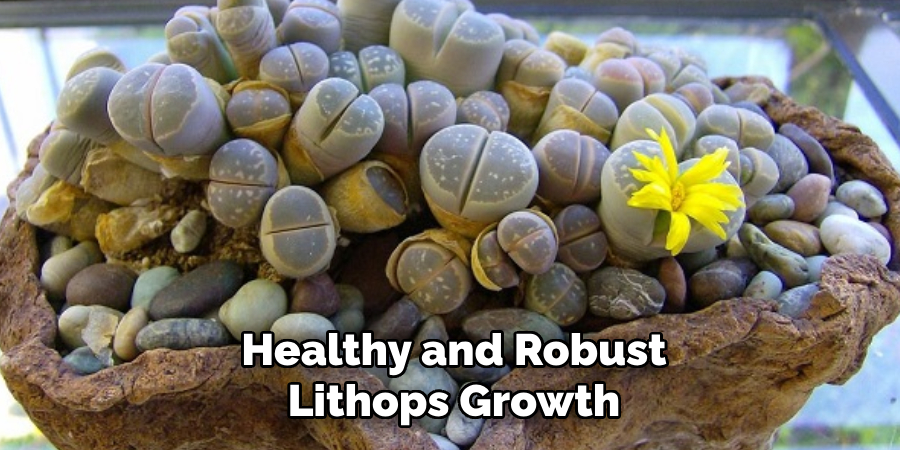
During this time, the seeds or cuttings have optimal conditions for germination and development. Avoid attempting propagation during their dormant phase, usually in the cooler months, as growth slows significantly, and the plants are less likely to thrive. Choosing the right time sets the foundation for healthy and robust Lithops growth.
Step 2: Prepare the Seed Trays or Pots
To begin propagating Lithops, select seed trays or shallow pots with adequate drainage holes to prevent waterlogging. Fill the trays or pots with a well-draining soil mix specifically designed for succulents or cacti. A good mix typically includes a combination of sand, perlite, and potting soil to mimic the natural environment of Lithops, ensuring proper aeration and moisture control.
Gently level the soil without compacting it to create an even surface, which helps ensure the seeds have consistent contact with the growing medium. Proper preparation of the planting containers is crucial for healthy seedling development and successful propagation.
Step 3: Sow the Seeds
Sprinkle the Lithops seeds evenly across the prepared soil surface, ensuring they are not crowded to allow for optimal growth. Press the seeds gently into the soil without covering them, as Lithops seeds require light for germination. Use a fine mist spray bottle to lightly water the seeds, taking care not to disturb their placement.
Maintaining consistent moisture during this stage is essential, but avoid over-watering, as excess moisture can lead to fungal issues. Position the container in a well-lit area with indirect sunlight to support the germination process, which typically takes one to two weeks.
Step 4: Top Dressing
After the Lithops seedlings have germinated and established themselves, applying a top dressing can help enhance their growth and mimic their natural habitat. A thin layer of fine gravel, sand, or decorative stones can be gently spread around the base of the young plants. This not only supports moisture retention in the soil but also improves drainage and prevents soil from splashing onto the delicate leaves when watering.
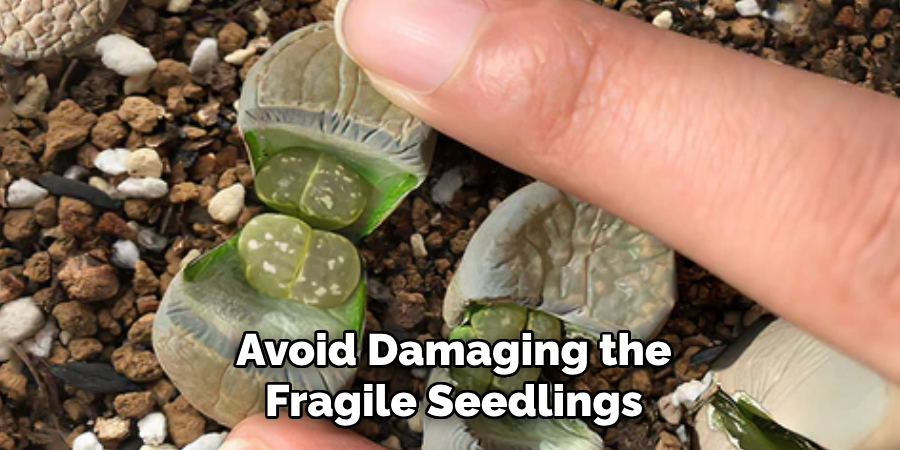
Additionally, the top dressing can provide a protective barrier against fungal growth and give the container a more polished, aesthetically pleasing appearance. Be cautious while applying the top dressing to avoid damaging the fragile seedlings.
Step 5: Watering
Proper watering is crucial for the healthy growth of young plants. Use a gentle watering method, such as a spray bottle or a watering can with a fine rose attachment, to avoid disturbing the topsoil or damaging the fragile roots. Water the plants thoroughly until the excess begins to drain from the bottom of the container, ensuring that the soil is evenly moist but not waterlogged.
Avoid overwatering, as this can lead to root rot and other issues. Monitor the soil regularly to determine when watering is needed, typically when the top inch of soil feels dry to the touch. Adjust the frequency based on environmental conditions such as temperature, humidity, and sunlight exposure.
Step 6: Germination
Lithops seeds typically germinate within 10-14 days at temperatures between 70-75°F (21-24°C). It is important to maintain consistent moisture levels during this time, but also allow for some drying out periods to prevent fungal growth.
Once the seedlings have grown their first set of true leaves, they can be transplanted into individual pots and treated as mature Lithops plants.
Following these steps on how to propagate lithops will ensure healthy growth and a thriving succulent collection.
Additional Tips
- It is recommended to use a well-draining cactus or succulent potting mix for growing Lithops. This will help prevent the roots from sitting in overly wet soil, which can lead to rot.
- When transplanting Lithops, be sure to gently separate the seedlings to avoid damaging their delicate root systems.
- Keep an eye out for pests such as aphids or mealybugs, and treat them promptly with neem oil or insecticidal soap if necessary.
- Lithops plants prefer bright, indirect sunlight. Avoid placing them in direct sunlight as it can cause sunburn and damage the plant’s leaves.
- During the winter months, reduce watering frequency and allow the soil to dry out more between waterings as Lithops go into a dormant state during this time.
- Do not fertilize Lithops plants during their dormancy period as it can cause excess growth and harm the plant.
- When repotting Lithops, use a well-draining soil mix specifically designed for succulents. Regular potting soil can hold too much moisture and cause root rot.
- Take care not to overwater or water from above when watering Lithops as this can lead to rotting and fungus issues.
Aftercare for New Lithops
Proper aftercare is essential to ensure that new Lithops thrive in their new environment. After repotting, allow the plants to settle for a few days before watering. This gives any damaged roots time to heal and reduces the risk of rot. Place the Lithops in a location with plenty of bright, indirect light to help them acclimate and avoid sunburn.
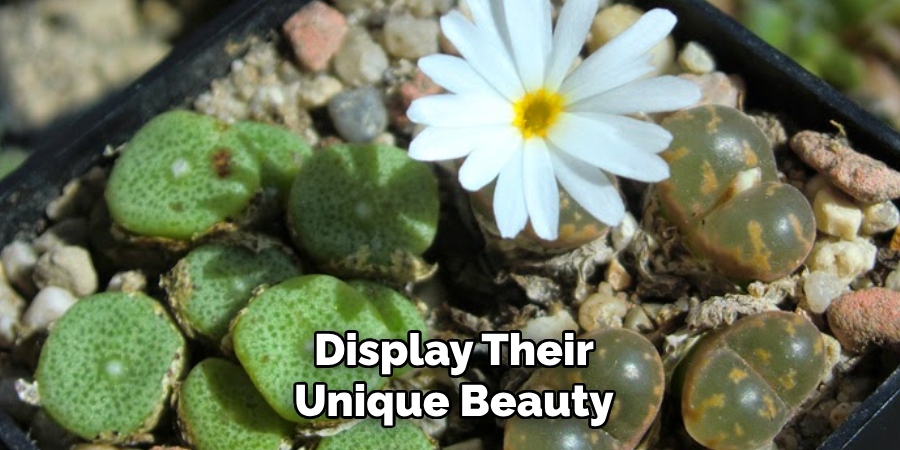
Monitor the soil closely, ensuring it remains dry between waterings, as overwatering is one of the most common mistakes with Lithops care. Additionally, avoid fertilizing during the initial adjustment period, as the plants do not require extra nutrients while establishing themselves. By maintaining these careful practices, your Lithops will have the best chance to grow and display their unique beauty.
Common Mistakes to Avoid
Caring for Lithops can be a rewarding experience, but there are several common mistakes that can hinder their growth and health. Overwatering is the most frequent issue, as these succulents are highly adapted to dry environments and can easily succumb to root rot if left in overly moist conditions. Another mistake is providing insufficient light, which can cause the plants to stretch and lose their characteristic compact shape.
Additionally, repotting Lithops too frequently can disturb their roots, potentially leading to stress or even damage. Lastly, applying fertilizer too often or during their dormant period can harm rather than benefit them. By avoiding these pitfalls, you can ensure your Lithops thrive and maintain their unique appearance.
Frequently Asked Questions
Q: How Often Should I Water My Lithops?
A: Lithops should be watered sparingly, about once every two weeks during their active growing season. It is important to allow the soil to dry out completely between watering and never leave the plant sitting in wet soil.
Q: What Type of Soil is Best for Lithops?
A: Lithops prefer well-draining soil with a high mineral content. A mix of equal parts potting soil, coarse sand, and perlite or pumice is ideal for providing the proper drainage and nutrients for your Lithops.
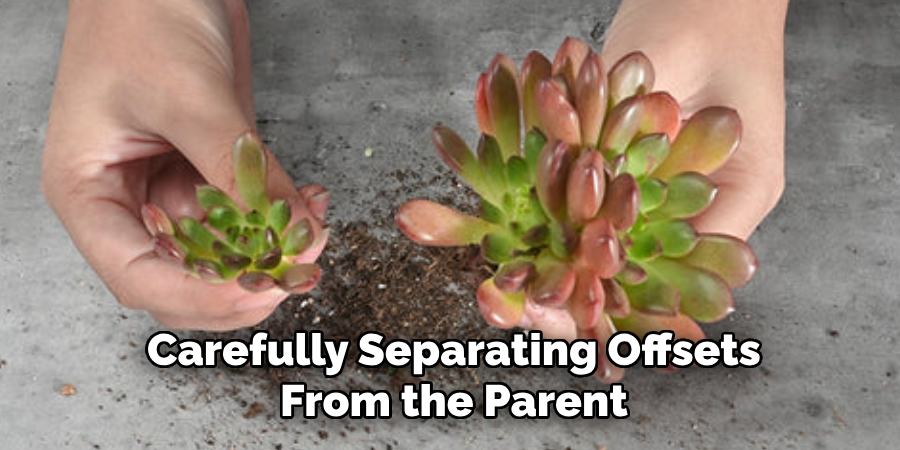
Q: Can I Propagate My Lithops?
A: Yes, you can propagate your Lithops by carefully separating offsets from the parent plant. It is best to do this during their growing season when they are actively producing new growth.
Conclusion
Lithops, often referred to as “living stones,” are unique and fascinating plants that can thrive beautifully with proper care. By providing them with the right type of well-draining soil, understanding their watering needs, and propagating them carefully, you can enjoy the charm and resilience of these extraordinary succulents.
With patience and attention, your Lithops can flourish, adding a touch of nature’s artistry to your home or garden. Thanks for reading this article on how to propagate lithops.