Phlox plants are beloved for their vivid blooms and ability to add charm to gardens. Whether you grow tall garden phlox with its striking vertical presence or creeping phlox as a stunning ground cover, propagating these plants has multiple benefits. Not only does propagation allow you to duplicate your favorite varieties and save money, but it also enhances the overall appearance of your garden by multiplying their beauty. Understanding how to propagate phlox plants is an essential skill for gardeners, whether you’re a beginner or an expert.

This article will explore everything you need to know about phlox propagation, including methods, preparation, and tips to overcome challenges. By the end, you’ll be equipped with effective strategies to start your own propagation project.
Types of Phlox Plants
Phlox plants come in various species, each offering unique traits that can beautify your garden. Some of the most common types include tall garden phlox (Phlox paniculata) and creeping phlox (Phlox subulata). Tall garden phlox typically grows in upright clusters, making it ideal for borders and centerpieces. On the other hand, creeping phlox produces a low ground cover of dense, colorful flowers, perfect for rock gardens and slopes.
It’s essential to determine whether you’re working with perennial or annual phlox, as this will impact propagation. Perennial species can withstand seasonal changes, providing long-term enjoyment. Annual phlox, while vibrant, completes its life cycle in one growing season and may require more deliberate propagation efforts to sustain the variety.
Identifying your phlox type helps you choose the appropriate propagation method, ensuring successful results.
When to Propagate Phlox
Timing is critical when propagating phlox. Carrying out this task during the right season ensures healthier plants and higher success rates. For most phlox varieties, propagation is best done in spring or fall. Spring allows for optimal root establishment before the heat of summer, while fall propagation sets the stage for stronger plants the following growing season.
Pay attention to signs of readiness in your plants. For example, established phlox showing active growth or healthy foliage make ideal candidates for propagation. Avoid propagating when the plant is stressed due to extreme heat, drought, or pest infestation.
Proper timing ensures the new plants have enough time to adapt to environmental conditions, boosting their chances of survival.
Methods of Propagating Phlox Plants
Division Method
The division method is one of the simplest techniques to propagate phlox plants. Begin by carefully digging up a mature phlox plant, making sure to preserve its root system. Use a clean, sharp tool to divide the plant into smaller sections, ensuring each section contains roots and shoots.
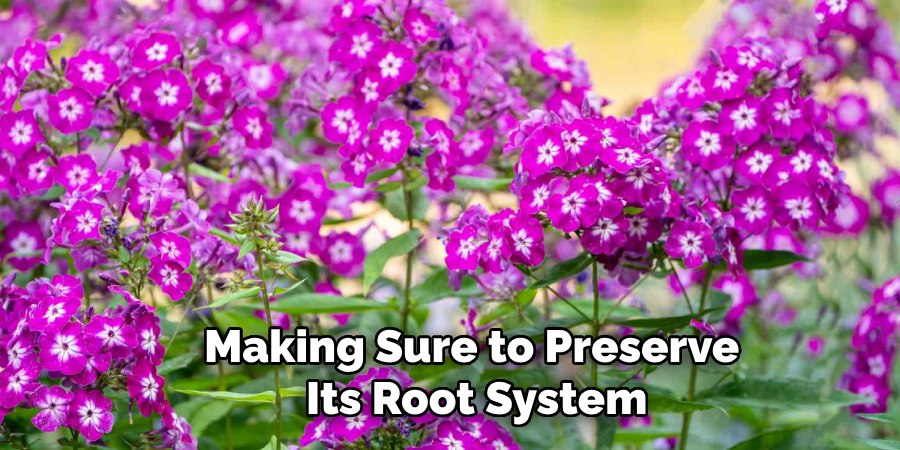
Once divided, replant the sections in a prepared location with well-draining soil. Water thoroughly, and provide partial shade until the plants establish themselves. Division not only multiplies your plants but also rejuvenates older ones.
Cuttings Method
Propagating phlox through cuttings is another effective method. First, select healthy stems free from flowers and cut 4-6-inch segments just below a leaf node. Strip the lower leaves and dip the cut end in rooting hormone to encourage growth.
Plant the cuttings in a moist growing medium, such as a mix of peat and sand. Cover with a plastic bag to create a humid environment, then keep the container in bright but indirect light. Within a few weeks, the cuttings should develop roots and can be transplanted into your garden.
Seed Propagation
Although less common, phlox can also be propagated using seeds. Harvest seeds from mature plants, then sow them in trays filled with seed-starting mix. Keep the soil consistently moist and provide adequate sunlight.
While seed propagation is less reliable and time-consuming, it allows you to cultivate new hybrids or rare variations.
Layering Technique
Layering is another practical method that works well with creeping phlox. Select a healthy stem and bend it towards the ground. Remove leaves from the stem section that will touch the soil. Secure this part of the stem with a small stone or garden pin, and cover it lightly with soil.

Over time, roots will develop at the buried section, and the stem can be separated from the parent plant to grow independently.
Preparing for Propagation
Proper preparation is essential for successful phlox propagation. Start by gathering the necessary tools, such as a spade, sharp shears, rooting hormone, and planting containers. Ensure all equipment is sterilized to avoid introducing disease to the new plants.
Next, select healthy parent plants that show no signs of stress or disease. Vigorous, pest-free specimens provide the best chance for successful propagation.
Finally, assess your soil conditions. Phlox thrives in well-draining, nutrient-rich soil. Amend poor soil with compost or organic matter to create an optimal growing environment for your propagated plants.
How to Propagate Phlox Plants: Step-by-Step Guide
Preparing the Plant and Soil
Begin by evaluating the health of the parent plants. Water them thoroughly a day before propagation to reduce stress. Simultaneously, prepare the planting area by loosening the soil and removing weeds. Adding compost will improve fertility and drainage.
Executing the Chosen Method
Follow the steps of your selected propagation technique, whether it’s division, cuttings, layering, or seed sowing. For division, take care to handle roots gently. While propagating via cuttings, maintain consistent humidity to encourage rooting.
Avoid common pitfalls like overcrowding, which can stunt growth and increase disease susceptibility.
Post-Propagation Care
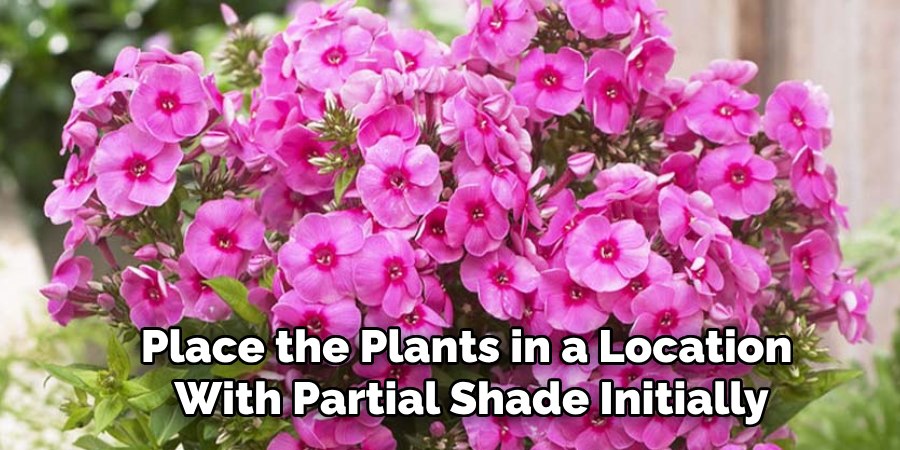
Newly propagated phlox plants require careful attention. Water them consistently but avoid overwatering, which can lead to root rot. Place the plants in a location with partial shade initially, gradually transitioning them to full sunlight as they strengthen.
Monitoring for pests and diseases is also crucial during this stage. Regularly inspect the plants and take immediate action if problems arise.
Common Mistakes and How to Avoid Them
Propagation mistakes can hinder the success of your efforts. Overwatering, for instance, leads to root rot, while underwatering causes stress in young plants. Avoid propagating during extreme weather, which can reduce your plants’ chances of survival.
Selecting unhealthy parent plants or failing to sterilize equipment can also introduce diseases. These issues can be mitigated by adhering to the preparation and care guidelines outlined earlier in this article.
Benefits of Propagating Phlox Plants
There are numerous advantages to propagating phlox plants. First, it’s an economical way to expand your garden since you can multiply plants without buying new ones. Additionally, propagation helps preserve rare or heirloom varieties, ensuring their longevity.
These vibrant plants enhance the biodiversity of your garden while providing visual appeal. Whether bordering walkways or filling empty spaces, propagated phlox plants contribute to a lush and colorful landscape.
Troubleshooting Propagation Problems
Despite your best efforts, challenges may arise during phlox propagation. For failed cuttings, examine whether environmental factors like humidity or temperature played a role. Adjust as needed.
Diseases like fungal infections can be minimized with proper aeration and sterilization. Pests, such as aphids or spider mites, should be managed with appropriate treatments to protect your young plants.
By observing your plants closely and making timely adjustments, you can overcome most propagation issues.
Companion Plants for Phlox
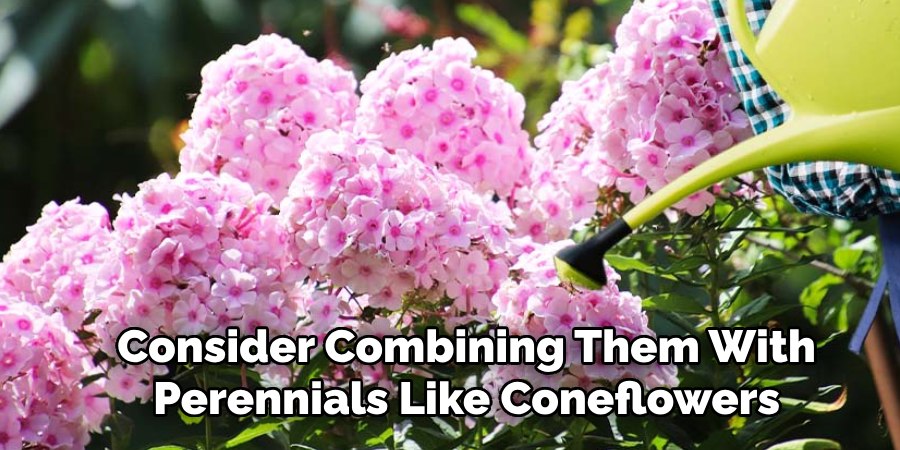
Phlox plants pair beautifully with various garden companions. Consider combining them with perennials like coneflowers or black-eyed Susans for a vibrant summer display. Low-growing plants like ajuga or creeping thyme also complement creeping phlox, creating a cohesive and colorful ground cover.
Designing your garden with these companion plants fosters a harmonious and visually appealing layout, allowing each species to thrive.
Frequently Asked Questions About Phlox Plants
What Are the Best Growing Conditions for Phlox?
Phlox thrives in well-draining soil with full sun to partial shade. Most varieties prefer moist, fertile soil and need consistent watering, especially during dry periods.
How Often Should I Water Phlox?
Phlox plants generally require regular watering, about 1-2 inches per week. Be cautious not to overwater, as excessive moisture can lead to root rot.
Can Phlox Be Grown in Containers?
Yes, phlox can grow in containers, but it’s essential to select a pot with adequate drainage. Use quality potting soil and ensure the container receives the appropriate sunlight for the phlox variety.
How Do I Prevent Powdery Mildew on Phlox?
To minimize the risk of powdery mildew, ensure proper air circulation by spacing plants adequately and avoiding overhead watering. Fungicides can also be used as a preventative measure in humid conditions.
When Is the Best Time to Divide Phlox?
The optimal time to divide phlox is during early spring or late fall. This helps reinvigorate the plants and promotes healthy growth for the following season.
Conclusion
Propagating phlox plants is an enriching way to expand your garden while preserving the unique charm of these flowering perennials. Whether you try division, cuttings, layering, or seeds, each method has its own set of benefits and challenges. With proper preparation, timing, and post-care, you can enjoy a flourishing array of phlox plants in your outdoor space.
Start small, be patient, and remember to care for your new plants diligently. Once you master how to propagate phlox plants, your garden will undoubtedly benefit from their beauty and abundance.