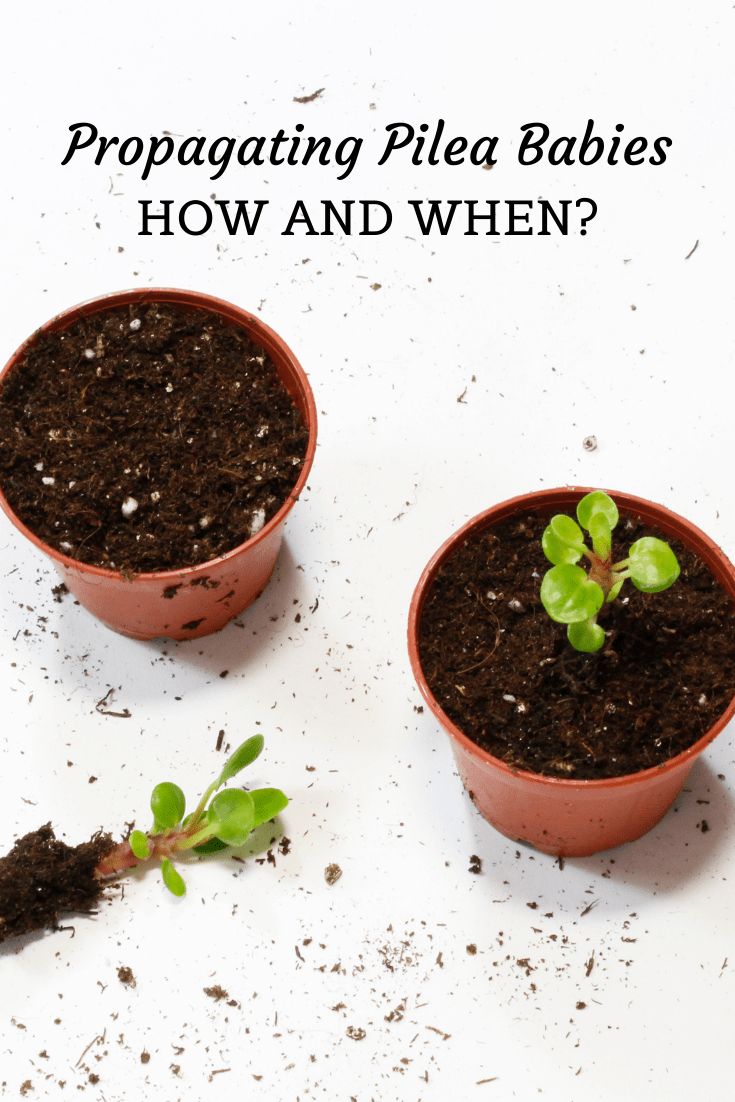
To propagate Pilea pups, carefully separate them from the parent plant and plant them in their own pots with well-draining soil. Pilea pups can easily be propagated by carefully separating them from the parent plant and planting them individually in well-draining soil.

Credit: www.modandmint.com
This process allows the pups to establish their own root system and eventually grow into full-sized plants. Whether you are a seasoned gardener or a beginner, propagating Pilea pups is a simple and satisfying way to expand your plant collection.
By following a few easy steps, you can propagate Pilea pups successfully and watch as they thrive and flourish in their new pots. We will guide you through the process of propagating Pilea pups, sharing tips and tricks along the way.
Methods Of Propagation
When it comes to propagating Pilea pups, there are a few different methods you can use to successfully grow new plants from your existing mother plant. Understanding these methods of propagation can help you expand your Pilea collection and share the joy of growing this unique and charming plant with others.
Propagation Via Offsets
Propagating Pilea pups via offsets is one of the easiest and most common methods. Offsets are small clones of the mother plant that grow at the base of the stem. You can use these offsets to grow new plants by carefully removing them from the mother plant and transplanting them into their own pots. Here’s a simple step-by-step guide to propagate Pilea pups via offsets:
- Identify a healthy offset that is at least a few inches tall and has its own set of roots.
- Gently remove the offset from the mother plant by carefully teasing apart the roots from the main root system.
- Plant the offset in a small pot filled with well-draining soil, ensuring that the roots are completely covered and the plant is securely anchored in the soil.
- Water the newly potted offset thoroughly and place it in a warm, brightly lit location.
- Monitor the soil moisture and growth progress, keeping the plant well cared for as it establishes itself in its new pot.
Propagation Via Stem Cuttings
Another method of propagating Pilea pups is using stem cuttings. This method involves snipping a healthy stem from the mother plant and encouraging it to root and grow into a new plant. Here’s how you can propagate Pilea pups via stem cuttings:
- Select a healthy stem that is several inches long and has several sets of leaves.
- Use a clean, sharp pair of scissors or pruning shears to make a clean cut just below a leaf node, ensuring that the cutting is at least 3-4 inches long.
- Place the cutting in a glass of water, making sure that the leaf nodes are submerged and the majority of the stem is above the water line.
- Change the water every few days to keep it fresh and free of bacteria, and ensure the cutting is placed in a warm, bright location to encourage root growth.
- Once roots have developed, carefully transplant the cutting into a small pot filled with well-draining soil, and continue to care for it as it establishes itself as a new plant.
Preparing For Propagation
Learn how to prepare for propagating pilea pups with these simple and effective tips. Discover the best techniques to ensure successful propagation of your pilea plants.
Selecting A Healthy Pilea Plant
Picking the right Pilea plant for propagation is crucial to ensure the success of your venture. Look for a healthy plant that shows no signs of diseases or damage. The leaves should be vibrant, lush, and free from discoloration or wilting. It’s also important to choose a plant that has plenty of pups, as these are the offspring that you will be propagating.
Gathering Necessary Materials
Before getting started with the propagation process, make sure you have all the essential materials at your fingertips. Here’s a handy checklist of what you’ll need:
| Materials | Quantity |
|---|---|
| Pruning shears or scissors | 1 |
| Small pots or containers | 1 per pup |
| Potting soil | As required |
| Watering can or spray bottle | 1 |
Having these materials ready in advance will make the propagation process much smoother and stress-free.
How to Propagate Pilea Pups : Step by Step Guide
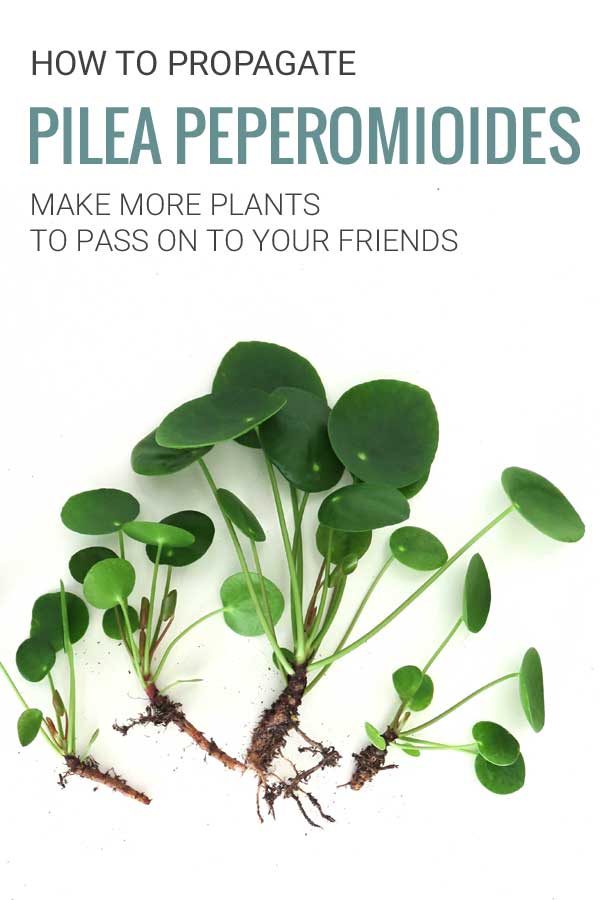
Propagating Pilea pups is a simple and rewarding way to expand your collection of these trendy and unique houseplants. Pilea, commonly known as the Chinese Money Plant or Pancake Plant, produces tiny plantlets or offset pups that can be separated and grown into new plants. In this guide, we will explore two methods for propagating pilea pups: separating offsets from the mother plant and taking stem cuttings. Let’s get started and learn how to propagate pilea pups!
Separating Offsets From The Mother Plant
Separating offsets from the mother plant is a straightforward method of propagating pilea pups. To do this:
- Prepare a clean pair of scissors or gardening shears.
- Gently inspect the mother plant for small offsets that are at least a few inches in height and have their own set of leaves.
- Carefully isolate the offset from the mother plant by cutting it at the base, making sure to include some of the roots.
- Place the separated offset in a small pot filled with well-draining soil.
- Water the newly potted offset, ensuring the soil is evenly moist.
Planting The Offsets
Planting the offsets is the next step in propagating pilea pups. Follow these steps:
- Select a suitable pot that has drainage holes to prevent waterlogging the roots.
- Fill the pot with a well-draining potting mix, such as a mixture of perlite and peat moss.
- Make a small hole in the center of the potting mix using your finger or a pencil.
- Gently place the separated offset into the hole, making sure the roots are covered with soil up to the base of the plantlet.
- Press the soil around the offset to secure it in place, ensuring it stands upright.
- Water the newly planted offset until water drains out of the pot’s bottom.
Taking Stem Cuttings
Another method for propagating pilea pups is by taking stem cuttings. Here’s how you can do it:
- Choose a healthy and mature stem from the mother plant.
- Using sharp, clean scissors or gardening shears, make a diagonal cut just below a leaf node.
- Remove any leaves from the lower portion of the cutting, leaving only a few leaves at the top.
- Optional: Dip the cut end of the stem cutting into rooting hormone powder to encourage faster root development.
- Prepare a small pot filled with well-draining potting mix.
- Make a small hole in the potting mix using your finger or a pencil.
- Insert the stem cutting into the hole, making sure at least one leaf node is covered with soil.
- Press the soil gently around the stem to stabilize it.
- Water the cutting thoroughly, ensuring the soil is moist but not waterlogged.
Rooting Stem Cuttings
Rooting stem cuttings is the final step in propagating pilea pups through this method. Follow these steps:
- Place the potted stem cutting in a warm and bright location, away from direct sunlight that may scorch the leaves.
- Maintain a consistent level of moisture in the soil by watering the cutting lightly whenever the top inch of soil feels dry.
- Over time, the cutting will develop roots, and new growth will emerge, indicating successful propagation.
- Once the roots are well-established, you can transplant the new plant into a larger pot with a well-draining soil mix.
- Continue caring for the propagated pilea as you would for a mature plant, providing adequate light, humidity, and regular watering.
Credit: www.modandmint.com
Caring For Newly Propagated Pilea Pups
After successfully propagating your Pilea pups, it’s crucial to ensure they receive the proper care to thrive and grow into healthy plants. Caring for newly propagated Pilea pups involves providing them with suitable lighting, managing their watering and humidity requirements, and fertilizing them adequately.
Providing Proper Lighting
Pilea pups require bright, indirect light to thrive. Diffused sunlight or artificial fluorescent light is ideal for these young plants. Avoid placing them in direct sunlight, as it can cause damage to their delicate leaves.
Watering And Humidity Requirements
When it comes to watering newly propagated Pilea pups, ensure the soil is kept lightly moist but not waterlogged. Use room temperature water, and avoid letting the soil dry out completely. As for humidity, these plants benefit from higher humidity levels. A humidity level of about 50-60% is ideal for their growth.
Fertilizing The New Plants
Once your Pilea pups are established, begin feeding them with a balanced liquid fertilizer. Apply the fertilizer sparingly to avoid overfeeding, following the instructions on the product label. Generally, a monthly or bi-monthly feeding during the growing season will support their healthy development.

Credit: m.youtube.com
Frequently Asked Questions On How To Propagate Pilea Pups
How Do You Separate Baby Pilea?
To separate baby Pilea, gently remove it from the parent plant, ensuring it has roots attached. Plant it in a separate pot with well-draining soil, keep it in a bright location away from direct sunlight, and water it regularly.
How Do You Propagate Pilea From Cuttings?
To propagate Pilea from cuttings, take a healthy stem cutting and let it dry for a few hours. Then place the cutting in water or soil and keep it in a warm, bright location. After a few weeks, you should see roots forming, and the cutting can be transplanted into a pot.
Is It Better To Propagate Pilea In Water Or Soil?
It is better to propagate Pilea in soil rather than water.
Should I Remove Pilea Pups?
Yes, it is recommended to remove Pilea pups. Removing them helps maintain the health and appearance of the main plant.
Conclusion
Propagating Pilea pups is a rewarding experience for any plant enthusiast. By following the simple steps outlined in this guide, you can successfully expand your Pilea collection and share the joy of growing these unique plants with others. With patience and care, you can watch your Pilea pups thrive and flourish, adding lush greenery to your home.