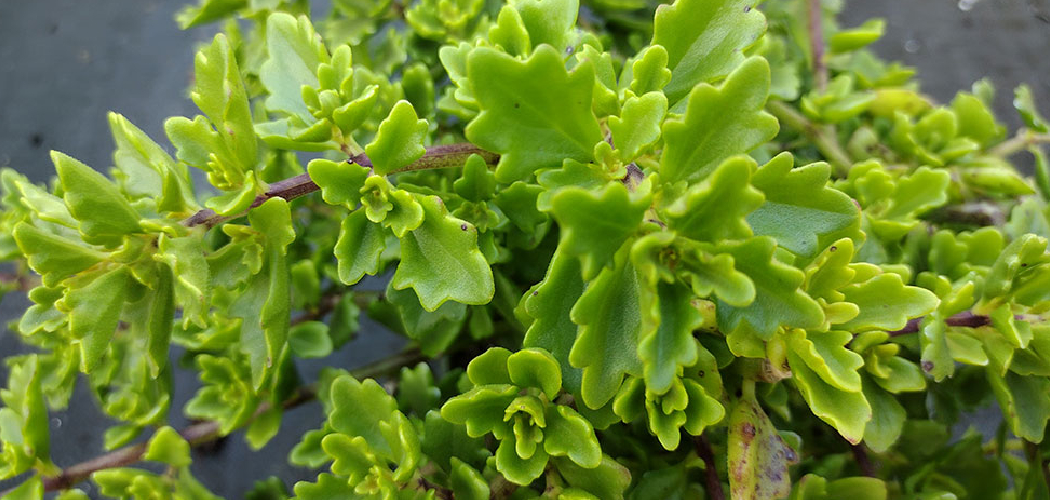
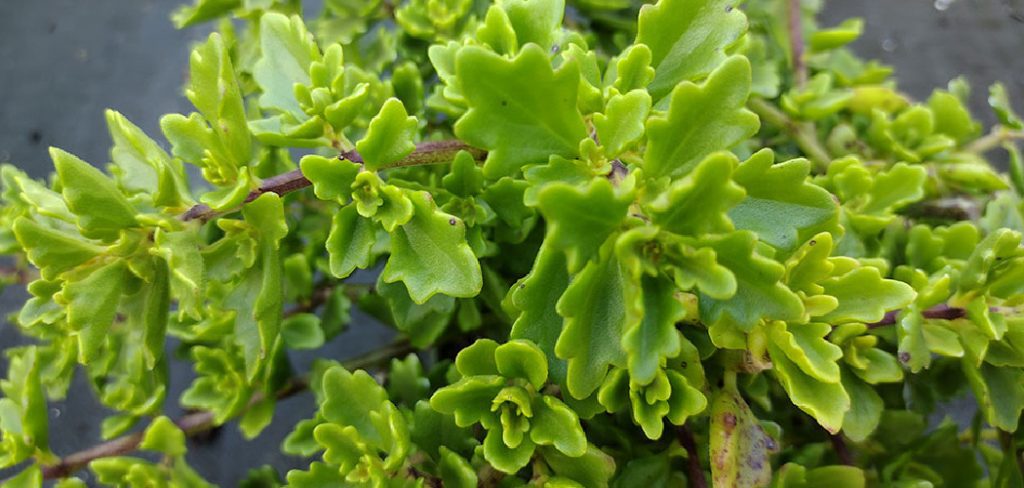
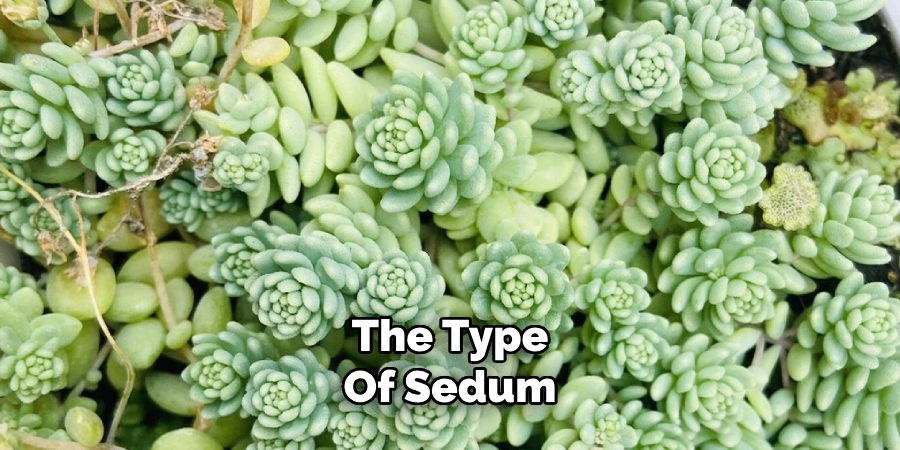
Propagating sedum plants is a simple and rewarding activity that allows gardeners to expand their collection of these hardy and versatile succulents. Sedums, also known as stonecrops, are known for their resilience, low maintenance requirements, and ability to thrive in various growing conditions.
Whether you are an experienced gardener or a beginner, learning how to propagate sedums can enhance your gardening skills and provide you with an abundance of these beautiful plants to decorate your home or garden. In this article on how to propagate sedum plants, we will discuss the different methods for propagating sedums and tips for success.
What is Sedum Propagation?
Propagation is the process of creating new plants from existing ones. This can be done by using various methods such as seeds, cuttings, or division.
In the case of sedums, propagation usually refers to using vegetative methods, which involve taking parts of an existing plant and growing them into new individuals.
Why Propagate Sedums?
Propagating sedums is a rewarding and practical way to expand your garden or rejuvenate existing plants. These hardy succulents are not only easy to propagate but also offer an economical alternative to purchasing new plants.
By propagating sedums, you can quickly fill empty spaces in your garden, create attractive arrangements, or even share plants with friends and family. Additionally, propagation allows you to preserve and multiply specific varieties of sedum that you love, ensuring their presence in your garden for years to come.
Best Time to Propagate Sedum
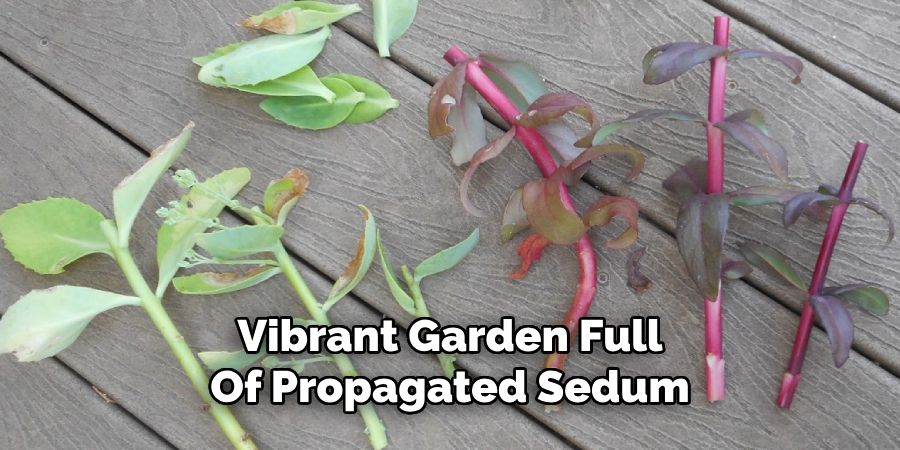
The best time to propagate sedum is during the spring or early summer months. This period allows the plants to establish themselves while benefiting from warm temperatures and consistent light, promoting healthy root growth. Sedums are actively growing during this time, making it easier for cuttings or divisions to take root and flourish.
Avoid propagating in late autumn or winter, as the colder conditions can hinder growth and reduce the success rate. By choosing the optimal season, you increase the likelihood of a thriving and vibrant garden full of propagated sedum.
5 Simple Methods on How to Propagate Sedum Plants
Method 1: Stem Cuttings
Propagating sedum through stem cuttings is one of the easiest and most effective methods. To begin, select a healthy, established sedum plant and choose a firm, non-flowering stem. Using clean, sharp pruning shears or scissors, cut a section of the stem that is approximately 4 to 6 inches long.
Remove any leaves from the lower half of the cutting to expose the stem. Allow the cutting to air dry for a day or two, enabling the cut end to callous over—this reduces the risk of rot when planting. Once ready, insert the calloused end into a pot or garden bed filled with well-draining soil. Water the soil lightly and keep the cutting in a warm location with indirect sunlight. Within a few weeks, roots should begin to develop, signaling successful propagation.
Method 2: Leaf Cuttings
For species that have fleshy leaves, such as Sedum morganianum (Burro’s Tail), simply remove a few healthy leaves from the parent plant and place them in well-draining soil. Within a few weeks, roots should start to form at the base of the leaf. Once this happens, you can transplant them into their own pots.
It’s important to note that not all plants can be propagated through leaf cuttings, so it’s important to do some research on the specific plant before attempting this method.
Method 3: Division
Some plants, such as hostas and daylilies, can be easily divided to create new plants. This involves carefully separating the parent plant into smaller sections with their own roots and foliage. The best time to do this is in early spring when the plant is just starting to grow again after winter dormancy.
To divide a plant, gently remove it from its pot or dig it up from the ground. Use your hands or a sharp knife to separate the clumps of roots and foliage into smaller sections. Each section should have at least a few healthy roots attached and a good amount of foliage.
Step 4: Replant the Divided Sections
Once the sections have been separated, it’s important to replant them as soon as possible. This will help minimize stress on the plants and allow them to establish themselves in their new locations quickly.
To replant the divided sections, choose an area with similar growing conditions to where the parent plant was originally located. Make sure to prepare the soil beforehand by loosening it and adding any necessary amendments.
Dig a hole that is slightly larger than the root ball of each section and gently place them in their new locations. Then, fill in any gaps with soil and gently press down around the base of the plant to secure it in place.
Step 5: Water and Care for the Divided Plants
After replanting your divided sections, it is important to water them thoroughly. This will help to settle the soil and eliminate any air pockets around the roots.
Continue to water regularly, making sure to keep the soil moist but not overly saturated. You may also want to add a layer of mulch around the base of the plants to help retain moisture and suppress weeds.
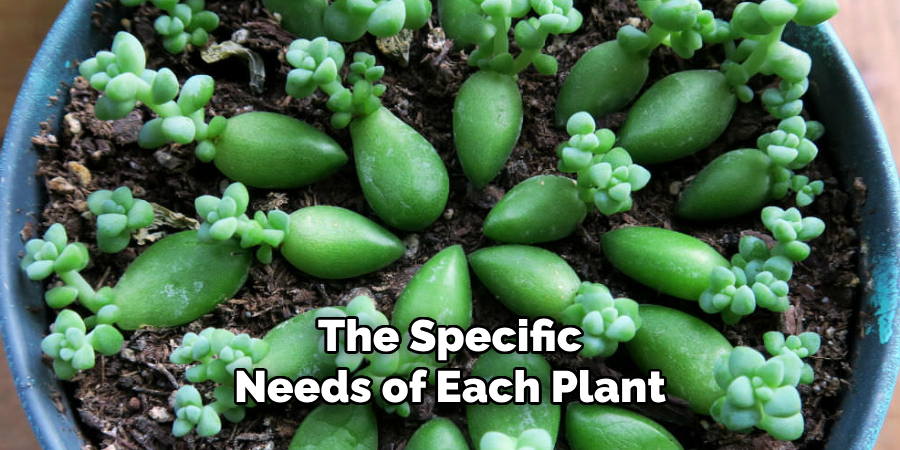
In terms of care, treat your newly divided plants as you would any other established plant in your garden. Regularly check for pests or diseases and fertilize as needed according to the specific needs of each plant.
By following these simple steps on how to propagate sedum plants, you can successfully divide your plants and create new additions to your garden. Not only does dividing help to maintain the health and vigor of your plants, but it also allows you to expand your garden without spending extra money on new plants.
Troubleshooting Common Issues
While propagating sedum plants is generally straightforward, a few common issues may arise. One frequent problem is overwatering, which can cause the roots to rot. Make sure the soil is well-draining and allow it to dry out between waterings. Another issue can be poor root development, often caused by dividing the plant during the wrong season or failing to replant divisions quickly.
Always aim to divide sedum plants during their active growing season, and replant them without delay to prevent the roots from drying out. Lastly, watch for signs of pests, such as aphids or mealybugs, which can occasionally target your plants. Treat infestations promptly using appropriate insecticidal soap or natural remedies to avoid further damage. By addressing these issues early, you can ensure the success of your sedum propagation efforts.
Tips for Successful Propagation
Choose Healthy Plants:
Always select healthy, vigorous parent plants for propagation. Plants free of pests, diseases, or stress are more likely to produce strong offspring.
Time It Right:
Conduct propagation during the optimal growing season, typically spring or early summer, when the plant’s energy levels are high and environmental conditions are favorable.
Use Clean Tools:
Ensure that all cutting and dividing tools are sterilized to prevent the spread of diseases or infections to your plants.
Create Ideal Conditions:
Provide well-draining soil, sufficient sunlight, and regular watering to help newly propagated plants establish quickly.
Monitor and Adjust:
Keep a close eye on newly propagated plants for signs of overwatering, underwatering, or pest issues. Promptly address any concerns to give the plants the best chance for thriving growth.
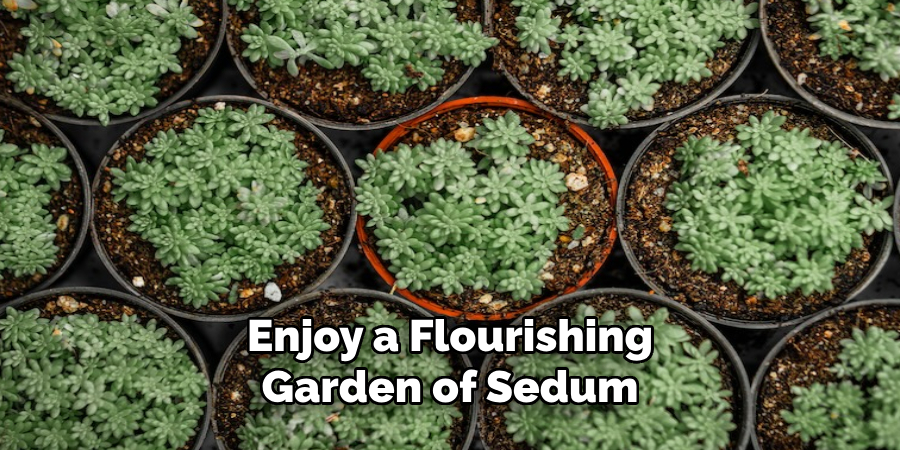
By following these tips, you can increase the likelihood of successful propagation and enjoy a flourishing garden of sedum.
Frequently Asked Questions
Q: How Long Does It Take for Sedum Cuttings to Root?
A: It can take anywhere from 2-6 weeks for roots to form on sedum cuttings, depending on various factors such as temperature and soil moisture.
Q: Can I Propagate Sedum in Water?
A: While some plants can be propagated in water, sedums are best propagated in soil for better root development. However, you can start the rooting process in water and then transfer the cutting into soil once roots have formed.
Q: Do I Need to Use Rooting Hormone When Propagating Sedums?
A: Sedums have a high success rate without using rooting hormone. However, if you want to increase your chances of success, you can use a rooting hormone specifically designed for succulents. This will help stimulate root growth and increase the speed of propagation.
Q: How Long Does it take for Sedum Cuttings to Root?
A: The time it takes for sedum cuttings to root varies depending on factors such as temperature, humidity, and the type of sedum. On average, it can take anywhere from 2-4 weeks for roots to form. Once the cutting has rooted, you can transfer it into a pot with well-draining soil.
Conclusion
Propagating sedum is a simple and rewarding process that allows you to expand your garden with minimal effort. By following the proper steps on how to propagate sedum plants, using well-draining soil, and providing the right conditions, you can ensure the successful growth of your new plants.
Whether you’re a seasoned gardener or a beginner, propagating sedum is a great way to enjoy the beauty and versatility of these resilient plants. With patience and care, your cuttings will thrive and bring life to your space.