Spider plants are popular houseplants known for their hardiness and ease of care, making them a favorite among both beginner and seasoned plant enthusiasts. One of the simplest and most rewarding ways to grow new spider plants is through water propagation. This guide explores the key aspects of how to propagate spider plants in water. Whether you’re expanding your own collection or sharing plants with friends, water propagation is a straightforward and enjoyable process to multiply these resilient beauties.
What is a Spider Plant?
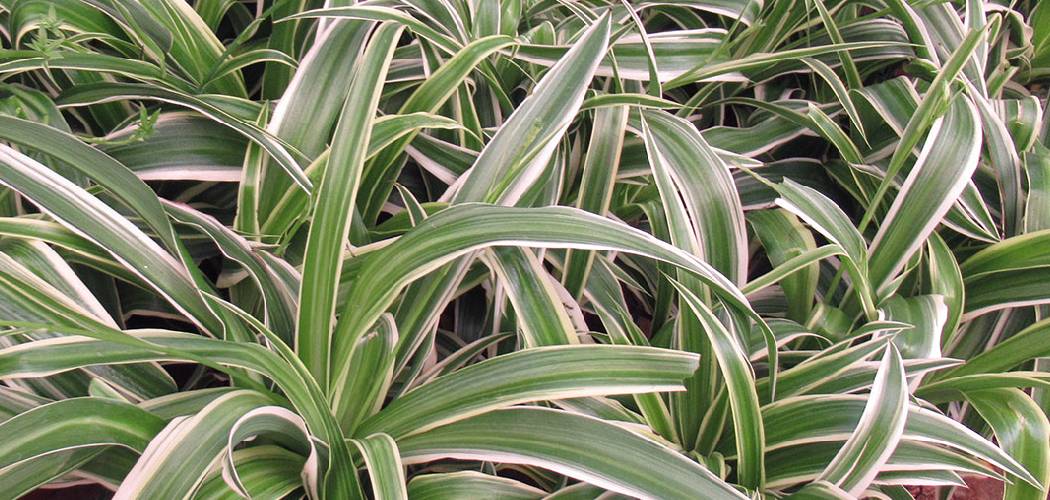
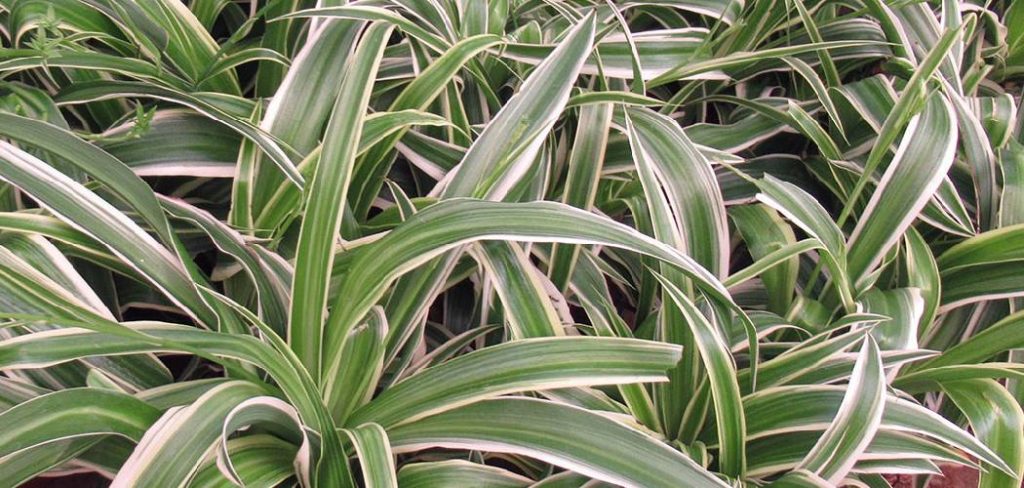
A spider plant, scientifically known as Chlorophytum comosum, is a popular houseplant admired for its striking green and white striped leaves that gracefully arch outwards, mimicking the legs of a spider. Native to tropical and southern Africa, spider plants are incredibly adaptable and thrive in a wide range of indoor environments. Known for their air-purifying qualities, they are excellent for improving indoor air quality by removing toxins. Spider plants also produce small offshoots, or “spiderettes,” which dangle from the main plant, adding a unique aesthetic charm while providing an easy way to propagate new plants.
When and Why to Propagate in Water
Propagating spider plants in water is a simple and rewarding method for creating new plants. This process is ideal when the plant produces numerous healthy spiderettes that are ready to grow independently. Water propagation allows you to closely monitor root development, ensuring each new plant gets a strong start. It is an excellent option if the soil conditions are not optimal or if you want to experiment with plant propagation in a controlled environment. Additionally, water propagation is a great choice for sharing plants with friends and family, as it creates a visually appealing way to display the growing plantlets before transferring them to soil.
Supplies You’ll Need
To successfully propagate plants in water, you’ll need a few essential supplies. Here’s a list to get you started:
- Healthy Parent Plant: Choose a plant with strong, disease-free stems to ensure the best results.
- Sharp Scissors or Pruning Shears: Clean tools are crucial for making precise cuts without damaging the plant.
- Clear Glass or Jar: Transparent containers allow you to easily monitor root growth over time.
- Filtered or Distilled Water: Using clean water minimizes the risk of contaminants that could harm the cuttings.
- Optional Labels: If propagating multiple plants, labels help keep track of cuttings to avoid confusion.
- Bright, Indirect Light: Select a location that provides enough light without exposing the fragile cuttings to direct sunlight.
With these supplies, you’ll be well-prepared to begin your water propagation process and watch your plants thrive.
10 Methods How to Propagate Spider Plants in Water
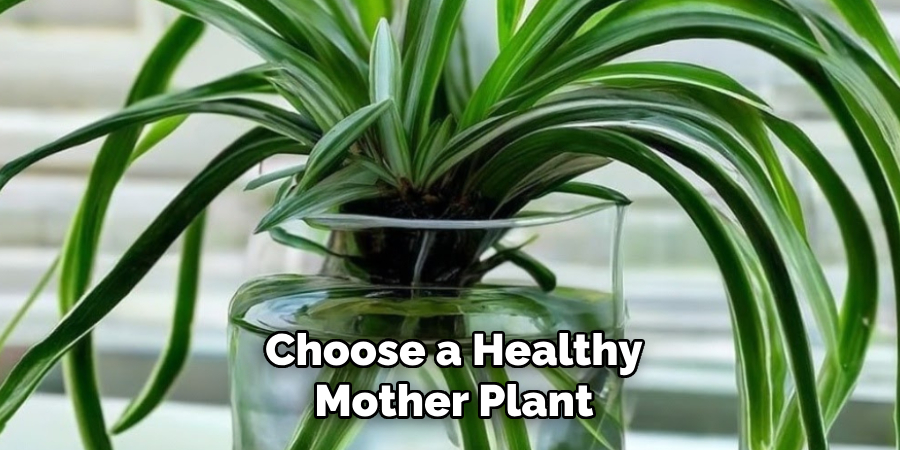
1. Choose a Healthy Mother Plant
Propagation begins with selecting the right spider plant. Look for a mature, vibrant mother plant that has produced several spiderettes. Healthy parent plants will have robust green leaves, no signs of disease, and sturdy plantlets hanging from long arching stems. Avoid using spider plants that appear stressed, dehydrated, or infested with pests. A strong mother plant ensures that the offshoots you choose will have the best chance of developing into healthy, independent plants.
2. Identify Viable Spiderettes for Propagation
Not all baby spider plants are ready to be propagated. Choose spiderettes that have begun developing tiny nubs or root initials at their base. These appear as small white or beige bumps and are a good indicator that the plantlet is ready to root. The spiderette should have at least a few leaves and be about 2–4 inches in length. While immature babies may still root, choosing plantlets with visible root nodes will drastically improve your success rate in water.
3. Snip the Spiderettes Cleanly
Use a clean pair of scissors or pruning shears to snip the spiderette from the runner stem. Cut close to the base of the spiderette, just below the root nubs, but avoid cutting into the main stem of the mother plant. Make your cuts sharp and clean to avoid tearing the tissue. If you prefer, you can leave the baby attached to the mother plant while it’s in water until roots begin forming, but complete detachment allows for easier handling and reduces dependency on the parent.
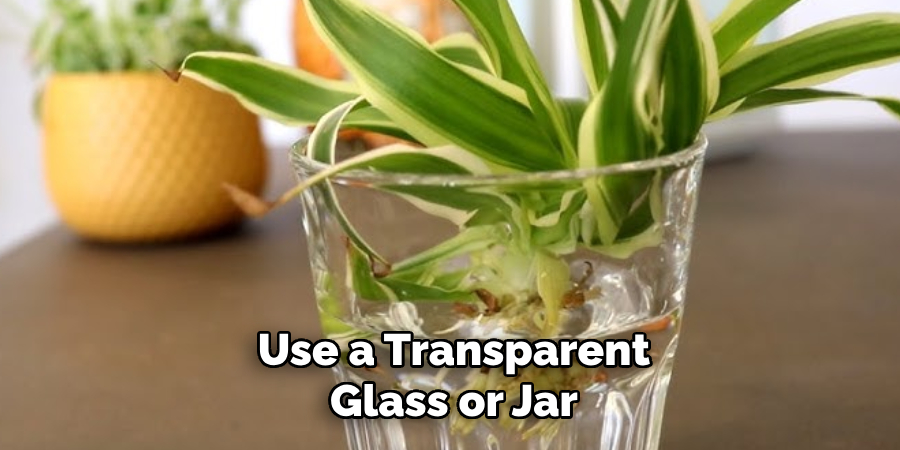
4. Use a Transparent Glass or Jar
After detaching your spiderettes, place each one in a transparent glass jar, drinking glass, or small vase. The transparency helps you monitor root development and water clarity over time. Choose a container that allows the plantlet to be partially submerged—only the base and root nubs should be in water, while the leaves remain above the surface. If the container is too deep, use a mesh or wrap the plant in plastic wrap with a hole to hold it in place without submerging the leaves.
5. Use Clean, Room-Temperature Water
Fill the jar with clean, filtered, or distilled water. Tap water is also acceptable if left to sit for 24 hours to allow chlorine to evaporate. Avoid using softened water, which may contain salts that are harmful to plants. Room-temperature water is ideal, as cold water can shock the plantlet and warm water may encourage bacterial growth. Fill the jar just enough to submerge the base without touching the leaves to prevent rot.
6. Place in Indirect Sunlight
Spider plants love bright, indirect light. Set your jar near a window with filtered light or in a bright room where it won’t receive direct sun. Direct sunlight can cause the water to heat up, promote algae growth, and damage the delicate leaves. Avoid dim or shaded areas, as insufficient light can slow down root development. A windowsill with morning light or a spot near an east-facing window works perfectly for propagation jars.
7. Change the Water Regularly
Stale water is a breeding ground for bacteria and algae, which can inhibit root growth and lead to plantlet rot. Change the water every 3 to 4 days, or sooner if it appears cloudy. Rinse out the jar and gently swish the plant’s base in clean water before refilling the container. Regular water changes not only keep things clean but also ensure the plant is getting adequate oxygen, which is critical during the rooting stage.
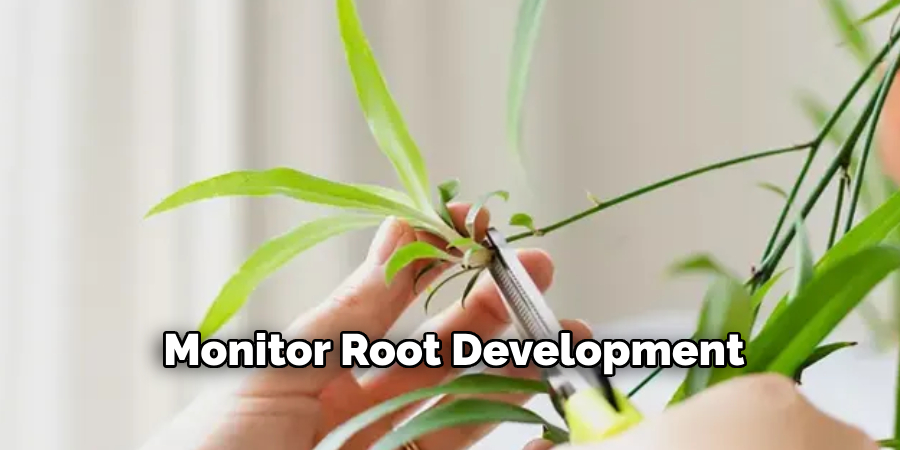
8. Monitor Root Development
In about 7 to 14 days, you should begin to see thin, white roots forming from the base of the spiderette. Let the roots grow until they’re about 1–2 inches long before transferring them to soil. Root development times can vary based on temperature, lighting, and water conditions. Be patient and avoid transferring too early, as short roots may not be robust enough to support the plant in soil. Documenting the root progress can also be a rewarding visual diary of your propagation journey.
9. Pot in Soil Once Roots Mature
Once roots are sufficiently developed, it’s time to transplant the new spider plant into soil. Prepare a small pot with a well-draining potting mix, preferably one that is light and slightly loamy, such as a mix designed for indoor houseplants. Create a small hole in the center, gently place the rooted base inside, and cover the roots without burying the leaves. Water lightly to settle the soil. Place the potted plant in the same kind of bright, indirect light it had while in water to reduce shock.
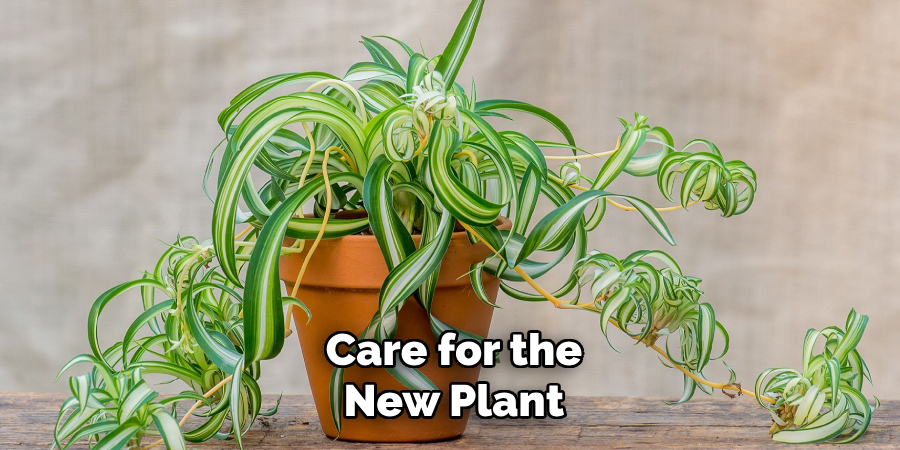
10. Care for the New Plant Like a Pro
After transplanting, the baby spider plant may need a few days to adjust to its new environment. Keep the soil slightly moist (but not soggy) for the first week or so. Do not fertilize immediately; give the roots a chance to settle in. Gradually resume a regular care routine including occasional watering, well-drained soil, and proper lighting. You’ll notice new growth within a few weeks, a sign that the propagation was successful and the new plant is ready to thrive on its own.
Common Mistakes to Avoid
When propagating spider plants, there are a few common mistakes to watch out for. Overwatering is one of the biggest issues; too much water can lead to root rot and hinder the plant’s growth. Similarly, using dense, poorly draining soil can suffocate the roots, preventing them from establishing properly. Another mistake is placing the newly propagated plant in direct sunlight, which can scorch the delicate leaves and cause stress. Avoid fertilizing too soon, as this can overwhelm the young plant before the roots have had time to settle. Ensuring proper care and attention to these details will help your spider plant grow strong and healthy.
Conclusion
Propagating spider plants in water is a gratifying process that offers a clear view into nature’s ability to regenerate. With just a healthy spiderette, a glass of clean water, and a bit of patience, you can grow an entirely new plant ready to brighten your home or be gifted to friends. Whether you’re a first-time plant parent or a seasoned indoor gardener, water propagation is a practical and engaging way to multiply your collection of these resilient, air-purifying beauties. Now that you know how to propagate spider plants in water, try it yourself today and feel good about completing such a big DIY job!