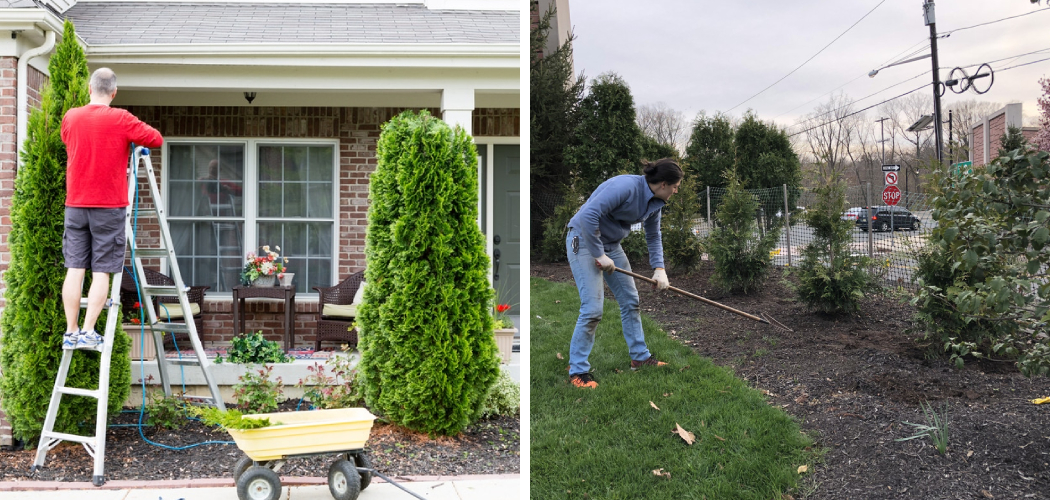
To remove arborvitae, first, gather necessary tools, such as a saw or pruning shears. Then, carefully cut the arborvitae tree as close to the ground as possible, making sure to remove all branches and foliage.
Additionally, remove any remaining roots from the ground to ensure complete removal of the arborvitae.

Reasons To Remove Arborvitae
Arborvitae removal is necessary due to several factors. Common issues with arborvitae include negative impact on the landscape and safety concerns for property and people. These issues make removal a crucial step. Arborvitae can have a detrimental effect on the overall aesthetics of the landscape.
Whether it’s overgrown or affected by disease, removing arborvitae can restore the beauty of the surrounding area. Additionally, safety concerns arise when arborvitae becomes unstable, posing a threat to nearby structures or individuals. Falling branches or the tree itself can cause significant damage or injuries.
Therefore, it is essential to remove arborvitae to maintain a safe environment for everyone involved. By addressing these common issues, the landscape can be revitalized and potential safety hazards can be mitigated. Removal is a practical solution in such cases.
Step-By-Step Guide Arborvitae Removal Process
Removing an arborvitae requires careful planning and the right tools. Start by assessing the tree’s size, condition, and location. Decide if you want to remove the entire tree or just a specific section. Next, prepare the area by removing any obstacles and ensuring a clear path for removal.
When removing the arborvitae, prioritize safety and efficiency. Use the necessary tools and equipment to complete the task properly. Finally, dispose of the tree in a responsible manner. Whether you choose to hire a professional or tackle the removal yourself, following these steps will help ensure a successful arborvitae removal process.
Alternatives To Arborvitae Removal
Arborvitae removal can be a daunting task, but there are alternatives to consider. Pruning and maintenance are key to keeping arborvitae healthy and manageable. Regularly trimming the branches and removing dead foliage can prevent the need for complete removal. If removal is necessary, there are replacement options available that possess similar characteristics to arborvitae.
Consider plants such as juniper, yew, or Leyland cypress as suitable substitutes. Another option is to explore landscaping ideas for the area where arborvitae once stood. Incorporating other shrubs, trees, or flowers can transform the space and create a visually appealing landscape.
By following these alternatives and taking proper care of your arborvitae, you can avoid the need for removal altogether while still enjoying a beautiful garden.
Frequently Asked Questions Of How To Remove Arborvitae
Are Arborvitaes Hard To Remove?
Arborvitaes can be difficult to remove due to their deep roots and dense foliage. They require proper tools and techniques for successful removal.
When Should Arborvitae Be Removed?
Arborvitae should be removed when they are dead, diseased, overcrowded, damaged, or causing structural problems.
Are Arborvitae Roots Deep?
Yes, arborvitae roots grow deep.
How Do You Dig Up An Arborvitae?
To dig up an arborvitae, carefully follow these steps: 1. Prepare the necessary tools like a shovel and pruning shears. 2. Begin by pruning any overgrown branches to make the process easier. 3. Use a shovel to carefully dig around the arborvitae’s base, avoiding damage to the roots.
4. Once the root ball is visible, lift the arborvitae from the ground and transfer it to its new location. 5. Remember to handle the arborvitae with care and water it thoroughly after transplanting.
Conclusion
Successfully removing arborvitae can be a challenging endeavor, but with the right techniques and tools, it is entirely possible. By following the steps outlined in this blog post, you can effectively tackle the task at hand. Begin by preparing the area, ensuring you have the necessary equipment and protective gear.
Next, trim back any overgrown branches and foliage, taking care to maintain the tree’s natural shape. For complete eradication, carefully dig up the root ball, making sure to remove all traces of the arborvitae. Finally, dispose of the plant material properly to prevent the spread of any diseases or pests.
Remember to always consider alternatives to removal, such as transplanting or trimming, before opting for complete removal. With patience and determination, you can reclaim your space and create a fresh canvas for your garden.