To remove a garden hose connector, twist it counterclockwise until it comes off. Simply twist the connector counterclockwise to remove it from the garden hose.
Removing a garden hose connector is a straightforward process, requiring a simple twist to detach it from the hose. By turning the connector counterclockwise, it will unscrew and come off easily, allowing for quick removal and replacement if desired.
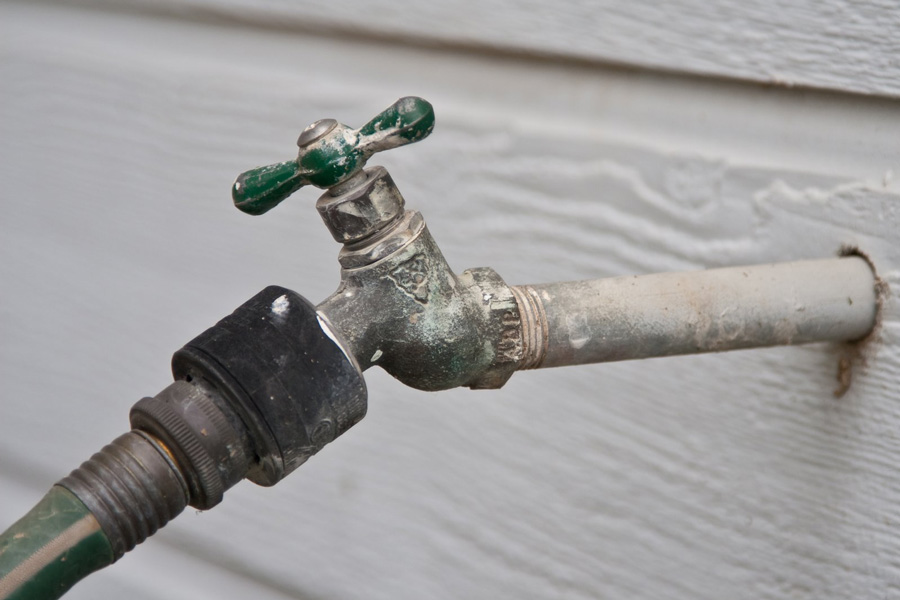
Credit: www.1tomplumber.com
Tools Needed
To remove a garden hose connector, you’ll need a few essential tools: an adjustable wrench, pliers, a screwdriver, lubricating oil, and a bucket or basin. The adjustable wrench is crucial for loosening tight connections, while pliers can be used to grip and twist stubborn fittings.
A screwdriver may come in handy for removing screws holding the connector in place. Before attempting to remove the connector, it’s a good idea to lubricate the threads with oil to make the process smoother. Lastly, have a bucket or basin nearby to catch any water that may spill during the removal process.
With these tools and a little patience, you’ll have that garden hose connector removed in no time.
How to Remove Garden Hose Connector: 7 Easy Tips
Step 1: Turn Off The Water Supply
To remove a garden hose connector, start by turning off the water supply. Locate the shut-off valve and turn it clockwise until it’s fully closed. This will stop the water flow and ensure a safe removal process. Once the water is off, you can proceed to detach the garden hose connector from the faucet or spigot.
Gently twist the connector counterclockwise to loosen it, using a pair of pliers if necessary. Be careful not to overtighten or force it, as this could damage the connector or the plumbing. Once the connector is loose, simply pull it off the faucet or spigot.
With these steps, you can easily remove a garden hose connector and complete any necessary maintenance or repairs.
Step 2: Disconnect The Hose Connector
To disconnect the garden hose connector, start by removing any attachments from the connector. If there is a clamp, use pliers to loosen it. Then, grab an adjustable wrench and unscrew the connector. Remember to apply steady pressure while turning to avoid any damage.
By following these steps, you can easily remove the garden hose connector without any hassle.
Step 3: Remove The Connector From The Faucet
To remove the garden hose connector from the faucet, first, check for any screws or bolts securing it. If you find any, use a screwdriver to remove them. Next, apply lubricating oil to loosen any stuck parts. Finally, turn or wiggle the connector to remove it from the faucet.
It’s important to follow these steps carefully to ensure a successful removal process. By taking the time to do it right, you can easily remove the garden hose connector without any complications. Remember, a little patience and attention to detail go a long way in getting the job done effectively.
So, take your time and follow each step to enjoy a hassle-free removal process.
Step 4: Clean And Inspect The Connector
To clean and inspect the garden hose connector, start by rinsing it thoroughly with water. Make sure to check for any signs of damage or wear, such as cracks or leaks. If you notice any issues, it may be time to replace the connector.
Additionally, clean off any dirt or debris that may have accumulated on the connector. Use a brush or cloth to gently scrub away any grime. Regularly maintaining and cleaning your hose connector will help ensure optimal performance and prevent any potential issues in the future.
Remember to always follow the manufacturer’s instructions for proper cleaning and maintenance.
Step 5: Replace Or Repair The Connector
To determine if the garden hose connector needs replacing or repairing, you can visit a hardware store or contact the manufacturer for replacement parts. Follow the instructions provided by the manufacturer for installation or repair of the connector.
Step 6: Reattach The Hose Connector
To reattach the hose connector, simply slide the new connector onto the faucet. If necessary, tighten any screws or bolts using an adjustable wrench. Make sure to secure the connector properly. Lastly, reattach any additional attachments that were previously connected to the hose connector.
Following these steps will allow you to successfully remove and reattach the garden hose connector without any hassle.
Step 7: Turn On The Water Supply
To remove the garden hose connector, follow step 7 by slowly turning the shut-off valve counterclockwise. Check for any leaks and ensure the proper water flow through the connector.
Frequently Asked Questions For How To Remove Garden Hose Connector
How Do You Remove A Stuck Garden Hose Connector?
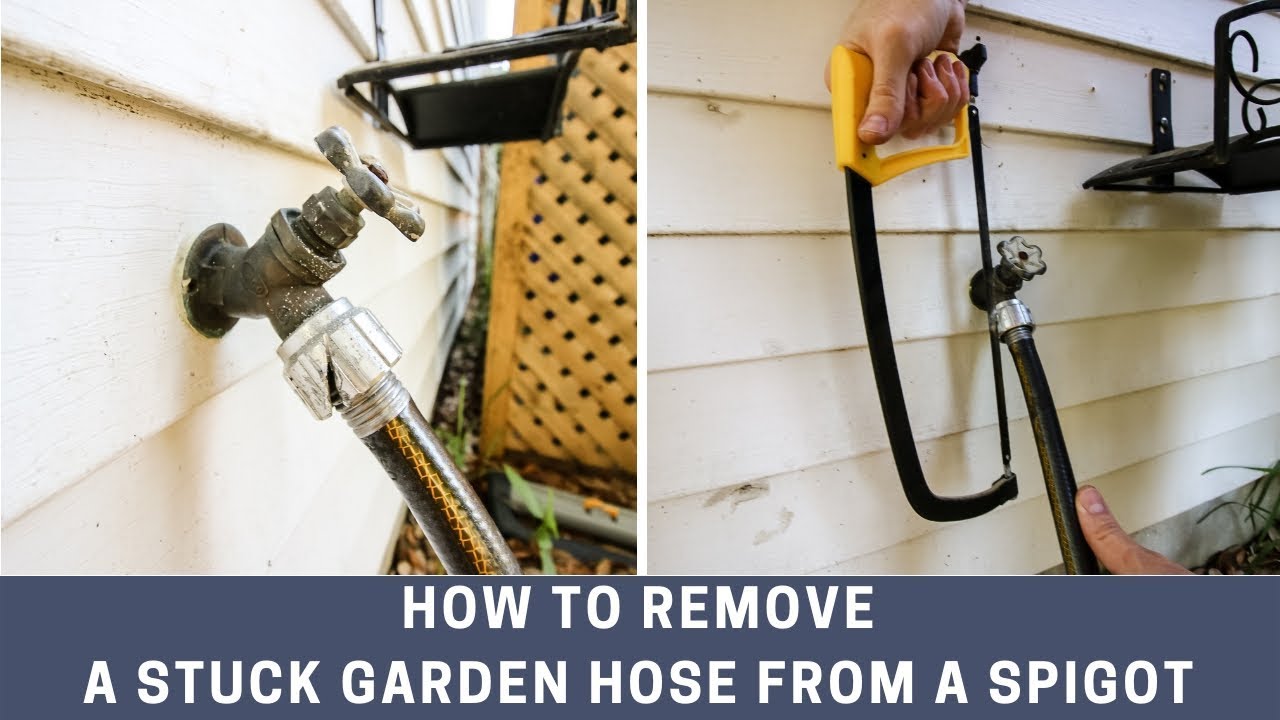
To remove a stuck garden hose connector, try twisting it gently in both directions to loosen it. If that doesn’t work, use pliers to grip the connector tightly and apply pressure while twisting again. If the connector is still stuck, try applying some lubricant or wd-40 to help loosen it.
Allow the lubricant to penetrate for a few minutes, then try twisting again. If all else fails, you may need to cut off the stuck connector using a hacksaw, being careful not to damage the hose. After removing the old connector, clean the hose end and attach a new connector securely.
How Do You Remove A Hose Attachment?
To remove a hose attachment, follow these steps: 1. Turn off the water supply. 2. Twist the attachment counterclockwise to loosen it. 3. Pull the attachment away from the hose. 4. If it’s stuck, try using pliers for extra grip. 5.
Clean the threads on the hose and the attachment. 6. Apply a lubricant, like wd-40, onto the threads. 7. Twist the attachment clockwise to tighten it onto another hose or device. Remember to always use appropriate tools and exercise caution when removing a hose attachment to avoid any damage or injuries.
How Do You Replace A Garden Hose Connector?
To replace a garden hose connector, follow these steps: 1. Turn off the water supply and empty any remaining water from the hose. 2. Cut off the damaged or old connector using a sharp knife or scissors. 3. Slide the new connector onto the hose end, making sure it fits securely.
4. Tighten the connector with a wrench or adjustable pliers for a snug fit. 5. Turn on the water supply to check for any leaks. 6. If there are no leaks, your garden hose connector replacement is complete. Remember to choose a high-quality connector that matches the size and type of your hose.
Regularly inspect your hose and connectors for any signs of wear or damage, and replace them as needed to ensure efficient watering and prevent leaks.
How Do You Remove A Water Hose Valve?
To remove a water hose valve, follow these steps: 1. First, shut off the water supply by turning the main water valve clockwise. 2. Use pliers to securely grip the valve nut located at the base of the hose. 3. Turn the valve nut counterclockwise to loosen and remove it.
4. If the valve is stubborn, applying lubricant or using a wrench for added leverage may help. 5. After removing the valve, clean the threaded connection to ensure a proper seal when installing a new valve. 6. Replace the old valve with a new one by screwing it onto the hose, using pliers to tighten securely.
7. Turn on the water supply to test for any leaks, and make sure the valve is functioning properly. 8. If there are no leaks, you have successfully removed and replaced the water hose valve.
Conclusion
Removing a garden hose connector is a simple and straightforward task that can be done with just a few basic steps. By following the tips and techniques mentioned in this blog post, you can easily detach the hose connector without any hassle.
Remember to shut off the water supply before starting the removal process to avoid any unwanted spraying or leaks. Use pliers or adjustable wrenches to unscrew the connector, applying gentle pressure to loosen it. Once the connector is loose, twist it off by hand until it is fully detached from the hose.
Proper maintenance and regular cleaning of your garden hose connectors will help prolong their lifespan and prevent any future difficulties in removal. By following these steps, you can ensure smooth and hassle-free removal of your garden hose connector, allowing you to easily replace or repair it as needed.