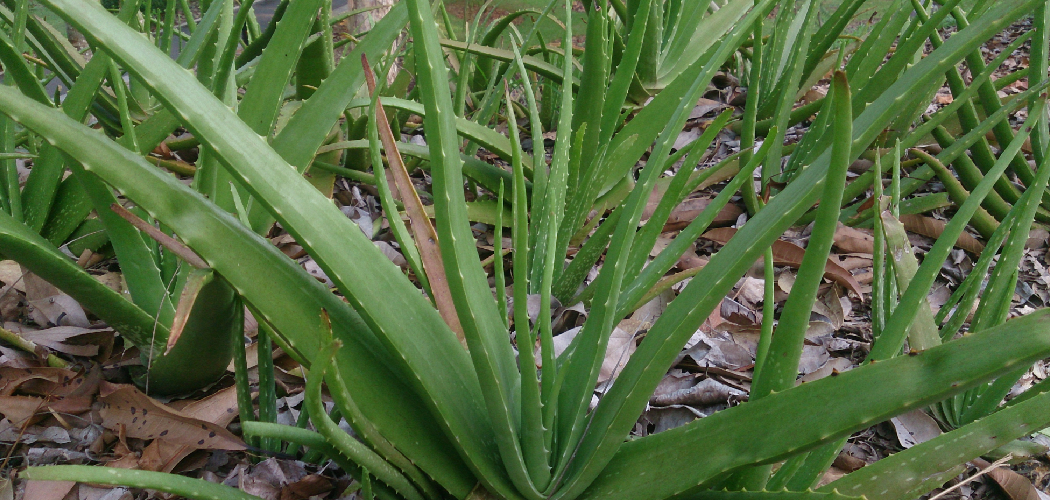
Repotting aloe plants is an essential part of their care routine to ensure healthy growth and vitality. Over time, aloe plants can outgrow their pots, leading to overcrowded roots and reduced access to nutrients. By transferring them to a new pot, you provide fresh soil, adequate space, and better drainage, which are crucial for their well-being. This guide will take you through the steps of how to repot aloe plants.

Reasons for Repotting
Repotting aloe plants is necessary for several key reasons. First, as these plants grow, their roots expand and may become root-bound, meaning they run out of space and start circling the base of the pot. This can restrict growth and limit the plant’s ability to absorb nutrients and water properly.
Second, over time, the soil in the pot can become depleted of nutrients or compacted, reducing its effectiveness in supporting the plant’s health. Additionally, repotting allows you to inspect the roots and remove any that are damaged or rotting, helping to prevent infections or diseases. Finally, transferring your aloe to a larger pot or one with improved drainage can dramatically enhance its ability to thrive and flourish.
Signs Your Aloe Plant Needs Repotting
Recognizing when your aloe plant needs to be repotted can save it from unnecessary stress and keep it healthy. One clear sign is when the roots start to grow out of the drainage holes at the bottom of the pot — this indicates the plant has outgrown its current container. Another indicator is when the aloe plant appears top-heavy or begins to tip over, suggesting that the pot can no longer support its size.
Additionally, if you notice the soil is drying out too quickly after watering or has become hard and compacted, it’s time to consider repotting. A lack of growth, yellowing leaves, or a generally unhealthy appearance can also signal that the plant isn’t getting the nutrients it needs, which fresh soil and a larger pot can resolve.
Tools and Materials Needed
Before you begin repotting your aloe plant, gathering the right tools and materials is essential for a smooth process. Here’s what you’ll need:
- A New Pot: Choose a pot that is slightly larger than the current one, with proper drainage holes to prevent waterlogging.
- Well-Draining Potting Mix: Use a cactus or succulent-specific potting mix to provide the right balance of nutrients and drainage.
- Gloves: Aloe plants can have spiky edges, so wearing gloves will protect your hands during the process.
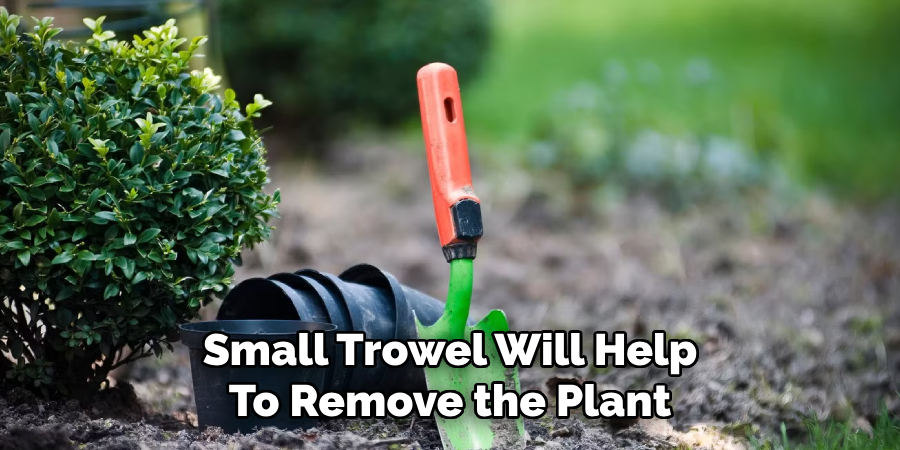
- Trowel or Scoop: A small trowel or scoop will help you remove the plant and add new soil to the pot.
- Sharp Knife or Scissors: These will come in handy if you need to trim away any damaged or rotting roots.
- Tray or Mat: Use a tray or protective mat to catch any spilled soil and make cleanup easier.
- Watering Can: You’ll need this to lightly water the plant after repotting.
Having all these items prepared beforehand will make the repotting process quicker, easier, and more effective.
10 Methods How to Repot Aloe Plants
1. Choosing the Right Time to Repot
Timing is crucial when repotting aloe plants to reduce stress and promote faster recovery. The best time to repot is during the spring or early summer when the plant is actively growing.
Avoid repotting in winter when aloe is dormant, as it may struggle to establish itself in new soil. If the plant shows signs of being root-bound, such as roots growing through drainage holes or slowed growth, it’s time to repot regardless of the season. Picking the right time ensures a smoother transition and a higher success rate.
2. Selecting the Right Pot Size
When repotting, choosing an appropriate pot size is essential for aloe’s root health. Select a pot that is 1–2 inches wider in diameter than the current one, ensuring it provides enough space for root expansion without being too large. If the pot is too big, excess soil can retain moisture, increasing the risk of root rot.
Always choose a pot with drainage holes, as aloe plants are highly susceptible to overwatering. A properly sized pot will promote steady growth while reducing the risk of disease.
3. Choosing the Right Soil for Aloe Plants
Aloe plants require well-draining, sandy soil to prevent water retention and root rot. A commercial cactus or succulent mix is ideal, but you can also create your own by mixing regular potting soil with coarse sand and perlite in equal parts.
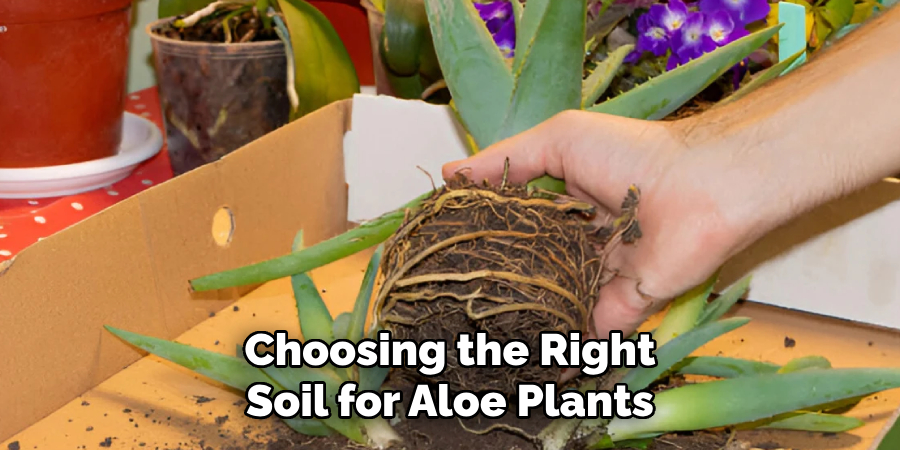
Avoid heavy garden soil, as it retains too much moisture. If the soil is too dense, adding extra perlite or pumice can improve aeration. Using the right soil mix ensures proper drainage and provides essential nutrients for aloe’s continued health.
4. Removing the Aloe Plant Safely from Its Old Pot
Careful handling is necessary when removing the aloe plant from its old pot to avoid damaging its roots and leaves. First, water the plant lightly a day before repotting to make extraction easier. Hold the base of the plant and gently tip the pot to slide it out. If the plant is stuck, tap the sides of the pot or use a butter knife to loosen the soil around the edges. Be patient and avoid pulling forcefully, as this can damage the roots. A gentle approach keeps the plant intact and reduces transplant shock.
5. Examining and Trimming the Roots
Before placing the aloe in a new pot, inspect its roots for any signs of rot or damage. Healthy roots should be firm and light in color, while unhealthy ones may be dark, mushy, or shriveled. If you notice rotting roots, use sterilized scissors or pruning shears to trim them away. Let the plant sit for an hour to allow any cut roots to dry, reducing the risk of infection. Proper root care ensures that the plant will recover quickly in its new environment.
6. Allowing the Plant to Dry Before Repotting
Unlike many other plants, succulents like aloe benefit from drying out slightly before being placed in fresh soil. If roots were trimmed, let the plant rest in a shaded area for a few hours to a day before repotting. This process helps the wounds heal and reduces the chances of rot.
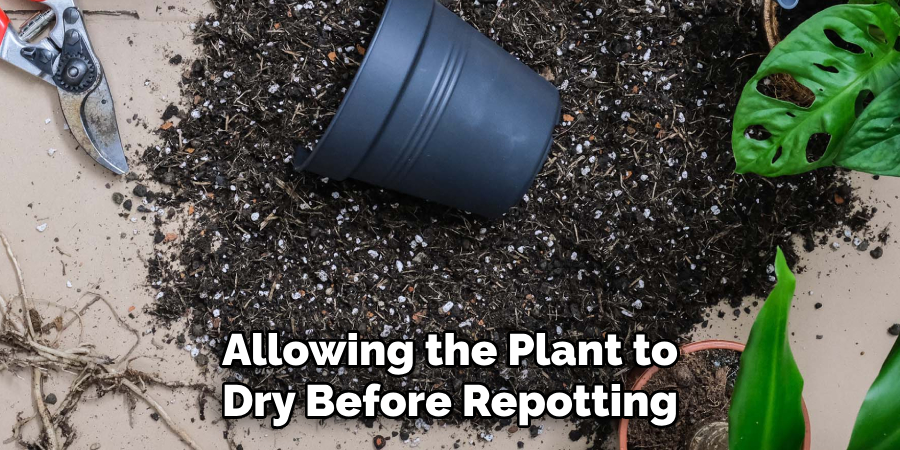
Drying the roots also prevents excessive moisture retention, which is a common cause of transplant failure in succulents. Giving the plant time to adjust increases the success rate of repotting.
7. Positioning the Aloe Correctly in the New Pot
When placing the aloe plant in its new pot, position it so that the base (crown) sits just above the soil line. If the plant is buried too deep, excess moisture can lead to rot, while planting too shallowly can leave the roots exposed. Hold the plant in place while gradually adding soil around the roots, ensuring there are no air pockets. Gently press the soil down, but do not compact it too tightly, as good aeration is necessary for root health. Proper positioning promotes stability and encourages strong growth.
8. Avoiding Watering Immediately After Repotting
One of the most important steps after repotting an aloe plant is resisting the urge to water it immediately. Succulents need time to adjust to their new environment, and watering too soon can cause root rot before the plant has had a chance to recover. Wait at least 4–7 days before the first watering, allowing any disturbed roots to heal. When you do water, use a light amount and ensure proper drainage. Delayed watering reduces transplant shock and helps the plant establish itself successfully.
9. Providing Proper Light and Care After Repotting
After repotting, place the aloe plant in a bright, indirect light location for the first few days to help it adjust. Avoid direct sunlight immediately after repotting, as the plant may be more vulnerable to stress.
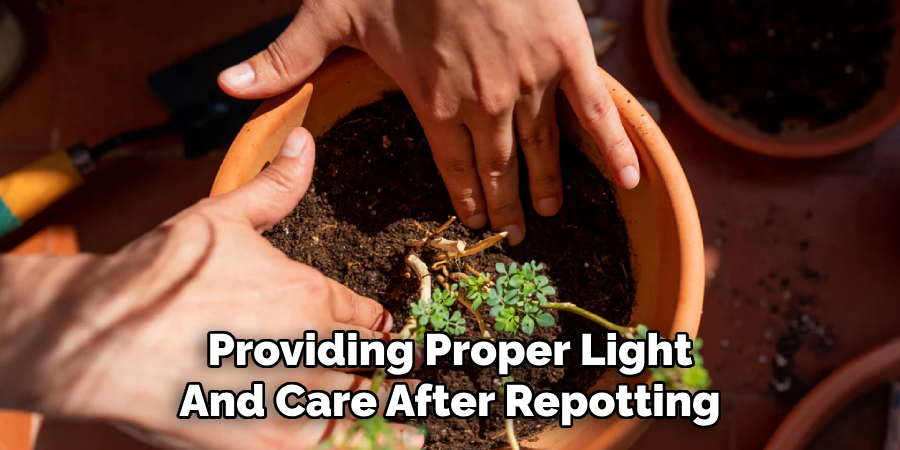
Once it appears stable and starts producing new growth, gradually introduce it to more sunlight. Aloe plants prefer bright, indirect light but can tolerate some direct sun. Maintaining ideal light conditions allows the plant to recover and continue growing healthily.
10. Monitoring for Signs of Stress and Adjusting Care
Even with careful repotting, aloe plants may show temporary signs of stress, such as drooping or slow growth. Monitor the plant closely for any signs of overwatering, sunburn, or pest infestations. If the leaves become soft or yellow, reduce watering and check soil drainage. If the plant looks weak, provide additional shade and allow it time to adjust. Regular observation and minor adjustments to its care routine will help the aloe thrive in its new pot.
Conclusion
Repotting an aloe plant is an essential part of its care, ensuring it has enough space to grow, access to fresh nutrients, and a healthy root system. By following these ten methods—choosing the right time, selecting the appropriate pot and soil, handling the plant carefully, drying roots, and providing proper aftercare—you can successfully repot your aloe with minimal stress. Thanks for reading our blog post on how to repot aloe plants! We hope you found it helpful and informative.