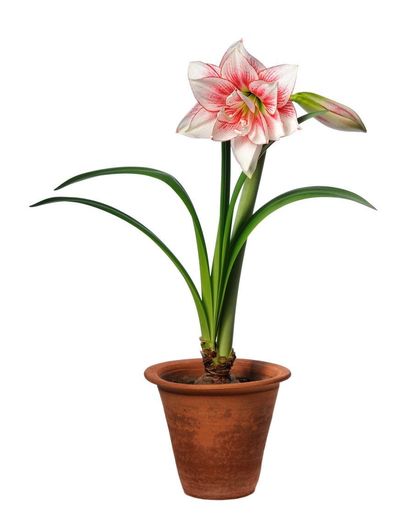
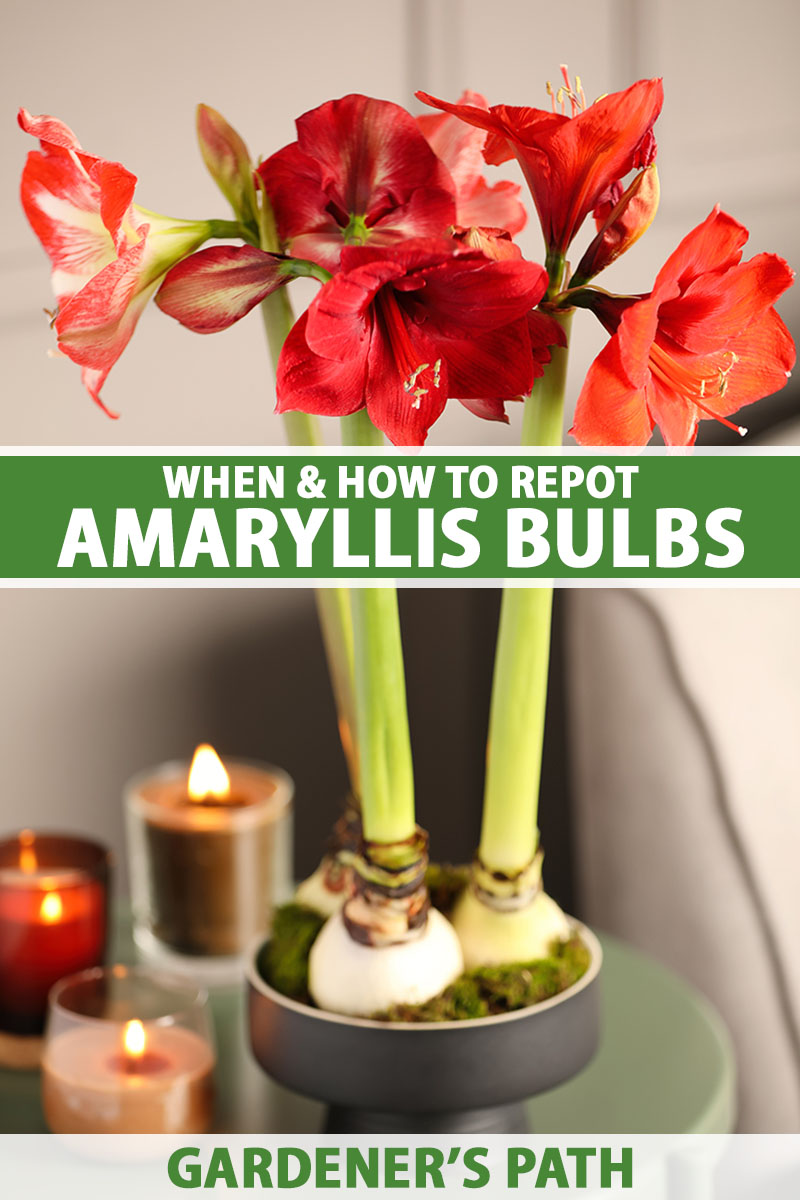
To repot an amaryllis, carefully remove the plant from its current container and gently shake off excess soil. Then, place it in a new pot, ensuring that the top third of the bulb is exposed above the soil line.
Firmly pack fresh potting soil around the bulb, water thoroughly, and place in a sunny location. Repotting an amaryllis is a straightforward process that can help to ensure the plant’s health and longevity. Whether you’re new to gardening or an experienced plant enthusiast, knowing how to properly repot an amaryllis is essential.
In this guide, we will walk you through the step-by-step instructions for successfully repotting your amaryllis plant, from removing it from its current container to providing it with the optimal growing conditions. By following these guidelines, you can help your amaryllis flourish and produce beautiful blooms year after year. So, let’s dive in and learn how to give your amaryllis the care it deserves.

Credit: www.youtube.com
How to Repot Amaryllis : Step by Step Guide
Selecting The Right Time
Giving your amaryllis the proper care it needs includes knowing when to repot it. Selecting the right time to repot your amaryllis will ensure its health and promote optimal growth. There are two key factors to consider: the time of year and the timing between bloom cycles.
Time Of Year
The best time to repot your amaryllis is during its dormant period. This typically occurs in late fall or early winter. Repotting during this time allows the plant to recover and establish new roots before entering its blooming phase in the spring.
If you have missed the ideal repotting window in the fall or winter, don’t worry! Amaryllis can tolerate repotting throughout the year, but be aware that doing so during the active growth phase may cause slight stress to the plant. To minimize this stress, ensure you provide optimal care and monitor the plant closely after repotting.
Timing Between Bloom Cycles
Another aspect to consider is the timing between bloom cycles. Amaryllis typically blooms once a year, usually in the spring or early summer. After the blooming period, the plant enters a resting phase, during which it stores energy in its bulbs for the next bloom cycle.
It is recommended to repot your amaryllis after its blooming phase is complete. This allows the plant to focus its energy on developing new roots and foliage, ensuring a healthy bloom in the next cycle. Waiting too long to repot may result in restricted growth or weakened blooms.
Remember: Each amaryllis cultivar may have its own unique bloom cycle, so it’s essential to observe your plant’s specific needs. Pay attention to signs of growth or dormancy to determine the perfect timing for repotting.
Preparing The New Pot
Repotting your amaryllis is important for its continued growth and well-being. One crucial step in the repotting process is preparing the new pot. Here are a few things to consider when getting your new pot ready:
Choosing The Right Size
Selecting the correct size pot is key to ensuring your amaryllis has enough room to grow and thrive. It’s recommended to choose a pot that is around 1 to 2 inches larger in diameter than the previous one. This will give the roots enough space to spread out and encourage healthy growth. Additionally, make sure the pot has drainage holes to prevent water from accumulating and causing root rot.
Selecting The Correct Potting Mix
The right potting mix is essential for the health and well-being of your amaryllis. You’ll want to use a well-draining mix that is specifically formulated for bulbs or indoor plants. This will provide the necessary nutrients and aeration the roots need to flourish. Avoid using regular garden soil, as it can be too dense and lead to waterlogged roots. A mixture of peat moss, perlite, and compost is a great option as it provides good drainage while retaining moisture.
Removal And Inspection
One important step in repotting amaryllis is the removal and inspection of the plant. This process is crucial for ensuring the health and well-being of your amaryllis. In this section, we will discuss how to loosen the soil around the roots and inspect them properly.
Loosening The Soil
To begin, gently remove the amaryllis plant from its current pot by holding the base of the plant and lightly shaking it to loosen the soil. Be careful not to pull on the stem or foliage to avoid causing any damage. Once the plant is removed, place it on a flat surface.
Next, carefully remove excess soil from the roots using your fingers. It’s essential to be gentle during this process to prevent harm to the sensitive roots. Loosening the soil will help the roots establish better in the new pot and promote healthy growth.
Inspecting The Roots
After loosening the soil, take a closer look at the amaryllis roots. Look for any signs of rot, damage, or disease. Healthy roots should be firm, white, and have a fibrous appearance. If you notice any mushy or discolored roots, it’s crucial to remove them using clean and sharp scissors or pruning shears. Cut off any unhealthy parts to prevent potential problems in the future.
Inspecting the roots also gives you an opportunity to check for any pests. Look carefully for signs of insects, such as aphids or mealybugs, which can harm the plant. If you spot any pests, it’s advisable to treat the roots with an appropriate insecticide before repotting.
Once you have inspected the roots and removed any damaged or unhealthy parts, use a clean container with adequate drainage holes for repotting your amaryllis. Prepare a well-draining potting mix and follow the next steps in potting your amaryllis to ensure its continued growth and vitality.

Credit: www.gardeningknowhow.com
Repotting Process
Repotting your amaryllis plant is an essential step in ensuring its continued health and growth. By repotting, you provide the plant with fresh soil, more space to develop its roots, and the opportunity for increased nutrient uptake. Below, we will guide you through the repotting process, step by step.
Placing The Bulb In The New Pot
Begin by carefully removing your amaryllis bulb from its current pot. Gently untangle the roots, being cautious not to damage them. Inspect the bulb for any signs of damage or disease, and discard if necessary. Select a new pot that is approximately 2 inches larger in diameter than the bulb.
Fill the new pot with a well-draining potting mix, leaving about 1 inch of space at the top. Create a small mound of soil in the center of the pot, gently spreading the roots of the amaryllis bulb over it. Position the bulb in the pot, ensuring that the top third remains visible above the soil level.
Filling The Pot With Soil
Once you have placed the bulb in the new pot, it’s time to fill the rest of the pot with soil. Begin by adding soil around the bulb, gently pressing it down to eliminate any gaps. Continue adding soil until the pot is nearly full, leaving about half an inch of space below the rim to allow for watering.
Make sure the soil is evenly distributed around the bulb and that it is firmly packed, but not compacted. Avoid pressing the soil too tightly, as this may hinder water drainage and hinder root growth. Once the pot is filled with soil, gently tap it on a solid surface to settle the soil and remove any air pockets.
Finally, water the newly repotted amaryllis thoroughly, ensuring the soil is evenly moist. Allow any excess water to drain out of the pot, and place the plant in a location that receives bright, indirect sunlight.
Congratulations! You have successfully repotted your amaryllis plant. Remember to monitor its growth and provide regular care to keep it thriving.
Aftercare
After repotting your amaryllis, proper aftercare is crucial to ensure that it continues to thrive and bloom. This stage involves careful attention to watering, sunlight exposure, fertilizing, and monitoring the plant’s growth and health. Providing the correct environment and care will encourage your amaryllis to produce vibrant flowers year after year.
Watering And Sunlight
Watering: Always ensure the soil is well-drained and not waterlogged. The top 1 inch of the soil should dry out between waterings. Water sparingly, allowing the roots to breathe and preventing rot.
Sunlight: Place your amaryllis in a sunny location. It thrives in bright, indirect sunlight. Rotate the pot occasionally to ensure even exposure to sunlight, promoting balanced growth.
Fertilizing And Monitoring
Fertilizing: Apply a balanced, water-soluble fertilizer every two to four weeks during the growing season. This will promote healthy foliage and sturdy blooms. Avoid fertilizing when the plant is dormant.
Monitoring: Regularly check the plant for signs of pests, diseases, and proper growth. Remove any yellow leaves and spent flowers to encourage continuous growth and blooming.

Credit: gardenerspath.com
Frequently Asked Questions Of How To Repot Amaryllis
What Time Of Year Do You Transplant Amaryllis?
Transplant amaryllis in spring, after the last frost. Fall is also suitable for transplanting.
When Should Amaryllis Be Repotted?
Amaryllis should be repotted every 2-3 years, preferably during its dormant period in late summer or early fall.
Can You Use Regular Potting Soil For Amaryllis?
Regular potting soil can be used for amaryllis.
Should I Cut The Roots Off My Amaryllis?
No, it is not recommended to cut the roots off your amaryllis. The roots are essential for the plant’s health and nutrient absorption. Removing them can harm the plant and hinder its growth.
Conclusion
To conclude, repotting amaryllis is a simple and rewarding task that can help ensure the continued health and beauty of your plant. By following the step-by-step guide provided, you can easily repot your amaryllis and promote optimal growth. Remember to choose the right pot size, use quality soil, and provide adequate care after repotting.
With these tips, your amaryllis will thrive and delight you with its vibrant blooms for years to come. Happy gardening!

