To repot Bear Paw, gently remove the plant from its current container, shake off excess soil, and place it in a new pot filled with fresh, well-draining soil. Ensure that the new pot is slightly larger than the current one to allow for growth.

Credit: www.reddit.com
Additionally, position the plant in a location with bright, indirect sunlight to encourage healthy growth.
How to Repot Bear Paw : Step by Step Guide
Choosing The Right Pot For Bear Paw
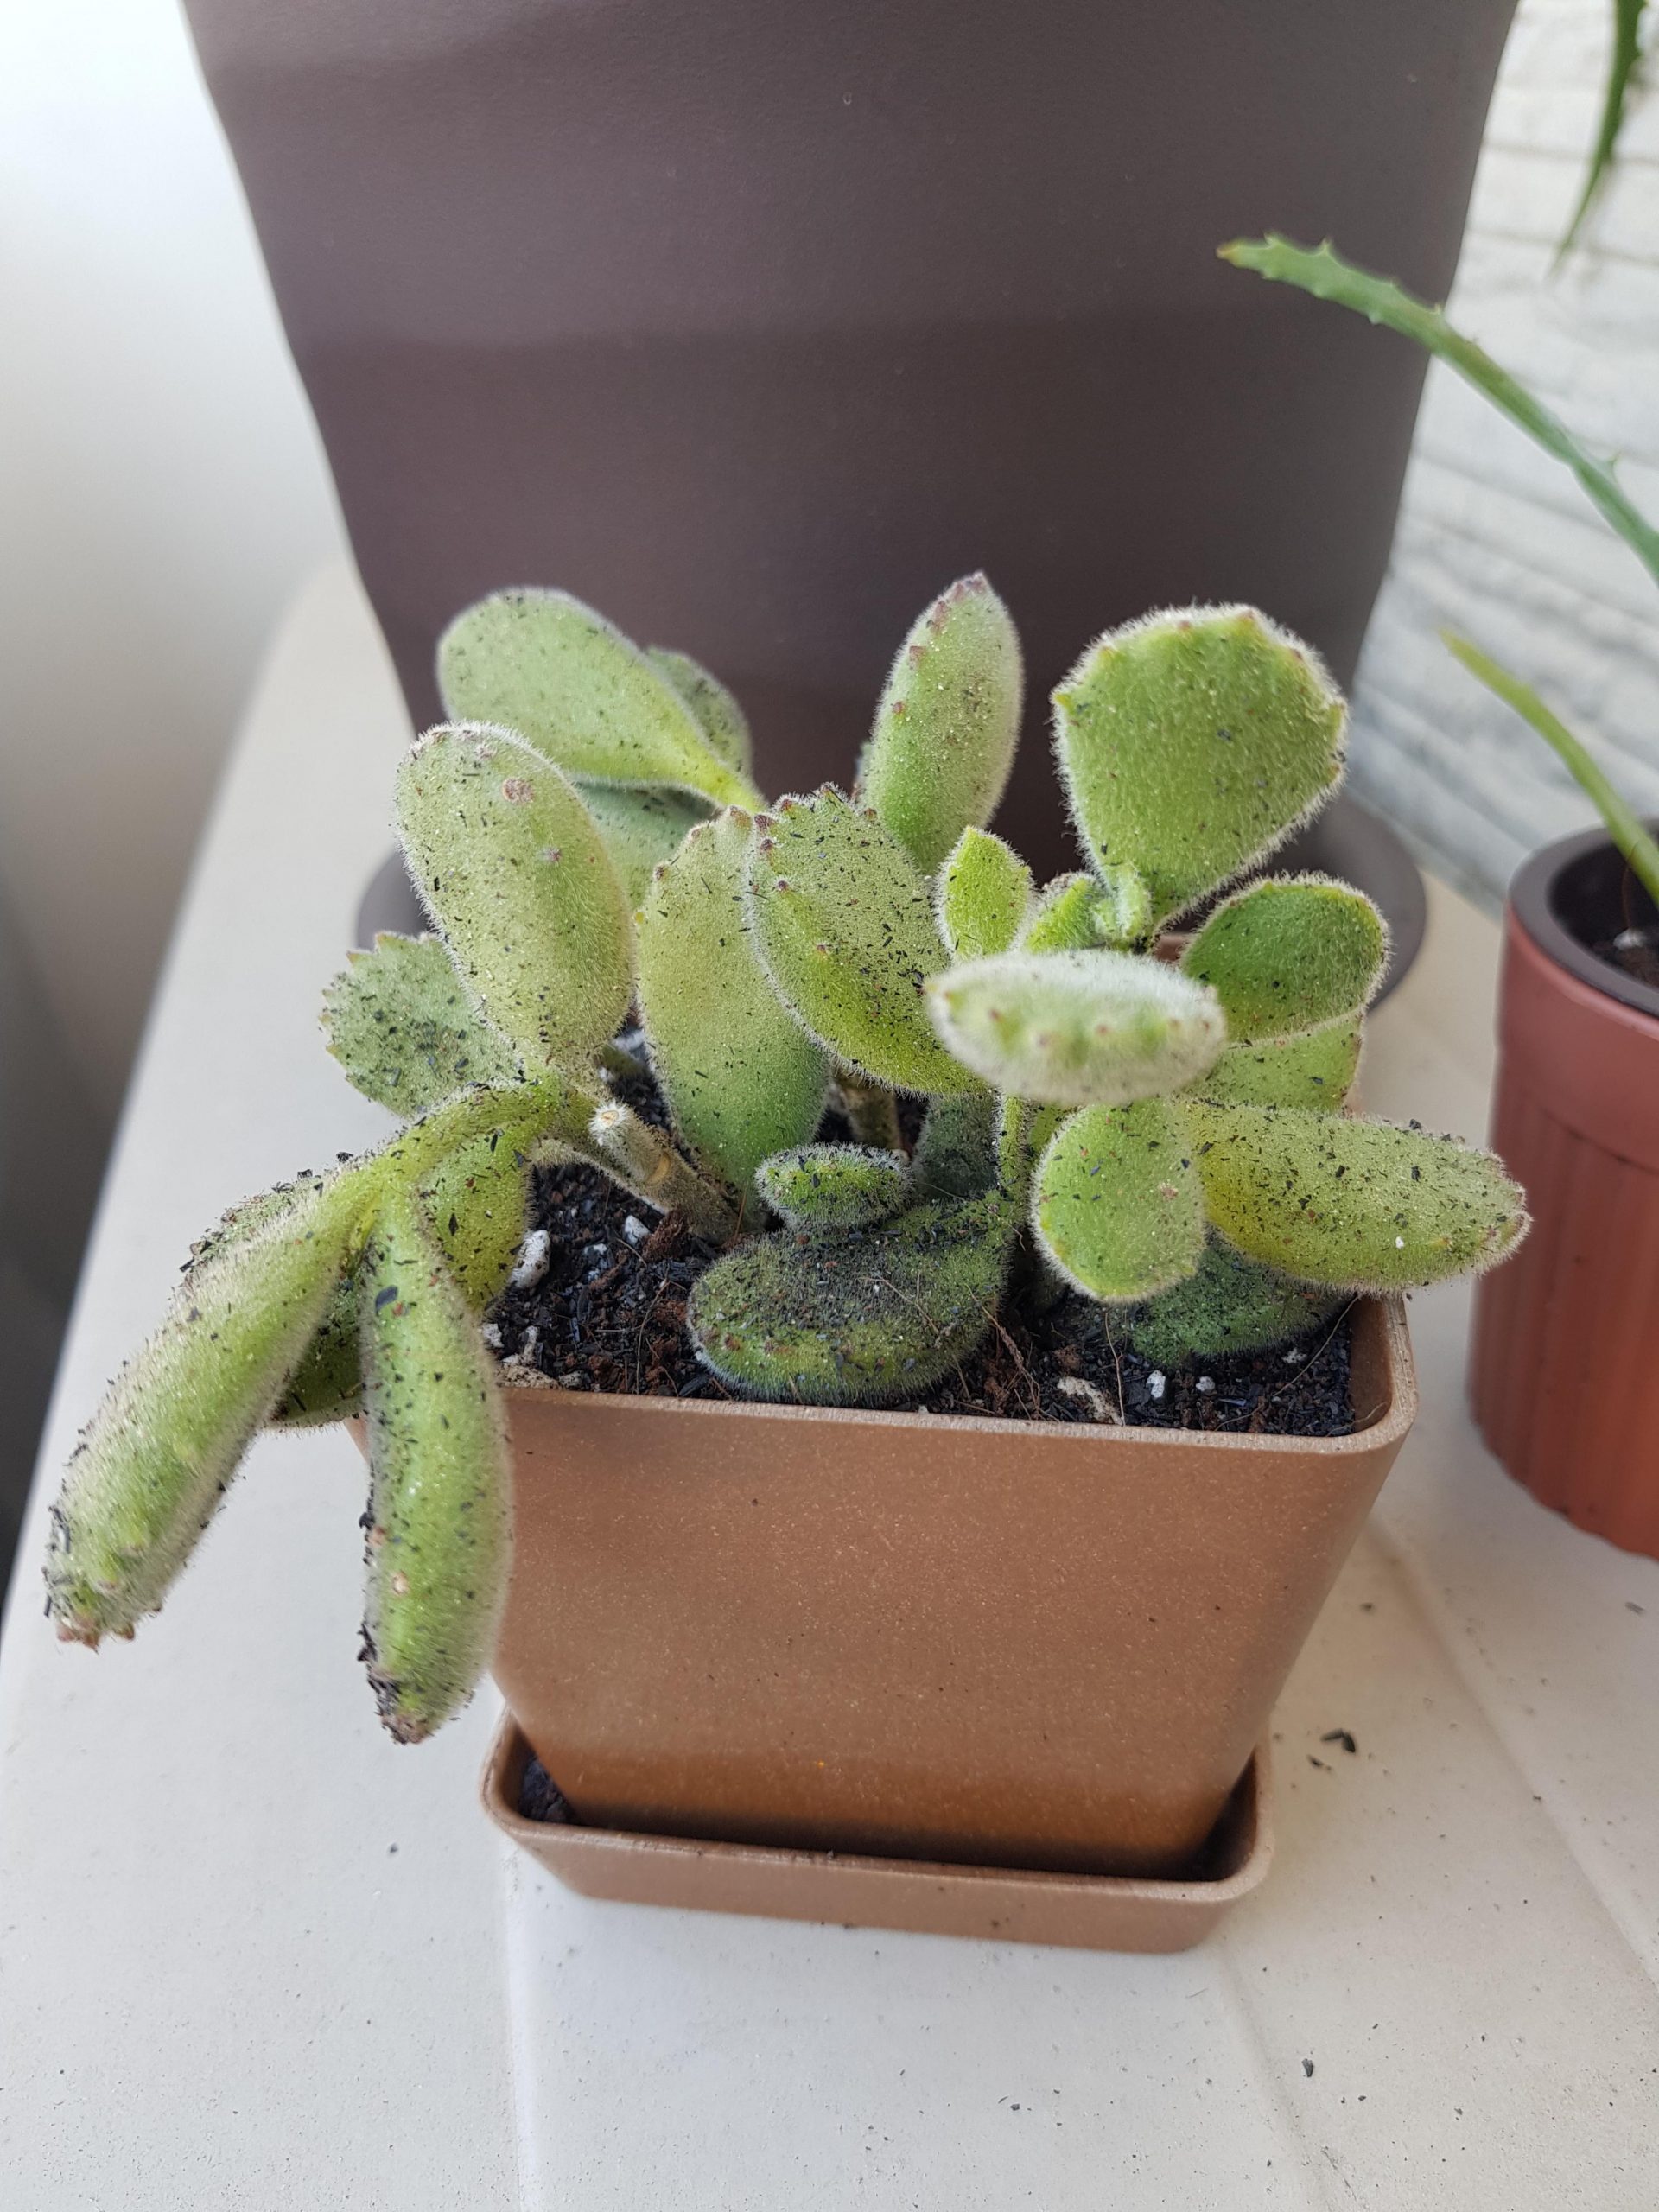
Choosing the appropriate pot for repotting your Bear Paw plant is crucial. Consider these factors when selecting a pot. First, ensure the pot has drainage holes to prevent waterlogged soil. Next, choose a pot size that offers room for the plant’s roots to grow.
It is recommended to select a pot that is 1-2 sizes larger than the current pot size. Additionally, opt for a pot material that is durable and breathable, such as terracotta or ceramic. This allows for proper aeration and helps regulate moisture levels.
Moreover, consider the aesthetics of the pot and how it complements your Bear Paw’s unique charm. With these considerations in mind, you can provide the ideal environment for your Bear Paw plant to thrive and flourish.
Preparing Bear Paw For Repotting
If you notice certain signs in your Bear Paw plant, it might be time for repotting. Look for root crowding, which is indicated by roots growing out of the drainage holes or above the soil surface. Additionally, if your plant is showing slow or stunted growth, it may be a sign that the current pot is too small.
Another indication is when the water drains quickly through the pot, indicating that it is not retaining moisture effectively. In such cases, it is essential to prepare your Bear Paw before repotting. Gently remove the plant from its current pot, gently teasing apart the roots to encourage growth.
Clean the container thoroughly and ensure it has proper drainage. Finally, fill the new pot with fresh well-draining soil and place the Bear Paw carefully, covering the roots with soil.
Repotting Bear Paw
Repotting Bear Paw can be done following a simple step-by-step guide. Start by choosing a new pot that is slightly larger than the current one. Gently remove the plant from its current pot, taking care not to damage the roots.
Shake off excess soil and inspect the roots for any signs of rot or damage. Place the plant in the new pot and fill in the gaps with fresh, well-draining soil. Lightly press the soil to secure the plant and water it thoroughly.
During the repotting process, be mindful of the Bear Paw’s delicate leaves and stems. Avoid overwatering or using heavy soils that can retain moisture for too long. By following these tips, you can avoid common mistakes and successfully repot your Bear Paw plant.
Proper Soil And Watering Techniques
Repotting your Bear Paw plant requires proper soil mix and watering techniques. The best soil mix for Bear Paw plants consists of well-draining soil, such as a combination of cactus potting mix and perlite or pumice. This ensures that excess water can easily escape and prevents the roots from becoming soggy.
When watering your Bear Paw after repotting, it’s important to strike a balance. Allow the soil to dry out slightly between watering sessions to prevent overwatering. Bear Paws prefer moderate watering, so make sure not to let the soil become completely dry.
Keep an eye on the moisture level and adjust your watering schedule accordingly. Following these soil and watering guidelines will help your Bear Paw thrive after being repotted.
Post-Repotting Care For Bear Paw
Bear Paw plants require proper care after repotting to help them adjust to their new environment. First, make sure to water the plant thoroughly but avoid overwatering to prevent root rot. Place the repotted Bear Paw in a warm and well-lit area, but avoid direct sunlight to prevent leaf scorching.
Monitor the moisture levels in the soil regularly and water only when the top inch feels dry to the touch. Pruning is essential after repotting to remove any damaged or withered leaves and promote healthy growth. Additionally, provide the plant with a balanced fertilizer every two weeks during the growing season to provide necessary nutrients.
Following these tips for post-repotting care will ensure that your Bear Paw plant thrives in its new pot and environment.
Troubleshooting Common Issues
After repotting your Bear Paw, you may encounter issues such as root rot and transplant shock. Identifying and treating root rot is crucial in order to save your plant. Examine the roots carefully, looking for signs of decay or discoloration.
If root rot is present, trim away the affected areas and repot the plant in fresh soil. Ensure proper drainage and avoid overwatering to prevent future root rot. Dealing with transplant shock can be done by gradually acclimating the plant to its new environment.
Place it in a shaded area initially and gradually increase the exposure to sunlight. Additionally, providing adequate moisture and avoiding extreme temperature changes can help your Bear Paw recover from transplant shock more effectively. Taking these steps will assist in maintaining the health and vitality of your Bear Paw plant.
Frequently Asked Questions For How To Repot Bear Paw
How Do You Transplant A Bear Paw Succulent?
To transplant a bear paw succulent, gently remove it from its current pot, place it in a larger pot with well-draining soil, and water sparingly.
What Kind Of Soil Do Bear Paw Succulents Like?
Bear paw succulents prefer well-draining soil with a mix of sand and perlite.
How Do You Fix Leggy Bear Paw Succulents?
To fix leggy bear paw succulents, trim the elongated stems to promote branching and growth.
How Often Do You Water A Bear Paw Succulent?
Water a bear paw succulent sparingly, allowing the soil to dry completely between waterings.
Conclusion
Repotting your Bear Paw plant is a simple yet vital step in ensuring its health and growth. By following the steps outlined in this blog post, you can provide your Bear Paw with the optimal growing conditions it needs. Remember to carefully choose the right potting mix, examine the roots for any issues, and provide adequate drainage.
By repotting your Bear Paw, you are providing it with fresh nutrients and space to thrive. Regularly monitoring your plant’s growth and repotting when necessary will contribute to the longevity of your Bear Paw. With proper repotting techniques, you can enjoy a healthy and vibrant Bear Paw plant that will bring joy and beauty to your indoor or outdoor space.