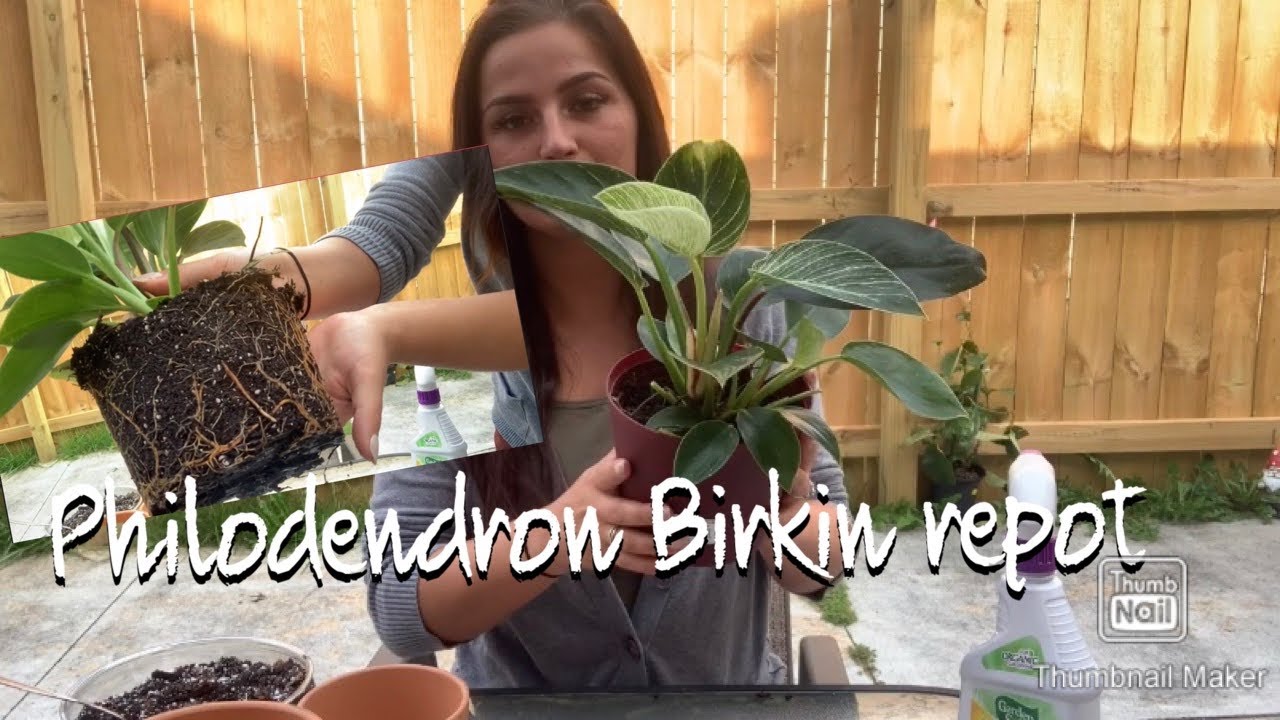
To repot a Birkin bag, carefully remove the existing soil and roots, and transfer the plant to a larger container with fresh soil. Repotting a Birkin bag is a crucial step in ensuring the proper growth and health of the plant.
By repotting, you allow the roots to have more space to grow and access fresh nutrients. This process involves carefully removing the plant from its current pot, gently brushing off excess soil from the roots, and transferring it to a larger container with fresh potting mix.
Repotting should be done when the plant becomes root-bound or every one to two years. Following these steps will help your Birkin bag flourish in its new environment.
Credit: www.ohiotropics.com
Gather The Necessary Tools And Materials
| Tools | Materials |
|---|---|
| Pruning shears | Well-draining potting mix |
| Gloves | Pots with drainage holes |
| Trowel | Pot saucers |
| Watering can | Slow-release fertilizer |
| Plant stakes | Organic compost |
Before starting the repotting process, it is essential to research and purchase the right tools and materials. Gather all the items mentioned in the table above to ensure a smooth and efficient repotting experience. Having the necessary tools and materials in place will make the repotting process easier and more successful.
How to Repot Birkin: Step by Step Guide
Preparing The Birkin Plant For Repotting
When repotting a Birkin plant, it is important to first assess its health. Look for signs of wilting, yellowing leaves, or root bound growth. Once you have determined that the plant is ready for repotting, choose the appropriate time to do so. Ideally, repot during the plant’s active growth period in the spring or early summer. Water the plant thoroughly a day before repotting to ensure it is well hydrated. This will make the process easier and less stressful for the plant.
Removing The Birkin Plant From Its Current Pot
When repotting a Birkin plant, it is essential to take care in removing it from its current pot. Begin by preparing the new pot, ensuring it has proper drainage materials. Next, gently loosen the soil around the edges of the current pot to loosen the Birkin plant’s roots. With caution, carefully lift the plant out of its current pot, ensuring not to damage the roots.
Once the Birkin plant is successfully removed, it can be transferred to the new pot with fresh soil, making sure to position it at the same level it was in the original pot. Finally, gently pat down the soil, ensuring it is secure around the roots. Following these steps will help ensure a successful repotting process for your Birkin plant.
Inspecting The Roots And Pruning (If Necessary)
Review the root system for any signs of damage or disease. Look for discoloration, rotting, or unusual growth patterns. Trim any dead or circling roots to promote healthy growth. By removing these damaged roots, you allow the plant to focus its energy on developing new, strong roots. Lightly prune healthy roots to encourage new growth. This stimulates the growth of fine feeder roots, which enhance nutrient absorption and overall plant health.
Repotting The Birkin Plant
In repotting the Birkin plant, it is important to ensure its health and growth. Start by placing a layer of fresh soil in the new pot. This will provide a nutrient-rich environment for the plant’s roots. Next, position the Birkin plant in the center of the pot, making sure it is stable and upright. Carefully fill the pot with additional soil, gently pressing it down to ensure proper support for the plant.
Be mindful not to overcrowd the roots, allowing enough space for growth. Regularly water the repotted Birkin plant, maintaining a consistent moisture level to promote healthy development. Remember to provide adequate sunlight and consider using a fertilizer specifically designed for tropical plants. With proper care and attention, your repotted Birkin plant will thrive and bring beauty to any space.
Watering And Post-Repot Care
Thoroughly water the Birkin plant immediately after repotting to ensure proper hydration. This will help the plant adjust to its new environment and promote healthy growth. After repotting, it’s important to monitor the plant for any signs of stress or shock. Look out for wilted leaves, yellowing, or drooping. Adjust the watering routine accordingly for the first few weeks.
During this time, it’s crucial to maintain proper moisture levels without overwatering or allowing the soil to dry out completely. Pay attention to the moisture content in the soil by checking the moisture level with your finger or using a moisture meter. Birkin plants generally prefer moist soil, and it’s important to provide them with adequate water without causing waterlogged conditions.
Remember to place your Birkin plant in a suitable location where it can receive the right amount of light and avoid direct sunlight. This will help in the overall care and well-being of your Birkin plant. By following these watering and post-repot care guidelines, you can ensure the proper growth and health of your Birkin plant.
Common Mistakes To Avoid When Repotting Birkin Plants
Overpotting or underpotting the plant: One of the most common mistakes in repotting Birkin plants is improper potting size. Overpotting, which means using a pot that is too large for the plant, can lead to the soil staying excessively moist and increasing the risk of root rot. On the other hand, underpotting, or using a pot that is too small, can restrict root growth and cause the plant to become root-bound, leading to stunted growth.
Hardening the new soil by compacting it too tightly: It is important to avoid compacting the new soil when repotting a Birkin plant. Tightly compacted soil can hinder proper drainage and oxygenation of the roots, causing them to suffocate and potentially die. Instead, lightly press the soil to eliminate air pockets without compacting it excessively.
Neglecting to trim damaged or crowded roots: Before repotting, it is crucial to carefully examine the roots of the Birkin plant. If there are any damaged or crowded roots, they should be trimmed to promote healthy growth. Pruning the roots also helps stimulate new root growth and allows the plant to establish itself more effectively in its new pot.
Frequently Asked Questions Of How To Repot Birkin
Can I Repot My Birkin Bag By Myself?
Yes, you can repot your Birkin bag by yourself. However, it is recommended to seek professional assistance to ensure proper care and maintenance of your precious accessory.
What Tools Do I Need To Repot My Birkin Bag?
To repot your Birkin bag, you will need a soft cloth, mild soap, warm water, leather conditioner, a brush with soft bristles, and a small container for mixing the cleaning solution.
How Often Should I Repot My Birkin Bag?
It is generally recommended to repot your Birkin bag once every six months or as needed. Factors such as usage, exposure to dirt, and climate conditions can impact the frequency of repotting. Regular inspections will help determine when repotting is necessary.
Can I Use Household Cleaning Products To Repot My Birkin Bag?
No, it is best to avoid household cleaning products when repotting your Birkin bag. These products may contain harsh chemicals that can damage the leather. Stick to gentle, leather-safe cleaning solutions and avoid anything that may cause discoloration or deterioration.
Conclusion
To summarize, repotting your Birkin is a crucial step in ensuring its health and longevity. By following the proper techniques and guidelines discussed in this blog post, you can confidently take care of your Birkin and enjoy its beauty for years to come.
Remember to choose the right potting mix, consider the necessary factors such as drainage and sunlight, and be gentle during the repotting process. With a little patience and care, your Birkin will thrive in its new home. Happy repotting!