To repot a Clematis, carefully remove the plant from its current container and gently loosen the roots before transferring it to a larger pot with fresh, well-draining soil. Repotting is an essential task for maintaining the health and growth of plants, and Clematis is no exception.
Whether your Clematis has outgrown its current container or you want to refresh its soil, repotting is a straightforward process that can be easily done to ensure the continued vitality of these beautiful flowering vines. This article will guide you on how to repot your Clematis, providing step-by-step instructions to help you successfully transplant the plant to a new pot with minimal stress on its roots.
By following these guidelines, you can ensure that your Clematis thrives and continues to enhance your garden or indoor space.

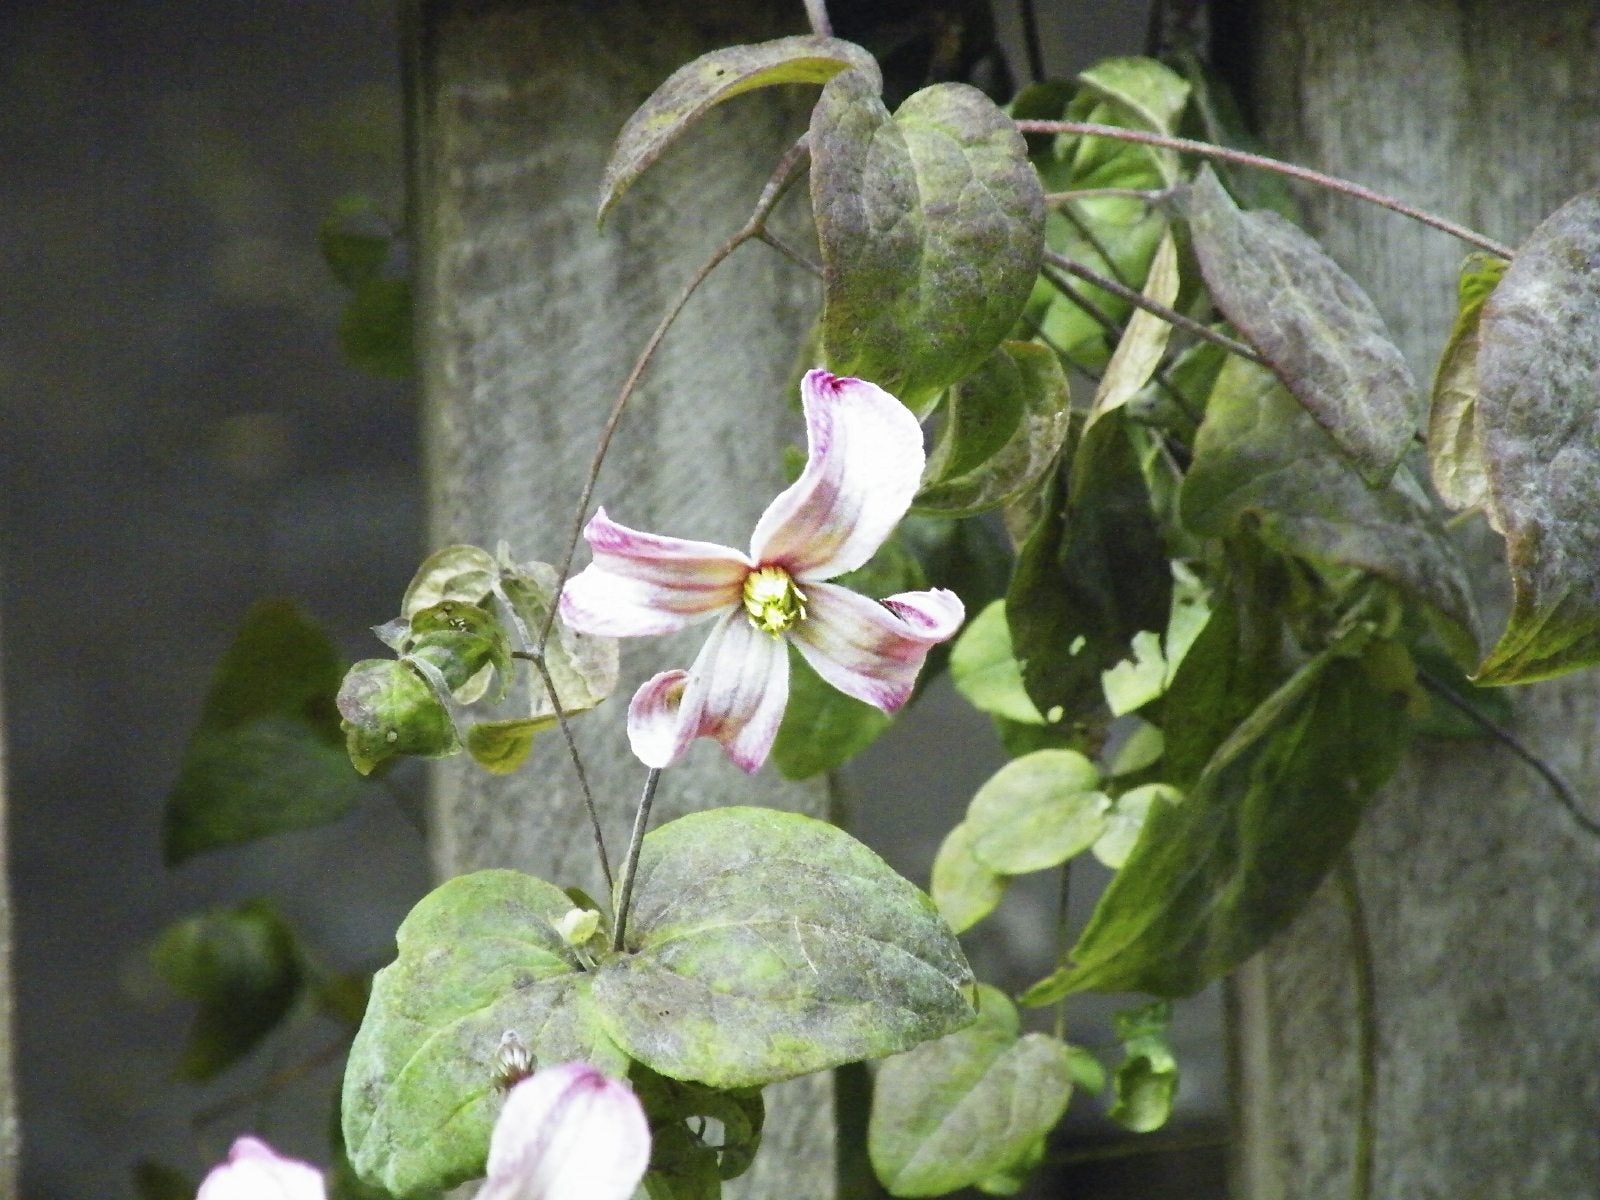
Credit: gardenerstrowel.com
How to Repot Clematis: Step by Step Guide
1. Choosing The Right Time For Repotting
Choosing the right time for repotting clematis is crucial to its successful growth. Understanding the growth cycle of these plants is key. Clematis plants go through different stages, including dormancy, bud formation, flowering, and seed production. It is best to repot them during their dormant phase, which is usually in late winter or early spring.
During this time, the plant is not actively growing, making it less susceptible to transplant shock. Avoid repotting clematis during their flowering or bud formation stage as it can disrupt their blooming. By repotting during the appropriate time, you give the plant the best chance to establish itself in its new container and thrive.
Always consider the growth cycle of clematis when deciding when to repot it for optimal results.
1.1 Spring Or Fall: Which Is Best?
Repotting clematis offers the opportunity to rejuvenate and support the growth of these beautiful flowering vines. Spring and fall are two popular times for repotting, with each season offering its own advantages and disadvantages. In spring, clematis benefits from the fresh soil and increased sunlight, promoting vigorous growth and blooming.
However, repotting in spring may require more maintenance and monitoring for watering needs. On the other hand, repotting in fall allows the plant to establish its roots before winter sets in, providing a head start for the next growing season.
Nonetheless, repotting in fall may risk damage if done too late in the season. Considering the pros and cons of repotting in both seasons will help you determine the best time for your clematis and ensure its health and success.
1.2 Factors To Consider Before Repotting
Before repotting your clematis plant, there are a few factors you should consider. Firstly, assess the health of the plant and make sure it is suitable for repotting. Next, take into account the weather conditions, as extreme temperatures or frost can affect the success of repotting.
Additionally, check the size of the current pot and consider if the clematis needs a larger container to accommodate its growth. Moreover, examine the root system and make sure it is healthy before transferring it to a new pot. In addition, choose the right potting mix, ensuring it is well-draining and suitable for clematis plants.
Finally, provide support for the clematis once it is repotted to help it grow and thrive in its new environment. By considering these factors, you can ensure successful repotting of your clematis plant.
2. Preparing The Clematis For Repotting
To repot your clematis, gather the necessary supplies and prepare the new pot or container. Make sure to follow these guidelines: keep sentences brief, vary your phrases, and write in an active voice. Repotting your clematis requires careful preparation and attention to detail.
By using the right supplies and techniques, you can ensure a successful and healthy transition for your plant. So, gather everything you need and get ready to give your clematis a fresh start in a new pot or container. Take the time to do it right and enjoy the beauty of your repotted clematis for years to come.
With a little effort, you can provide the perfect environment for your clematis to thrive and grow. Happy repotting!
2.1 Inspecting The Plant’S Roots
When repotting clematis, it is crucial to inspect the plant’s roots. The first step is to identify signs of root-bound plants, such as circling roots or a lack of growth. Evaluating the overall root health is also important. Look for any signs of rot, disease, or pest infestation.
Healthy roots should be firm and white, not mushy or discolored. If you notice any problems, gently loosen the roots, removing any excess soil or dead roots. This will encourage new growth and promote the plant’s overall health. Taking the time to inspect and care for the roots will ensure that your clematis thrives in its new pot.
2.2 Pruning The Clematis
Pruning the Clematis is a crucial step that ensures optimal growth and vitality. Knowing when and how to prune before repotting is essential for the health of your plant. To start, identify the specific type of Clematis you have as different varieties require different pruning techniques.
Generally, it is recommended to prune in early spring before new growth appears. Begin by cutting back any dead or damaged stems, making sure to leave at least two healthy buds on each stem. Next, consider the size and shape you desire for your Clematis and prune accordingly.
You can cut back to a pair of strong buds or create a framework by cutting back to just above a set of dormant buds. Regular pruning will promote vigorous growth and abundant blooming, so be sure to include this essential step when repotting your Clematis.
3. Repotting Techniques For Clematis
Properly removing the clematis from its current container is essential for successful repotting. Carefully loosen the edges of the root ball and gently slide the plant out. Transferring the clematis into the new pot or container requires placing a layer of fresh potting mix at the bottom.
Position the plant in the center of the container, ensuring that the top of the root ball is level with the rim of the pot. Fill the remaining space with more potting mix, pressing it gently to remove any air pockets.
Water the newly repotted clematis thoroughly, allowing the excess water to drain away. Finally, place the container in a suitable location with adequate sunlight and water regularly to promote healthy growth. Following these repotting techniques will help your clematis thrive in its new home.
3.1 Soil Mixture And Fertilizer
When repotting Clematis, it is crucial to choose the right soil mixture. Opt for a well-draining blend that includes equal parts garden soil, compost, and perlite. This combination will provide the necessary nutrients and aeration for healthy growth. Avoid heavy clay soils as they can lead to poor drainage and root rot.
As for fertilizers, use a balanced and slow-release formula to promote optimal growth. Apply the fertilizer according to the manufacturer’s instructions during the growing season. Remember to water the Clematis thoroughly after repotting to help settle the soil. With the right soil mixture and appropriate fertilizers, your Clematis will thrive in its new pot.
3.2 Proper Watering Techniques
Proper watering techniques are essential for establishing a routine after repotting your Clematis. One common mistake to avoid is overwatering, as it can lead to root rot. Instead, water the plant deeply and thoroughly, ensuring that the soil is evenly moist but not waterlogged.
It is important to provide adequate drainage for excess water, preventing stagnation. Additionally, make sure to water the plant in the morning to allow any moisture on the leaves to evaporate, reducing the risk of fungal diseases. Monitor the weather conditions and adjust your watering schedule accordingly, keeping in mind that Clematis prefers a moist but well-drained soil.
By following these guidelines, you can ensure the proper hydration of your repotted Clematis, allowing it to thrive and flourish in its new environment.
4. Aftercare And Maintenance
After repotting your clematis, it is important to monitor its condition closely. Keep an eye out for any potential issues or problems that may arise. Check the soil moisture regularly to ensure it is not too dry or too wet.
Inspect the leaves for any signs of pests or diseases. Trim any dead or damaged stems to promote healthy growth. Provide support for the plant as it continues to grow, using stakes or trellises if necessary. Regularly fertilize the clematis to provide the nutrients it needs to thrive.
By carefully monitoring and addressing any issues that arise, you can help your repotted clematis thrive and flourish in its new home.
4.1 Providing Adequate Support
Clematis plants require adequate support structures such as trellises or stakes to maintain their growth and prevent them from sprawling on the ground. These structures provide stability and help the vines to climb and reach their full potential. The need for support is essential as clematis is a climbing plant that relies on something sturdy to hold onto as it grows.
Installing trellises or stakes ensures that the plant has something to latch onto and prevents it from becoming tangled or damaged. By providing the right support, you can ensure that your clematis plants grow upright and flourish beautifully in your garden.
4.2 Regular Pruning And Maintenance
Regular pruning and maintenance is essential for the ongoing care of your Clematis plant. By monitoring for pests and diseases regularly, you can ensure the health and vitality of your plant. Regularly check for any signs of insect infestation or disease, such as yellowing leaves or unusual spots.
If any issues are detected, take prompt action to prevent further spread. Trim back any dead or damaged stems to encourage new growth and maintain the shape of the plant. Additionally, remove any spent flowers to promote continuous blooming. Remember to use clean, sharp pruning tools to avoid the risk of infection.
With these simple pruning tips, you can keep your Clematis plant thriving and beautiful.
Frequently Asked Questions On How To Repot Clematis
When Should I Repot My Clematis?
Repot your clematis when it outgrows its current pot or every 2-3 years to ensure healthy growth.
What Is The Best Way To Transplant A Clematis?
To transplant a clematis, dig a hole twice the size of the root ball, place the plant, and water thoroughly.
Does Clematis Transplant Well?
Yes, clematis transplants well and thrives when carefully relocated to a new spot.
What Kind Of Potting Soil For Clematis?
Clematis needs well-drained potting soil that is rich in organic matter for healthy growth.
Conclusion
To wrap up, repotting your clematis plants is a crucial step in ensuring their growth and vibrancy. By following the correct techniques, you can provide your clematis with the ideal conditions for thriving. Firstly, choose the right time for repotting, typically during the dormant season.
Secondly, select a suitable container that allows for proper drainage and aeration. Ensure you use a well-draining soil mix that retains moisture without becoming waterlogged. Throughout the process, handle the clematis roots with care to avoid damaging them. Once repotted, provide the plant with the necessary support and continue regular maintenance, such as pruning and watering.
By repotting your clematis correctly, you enhance its overall health, longevity, and blooming potential. Let your clematis flourish and bring beauty and color to your garden year after year.