To repot peas, carefully remove the plant from its current pot and transplant it into a larger container, ensuring the depth and spacing is appropriate. Peas are a delightful addition to any vegetable garden, offering fresh and crisp pods that burst with flavor.
Whether you’re a novice gardener or a seasoned pro, knowing how to repot peas can help promote their growth and ensure a bountiful harvest. Repotting peas involves transplanting the plant from its current pot into a larger container to allow for proper root development and to provide adequate space for the plant to thrive.

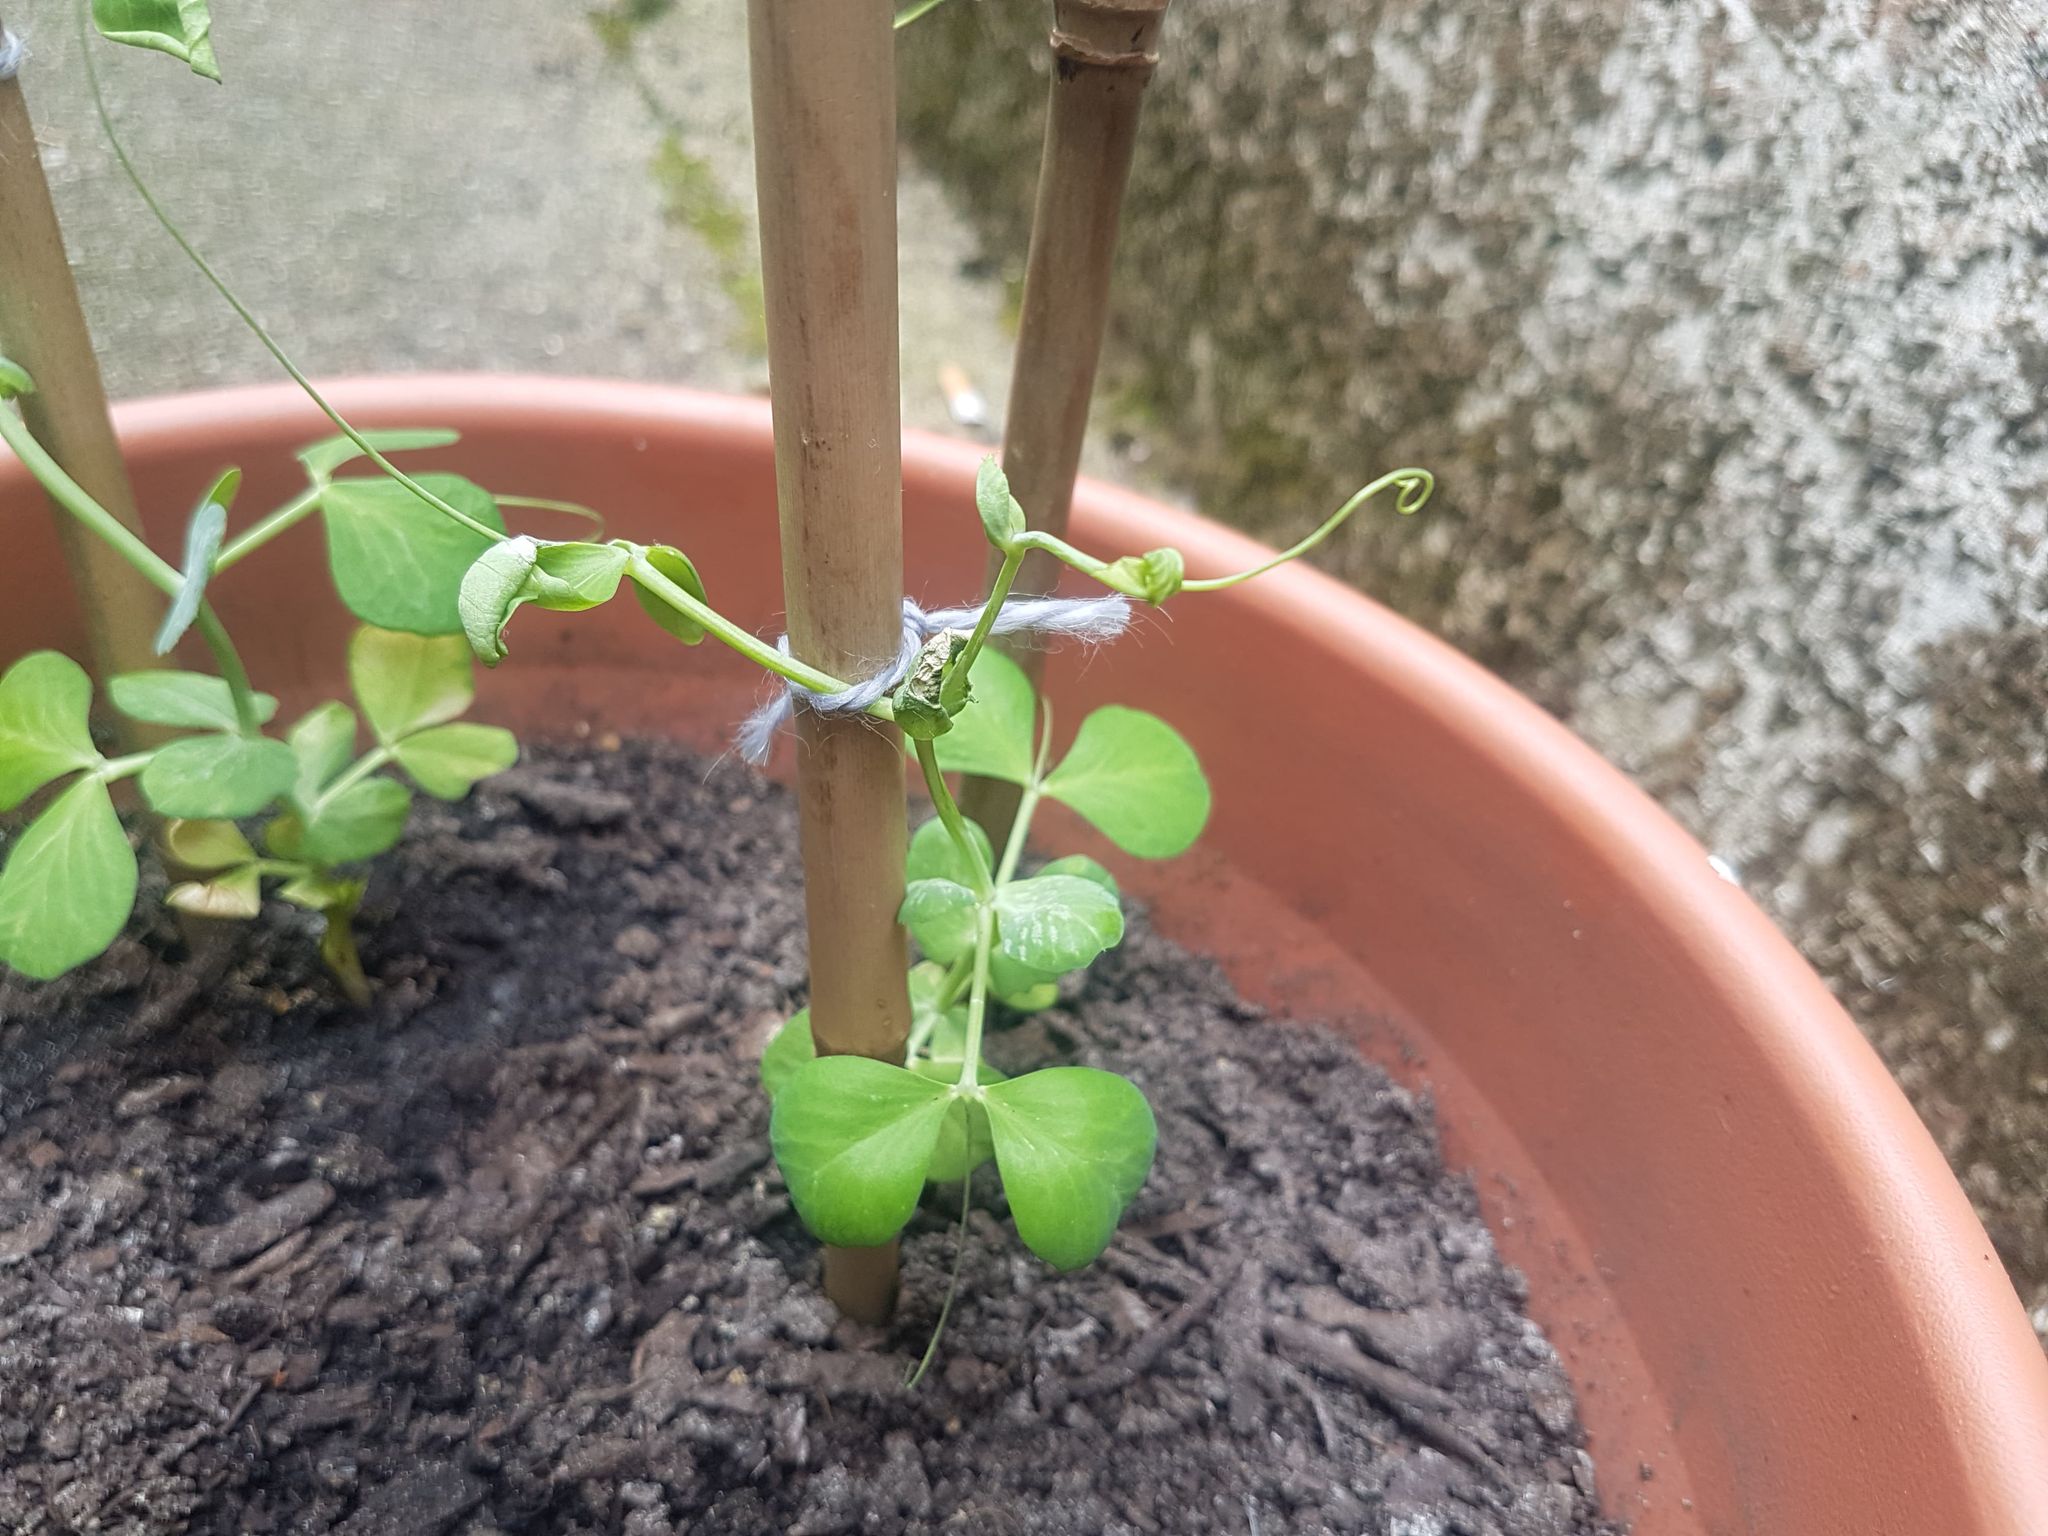
Credit: www.growmate.co
We will provide a step-by-step guide on how to successfully repot your pea plants. So, let’s get started!
How to Repot Peas : Step by Step Guide
Gathering The Essential Tools And Materials
| Choosing the right pot size and material |
|
| Selecting appropriate soil and amendments |
|
| Gathering gardening gloves and a trowel |
|
Preparing The Peas For Repotting
When repotting peas, it is important to determine the right time to do so. This can typically be done when the peas have grown large enough to transplant into a larger pot or container. Before repotting, it is essential to prepare the new pot and soil mixture. Choose a pot that is slightly larger than the current one, ensuring it has adequate drainage holes. You can create a suitable soil mixture by combining potting soil, compost, and perlite or vermiculite for improved drainage.
Prior to repotting, make sure to thoroughly water the peas. This helps to loosen the roots and makes it easier to remove them from the current container. Once the peas are well-watered, gently remove them from the old pot, being careful not to damage the roots. Place them in the prepared new pot, ensuring the soil is firmly packed around the roots. Finally, water the newly potted peas to help settle the soil and provide moisture for the transplanted plant.
Transferring The Peas To A New Pot
|
Transferring the peas to a new pot involves several steps to ensure their successful growth.
|
Providing Care And Maintenance After Repotting
After repotting your peas, it’s important to provide them with proper care and maintenance to ensure their healthy growth. Watering the newly repotted peas appropriately is crucial. Make sure to keep the soil evenly moist but not waterlogged. Placing the pot in an optimal location for growth is another key factor. Peas thrive in full sunlight, so choose a spot that receives at least 6-8 hours of direct sunlight daily.
Some peas require trellising for support as they grow, so it’s essential to provide the necessary structure. Use stakes or trellises to support the vines and prevent them from sprawling on the ground. Keep a close eye on the plants for any signs of stress or disease and take appropriate action promptly. Regular monitoring will help catch any issues early on.
In addition, fertilizing the peas as needed is important to promote healthy growth. Use a balanced organic fertilizer and follow the instructions on the packaging. Avoid over-fertilizing, as this can lead to excessive foliage growth at the expense of pea production.
Troubleshooting Common Issues After Repotting
Repotting peas is a crucial step in ensuring their healthy growth. However, it can sometimes lead to certain issues that need to be addressed promptly.
Identifying and addressing root-bound peas
One common problem after repotting is having root-bound peas, where the roots are tangled and congested within the pot. Look for signs such as stunted growth, wilting leaves, and restricted root development. To address this, carefully tease out the roots and trim any excessively long ones. Additionally, consider using a larger pot to provide ample room for the roots to spread.
Dealing with transplant shock
When repotting peas, they may experience transplant shock due to the disruption of their root system. To overcome this, ensure the new pot has well-draining soil and water the plants thoroughly. Providing adequate sunlight and avoiding extreme temperature fluctuations can also help peas recover from transplant shock.
Managing pests and diseases in the new pot
Another issue that may arise after repotting peas is the onset of pests and diseases. Regularly inspect the plants for common pests such as aphids and caterpillars, and take appropriate measures to control them. Proper ventilation and maintaining optimal humidity levels can prevent diseases like powdery mildew and root rot.
Final Thoughts On Repotting Peas
Repotting peas is a rewarding activity that allows you to enjoy the benefits they offer. By repotting, you provide your peas with a larger and more nutritious environment, leading to healthier plant growth and ultimately a fruitful yield.
During the repotting process, ensure you select a well-draining container with sufficient depth for the root system to expand. Gently loosen the pea plant from its current pot and transfer it to the new container, making sure that the roots are spread out evenly. Secure the plant in place with fresh soil, being careful not to bury it too deeply.
After repotting, remember to water your peas regularly and expose them to adequate sunlight for optimal growth. By following these steps, you can enjoy an abundance of delicious peas right from your garden.
Celebrating the benefits of repotting peas
Enjoying the fruits (or rather, peas) of your labor
Frequently Asked Questions For How To Repot Peas
When Should I Repot Peas?
Repot peas when they outgrow their current containers, have root-bound roots, or show signs of stress.
Do Peas Like To Be Transplanted?
Peas can be transplanted, but it’s best to sow them directly in the ground.
How Big Should Peas Be Before Transplanting?
Peas should be about six inches tall before transplanting.
Can You Transplant Mature Pea Plants?
Yes, you can transplant mature pea plants without any issues.
Conclusion
Overall, repotting peas is a simple yet important task in maintaining healthy plants. By following a few key steps, you can ensure that your peas have the best chance of thriving in their new home. Start by selecting a suitable container and preparing the soil with adequate drainage.
Gently remove the peas from their original pot, taking care not to damage the roots, and place them in the new container. Fill in the gaps with soil and firm it gently around the base of the plants. Finally, water the peas thoroughly, allowing the excess to drain away.
With proper repotting, your peas will have the space they need to grow and flourish. Happy gardening!