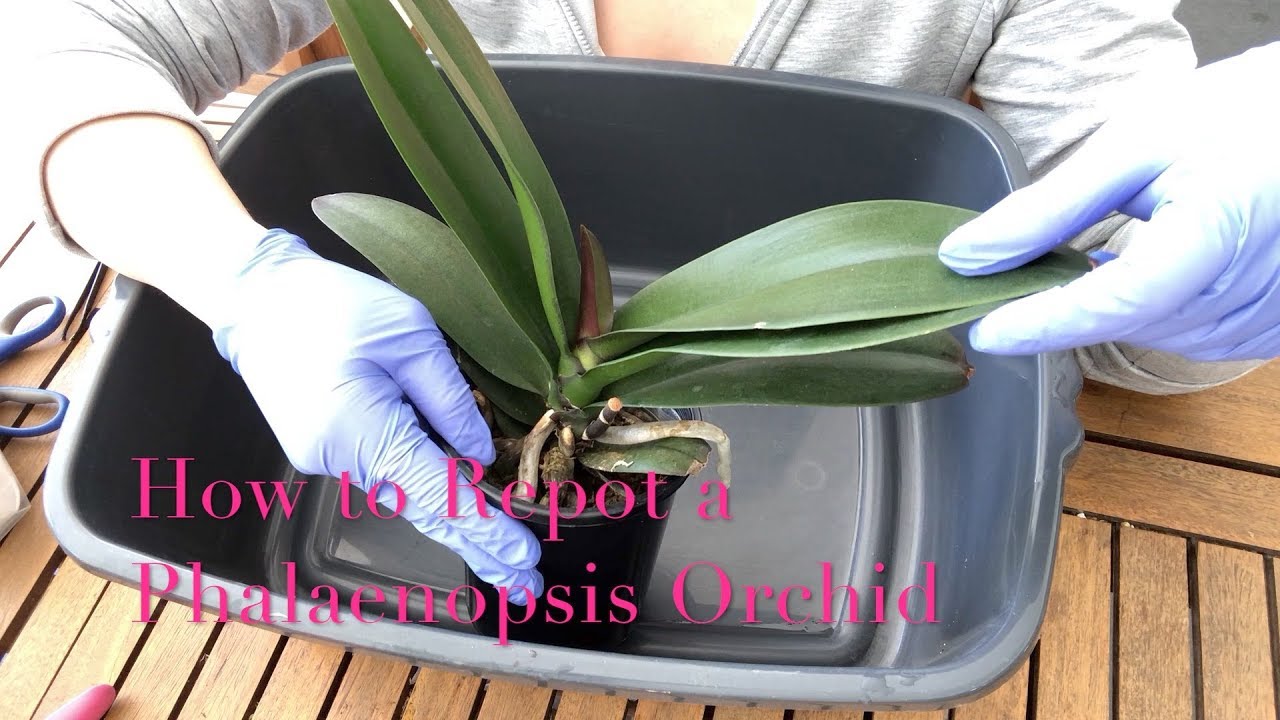
To repot a Phalaenopsis Orchid, carefully remove the plant from its current pot, trim any damaged roots, and place it in a clean pot with fresh orchid bark or moss. Repotting is essential for the healthy growth of Phalaenopsis Orchids and should be done every 1-2 years.
Phalaenopsis Orchids, also known as moth orchids, are a popular choice among plant enthusiasts due to their stunning blooms and low maintenance requirements. However, as these orchids grow, they will eventually outgrow their current pots and require repotting. Repotting is a crucial process that ensures the health and vitality of the orchid by providing it with fresh growing material and allowing for better air circulation and root growth.
We will explore the step-by-step process of how to repot a Phalaenopsis Orchid, ensuring that you can successfully manage this task and keep your orchid thriving.

Credit: savvygardening.com
Tools And Materials Needed
Repotting a Phalaenopsis Orchid requires specific tools and materials. For tools, you will need a clean pair of scissors or pruning shears, a stake or bamboo pole, and twine or plant clips. These will aid in cutting, supporting, and securing the orchid during the process.
As for materials, you will need a new pot with drainage holes, fresh orchid potting mix, and sphagnum moss or bark chips. The potting mix should be specifically formulated for orchids, promoting proper drainage and aeration. The sphagnum moss or bark chips will provide additional support and moisture retention.
It’s crucial to ensure both the tools and materials are clean and free from any contaminants to prevent any infections on the orchid. By gathering these tools and materials, you’ll be equipped for repotting your Phalaenopsis Orchid successfully.
Prepping For Repotting
Prepping for repotting your Phalaenopsis Orchid involves assessing if repotting is needed. Look for signs like overcrowded roots or yellowing leaves. Choose the right time for repotting, which is typically after the plant has finished flowering. Begin by selecting a suitable pot with drainage holes and appropriate potting mix.
Gently remove the orchid from its current pot, being careful not to damage the roots. Inspect the roots and trim any dead or rotting ones. Place the orchid in the new pot, spreading the roots evenly. Fill the pot with fresh potting mix, ensuring that the roots are covered.
Press the mixture lightly, but not too tightly, around the roots. Water the orchid thoroughly and place it back in a well-lit area, avoiding direct sunlight. With proper care, your Phalaenopsis Orchid should thrive in its new home.
Step-By-Step Repotting Process
When repotting a Phalaenopsis orchid, it is important to follow a step-by-step process. Start by gently removing the orchid from its current pot, taking care not to damage the roots. Inspect the roots closely to identify any signs of rot or damage.
If you notice any, trim them away to promote healthy growth. Next, choose a pot that is appropriate for the size of the orchid and select a suitable potting medium. Once you have prepared the pot and the medium, carefully place the orchid into the new pot, ensuring that the roots are spread out evenly.
Finally, secure the orchid in place by adding more potting medium and give it a good watering. Following these steps will help ensure that your Phalaenopsis orchid thrives in its new home.
Aftercare And Maintenance Tips
Phalaenopsis orchids require proper watering techniques to thrive. It’s crucial to understand their light and temperature requirements. When repotting, fertilizing the orchid is essential for its growth and health. You should also monitor the orchid for signs of stress or disease regularly.
By following these aftercare and maintenance tips, you can ensure the long-term success of your repotted Phalaenopsis orchid.
Common Mistakes To Avoid
When repotting a Phalaenopsis Orchid, it is crucial to avoid common mistakes. One such mistake is overwatering the orchid, as it can lead to root rot and kill the plant. Another mistake to avoid is using the wrong potting medium, as it can deprive the orchid of essential nutrients.
Additionally, repotting the orchid too frequently can disrupt its root system and cause stress. To ensure successful repotting, it is important to follow proper guidelines and techniques. This includes selecting a well-draining potting mix specifically designed for orchids, allowing the roots to breathe.
Repotting should only be done when necessary, usually every one to two years. By avoiding these common mistakes, you can ensure the health and longevity of your Phalaenopsis Orchid.
Frequently Asked Questions
Repotting your Phalaenopsis orchid is necessary to ensure its health and growth. The frequency of repotting depends on the orchid’s growth rate and potting medium. Generally, you should repot every one to two years. Blooming orchids can be repotted, but it’s best to wait until the flowers fade.
Signs that your orchid needs repotting include crowded roots, yellowing leaves, and stunted growth. While regular potting soil may seem tempting, it’s not suitable for orchids. They require a well-draining, aerated mix specifically designed for orchids. Orchid bark, sphagnum moss, and perlite are some common components of orchid potting mixes.
Proper repotting techniques, such as gently loosening the roots and trimming dead ones, will help your orchid thrive in its new home. So, give your Phalaenopsis orchid the care it deserves by repotting it when necessary!
Frequently Asked Questions On How To Repot Phalaenopsis Orchid
How Often Should I Repot My Phalaenopsis Orchid?
Phalaenopsis orchids should typically be repotted every 2-3 years or when the potting medium starts to break down. This allows for fresh nutrients and proper drainage, promoting healthy growth. However, if the orchid is overcrowded or experiencing root issues, repotting may be necessary sooner.
What Is The Best Time To Repot My Phalaenopsis Orchid?
The best time to repot a Phalaenopsis orchid is in the spring or early summer, when new root growth is most active. This gives the plant ample time to recover and establish itself before the dormant period in winter. Avoid repotting during flowering or when the plant is under stress.
How Do I Know If My Phalaenopsis Orchid Needs To Be Repotted?
Signs that your Phalaenopsis orchid may need repotting include roots growing out of the pot, yellowing or wilting leaves, poor drainage, or a strong algae or mold odor from the potting medium. Additionally, if the orchid has not bloomed for several seasons or is overcrowded, it may be time to repot.
What Potting Medium Should I Use For Repotting My Phalaenopsis Orchid?
A recommended potting medium for Phalaenopsis orchids is a well-draining mix of bark, sphagnum moss, and perlite. This provides excellent aeration and helps prevent root rot. Avoid using regular potting soil or materials that retain too much moisture, which can suffocate the orchid’s roots.
Conclusion
Repotting your Phalaenopsis orchid is a crucial step in its care and growth journey. By following the steps outlined in this blog post, you can ensure that your orchid’s new home provides the optimal environment for its health and development.
Remember to choose the right pot and potting medium, trim any damaged roots, and secure the plant in its new container. Additionally, be mindful of watering and fertilizing schedules to prevent over or undernourishing your orchid. Through careful repotting, you can help your Phalaenopsis orchid thrive and produce stunning blooms year after year.
Taking the time to repot your orchid will ultimately reward you with a flourishing plant that adds beauty and elegance to any space in your home. Happy potting!