Repotting pitcher plants is a simple yet vital task to ensure their health and longevity. Over time, these unique carnivorous plants can outgrow their containers or exhaust the nutrients in their soil, making repotting essential. By providing fresh soil and adequate space for their roots to thrive, you can help your pitcher plant continue to flourish and produce its fascinating pitcher traps. This guide will walk you through the process of how to repot pitcher plants.

When to Repot Pitcher Plants
The best time to repot pitcher plants is during their active growing season, typically in early spring or late winter. During this time, the plant is emerging from dormancy and beginning to grow, making it more adaptable to the repotting process.
You should also repot if you notice signs such as overcrowded roots, reduced pitcher production, or compacted soil, as these can indicate the plant needs a fresh environment. Avoid repotting during dormancy in winter, as this can stress the plant and hinder its development. Regularly inspecting your pitcher plant will help you determine the optimal time for repotting.
Supplies You’ll Need to Repot
To successfully repot your pitcher plant, you’ll need a few essential supplies to ensure the process goes smoothly. Here’s what you’ll need:
- A New Pot: Choose a pot that is slightly larger than the current one, with good drainage holes to prevent waterlogging. Plastic or ceramic pots often work well.
- Appropriate Soil Mix: A carnivorous plant soil mix is ideal. This typically consists of sphagnum peat moss and perlite or sand, which provide the low-nutrient conditions pitcher plants require.
- Distilled Water or Rainwater: Never use tap water, as the minerals can harm the plant.
- Pruning Shears or Scissors: For trimming away any dead roots or foliage.
- Gloves (optional): While pitcher plants are generally safe to handle, gloves can help keep your hands clean, especially when working with soil.
Having these supplies ready before starting will make the repotting process more efficient and less stressful for both you and your plant.
10 Methods How to Repot Pitcher Plants
1. Identify the Right Time for Repotting
One of the first steps in successful repotting is selecting the ideal time. For most pitcher plants, late winter or early spring is best—just before the growing season begins. This timing minimizes stress and gives the plant an opportunity to establish itself in fresh soil. Sarracenia and Heliamphora benefit from repotting while dormant, whereas tropical Nepenthes can be repotted during warm months as long as they are not flowering.
Signs your plant needs repotting include roots protruding from the drainage holes, compacted soil, or reduced pitcher production. Repotting too late in the season may cause shock or slow growth.
2. Choose the Correct Pot Size and Type
Selecting an appropriately sized pot ensures your pitcher plant has room to grow without becoming waterlogged. The new pot should be only slightly larger than the previous one—usually one or two inches wider in diameter. A pot that’s too large retains too much moisture, which can lead to root rot. Use plastic or glazed ceramic pots over unglazed clay, as the latter can wick away moisture and alter soil pH. For outdoor hardy pitcher plants, ensure the container is deep enough to protect roots from extreme cold. Drainage holes are essential, even for water-loving species, to prevent stagnation.
3. Prepare the Appropriate Carnivorous Soil Mix
Pitcher plants require nutrient-poor, acidic soil to mimic their native boggy habitats. Avoid traditional potting soil, which contains fertilizers that can harm or kill carnivorous plants. A classic mix includes sphagnum peat moss combined with perlite or horticultural sand in a 1:1 ratio. Some growers prefer long-fibered sphagnum moss for Nepenthes, which mimics their tropical conditions and holds moisture without compacting. Rinse all materials thoroughly with distilled or rainwater before use to remove any residual minerals or salts. The correct soil blend is critical for healthy root development and pitcher formation.
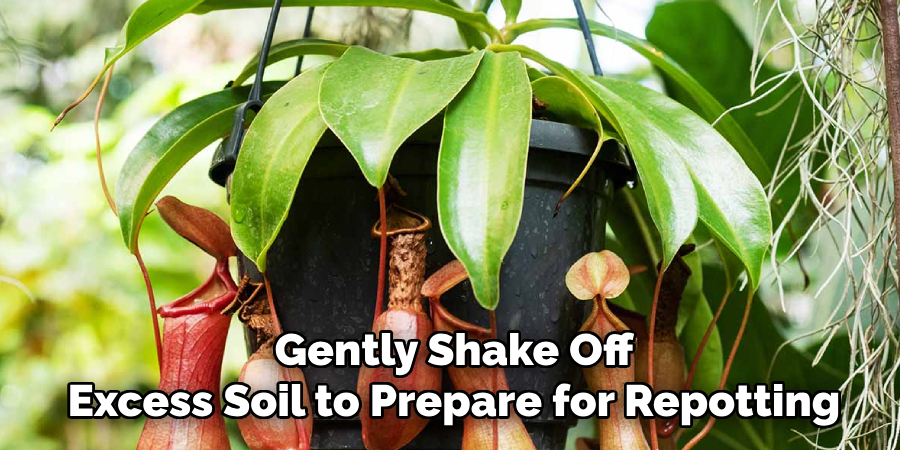
4. Gently Remove the Plant from Its Current Pot
Carefully removing the pitcher plant from its current pot is crucial to avoid damaging its roots or stems. Start by moistening the soil to make removal easier. Turn the pot sideways, and gently tap or squeeze the sides while supporting the plant at the base. Slowly slide it out, and avoid tugging directly on the crown or pitchers. If the plant resists, use a thin tool to loosen the soil around the edges. Once out, inspect the root ball for any signs of rot or entangled roots, and gently shake off excess soil to prepare for repotting.
5. Trim Dead Leaves and Damaged Roots
Before placing your plant into its new home, take the opportunity to prune away any dead, dried, or blackened pitchers and leaves. This improves airflow and prevents fungal issues post-transplant. Also, examine the roots carefully. Healthy roots should be white to tan and firm, while rotting ones will appear brown or mushy.
Use sterilized scissors to trim away unhealthy sections. Removing damaged foliage and roots redirects the plant’s energy into reestablishment and new growth, ensuring a strong recovery after repotting. Be conservative—don’t cut live, healthy pitchers unless absolutely necessary.
6. Fill the New Pot with Fresh Soil Mix
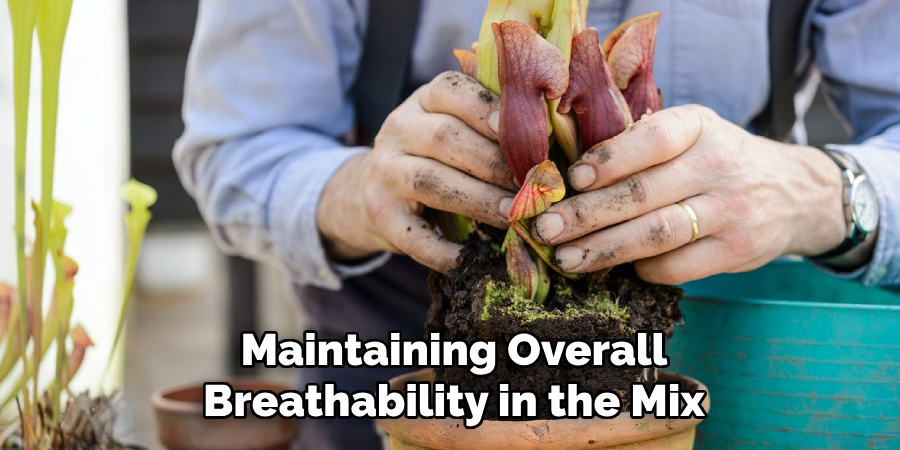
Begin by filling the new pot about halfway with your prepared carnivorous soil mix, creating a small mound in the center. Gently position the plant on top of this mound, spreading the roots evenly around it. Slowly add more soil around the roots, pressing lightly as you go to eliminate air pockets but not so much that the soil becomes compacted. Keep the plant at the same depth it was in the previous container; burying the crown too deeply can cause rot. Ensure good soil contact with the roots while maintaining overall breathability in the mix.
7. Water Thoroughly with Distilled or Rainwater
Once the plant is securely positioned in the new pot, water it generously with distilled or rainwater to help settle the soil and hydrate the roots. Tap water often contains minerals and chemicals harmful to pitcher plants, so using pure water is essential. Allow the water to drain fully to avoid pooling, which can stress newly planted roots. If the soil settles significantly, top it off with more mix and water again. The initial watering helps the plant transition into its new environment, flushing out any lingering air pockets and encouraging fresh growth.
8. Reestablish Humidity and Light Gradually
After repotting, avoid placing the plant in direct sun or harsh conditions right away. Even though pitcher plants love bright light, they can be sensitive post-repotting. Keep the plant in a sheltered location with indirect light and high humidity for several days to reduce stress. If possible, use a humidity dome or plastic bag over the pot to maintain moisture levels, especially for Nepenthes or other tropical species. Gradually reintroduce brighter light over a week or two. A slow acclimatization period helps the plant bounce back with minimal shock or pitcher loss.
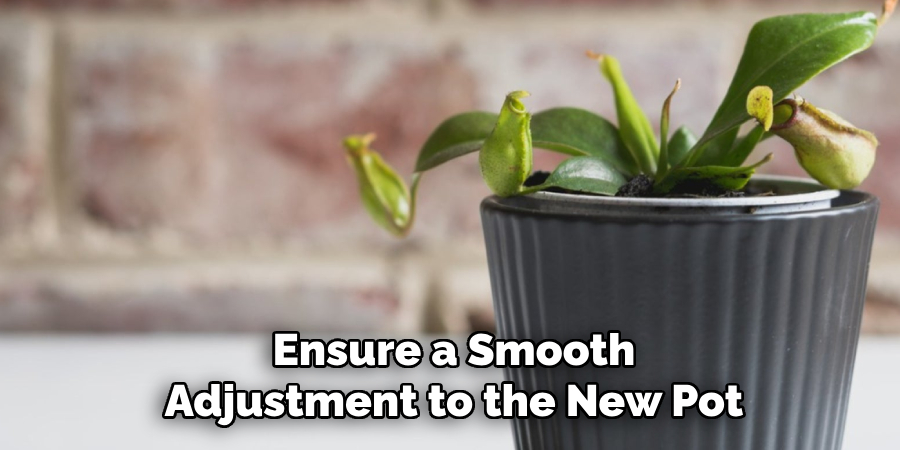
9. Avoid Feeding or Fertilizing Immediately
Repotting puts stress on the plant, and feeding it too soon can cause more harm than good. Pitcher plants do not rely on soil nutrients; they derive most of their nourishment from capturing insects. Wait at least four to six weeks before introducing any prey to your plant. If you grow your pitcher plant indoors and supplement with food, only do so once new pitchers form and appear healthy. Never use synthetic fertilizers in the soil, as they can burn the sensitive roots. Patience during this transition phase helps ensure a smooth adjustment to the new pot.
10. Monitor Closely for Signs of Recovery or Stress
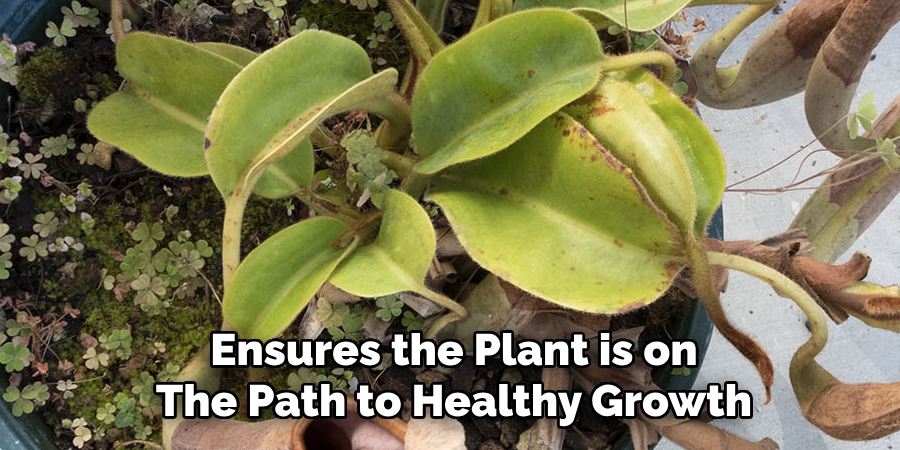
In the weeks following repotting, keep a close eye on your pitcher plant for signs of adaptation or distress. Some common signs of stress include pitcher browning, leaf wilt, or temporary growth slowdown—these are normal and usually temporary. New leaf and pitcher production within 4–6 weeks is a good indicator of successful repotting. Watch out for fungal growth, overly soggy soil, or yellowing leaves, which could signal underlying issues such as poor drainage or root damage. Regular monitoring allows for early intervention and ensures the plant is on the path to healthy growth.
Things to Consider When Repotting
When repotting, it’s essential to choose the right soil mix tailored to the specific needs of the plant. For example, many carnivorous plants prefer a low-nutrient, well-draining medium like sphagnum moss or a peat and perlite mixture. Properly sanitizing tools and pots before use helps prevent the spread of pests or pathogens.
Ensuring the new pot is appropriately sized—offering enough space for root growth without being excessively large—is another critical factor. Handle the roots gently during the process to avoid unnecessary damage, and water the plant thoroughly after repotting to settle the soil. Paying attention to environmental factors such as light, temperature, and humidity during recovery can also promote a smoother transition.
Conclusion
Repotting pitcher plants is a rewarding process that revitalizes your plant, encourages new growth, and extends its lifespan. Though the task requires care and specific conditions, following these ten detailed methods helps ensure a successful transplant with minimal stress to your plant. From choosing the right soil mix and container to acclimating your plant post-repotting, each step plays a vital role in preserving the delicate balance these carnivorous wonders require. Thanks for reading our blog post on how to repot pitcher plants! We hope you found it helpful and informative.