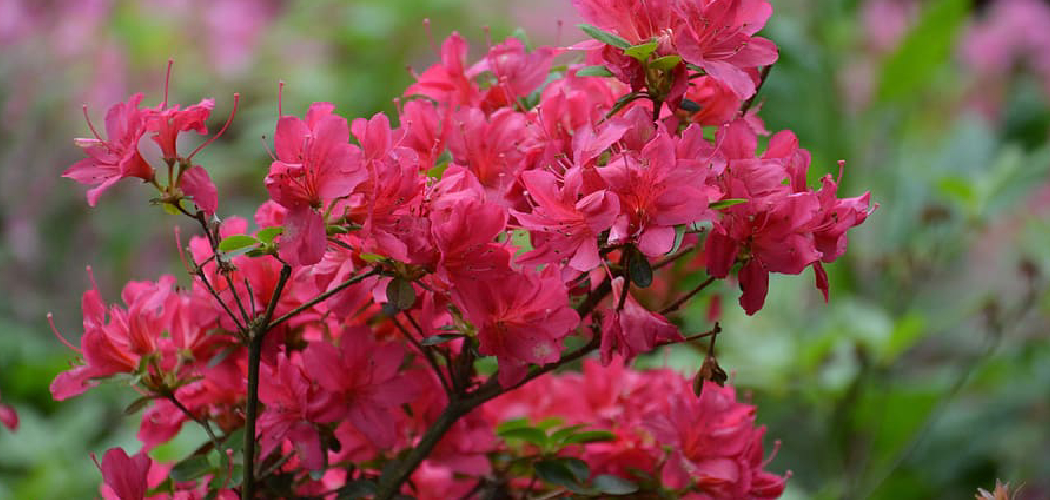
Azaleas are celebrated for their vibrant colors and ability to infuse gardens with elegance and beauty. Known for their vast variety and adaptability, these flowering shrubs are a gardener’s delight. Propagating azaleas is a cost-effective way to expand your collection, recreate cherished plants, or even share them as gifts.
Water propagation, in particular, is an accessible method for gardeners of all levels, as it simplifies the process of growing new plants. This comprehensive guide on “How to Root Azaleas Cuttings in Water” will walk you through each step, ensuring you achieve success. Whether you’re a beginner or a seasoned enthusiast, this technique is a rewarding way to grow vigorous new azaleas.
Understanding Azalea Cuttings
Why Propagate Azaleas?
Propagating azaleas is an economical way to grow more plants while preserving specific features of your favorite shrubs. With propagation, you can replicate the flower colors and growth patterns you cherish most, ensuring pass-down of beloved plants to future gardeners or friends. It’s not just about saving money—it’s deeply satisfying to nurture a plant from a cutting into a thriving shrub.
Furthermore, propagating azaleas makes maintaining the health of your garden more sustainable by reducing the need for purchasing greenhouse-grown plants.
Basics of Azalea Biology
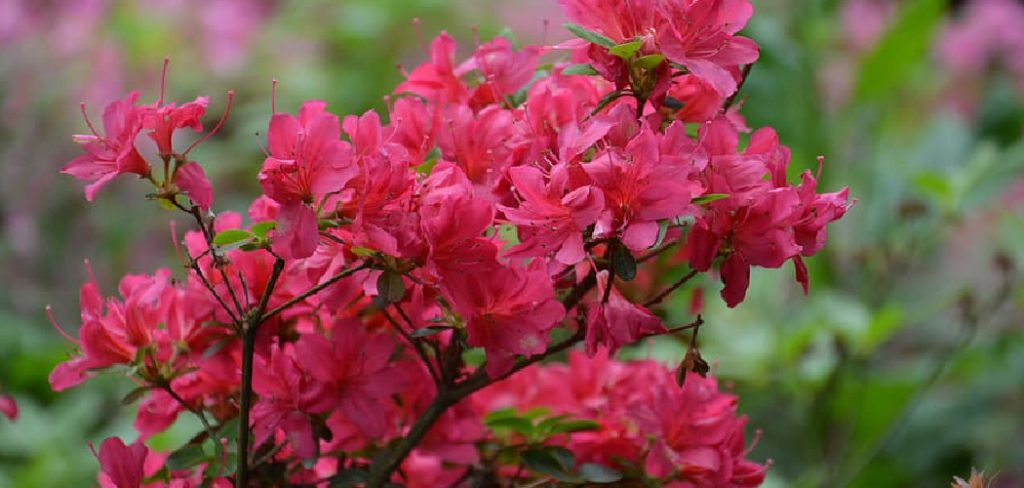
Azaleas belong to the Rhododendron genus and are admired for their adaptability and diversity. This versatile plant group includes evergreen and deciduous species, some of which root well in water. Understanding their life cycle is useful when propagating. Azaleas grow shallow roots, making them responsive to favorable propagation conditions.
However, not all species are ideal candidates for water propagation; garden hybrids and evergreen varieties commonly perform best. Familiarizing yourself with the specific varieties in your garden can inform your approach and bolster success rates.
Preparing to Root Azalea Cuttings
Selecting the Right Time for Cuttings
Timing is critical in the propagation process. Spring and early summer are the most suitable periods for rooting azalea cuttings. During this time, plants are in their active growth phase, producing fresh, green wood that roots more easily. Avoid taking cuttings during fall or winter, as plants tend to conserve their energy during dormant phases, making it harder to encourage root growth.

Weather conditions also matter—pick a day that isn’t overly hot or rainy to ensure you are working with a healthy branch.
Tools and Materials You’ll Need
Having the right tools can make a significant difference. To prepare for propagation, gather high-quality pruning shears or scissors, a clean glass jar or container, water, and rooting hormone. While rooting hormone isn’t strictly necessary, it often accelerates root growth and improves success rates. Additionally, you’ll need a sunny windowsill or similar spot for the setup.
Sterilizing your tools beforehand is vital to prevent the introduction of fungi or bacteria that may interfere with propagation. Finally, keep a spray bottle on hand to mist the cutting, helping to maintain moisture during the process.
Cutting Selection and Preparation
Choosing the Best Cuttings
The success of your azalea propagation hinges on choosing healthy, viable cuttings. Select semi-hardwood stems, which are neither too young nor too woody. Look for stems that are green, firm, and free from pests, disease, or discoloration. Ideally, the cutting should have several leaf nodes (joint areas where leaves grow) since these are the points from which roots will develop.
Avoid stems that appear too limp or overly rigid, as they may not root effectively. A robust cutting sets a strong foundation for success.
Preparing the Cutting
Once you have chosen the ideal cutting, it’s time to prepare it for water propagation. Cut a stem roughly 4–6 inches long, making sure to use sterilized tools to avoid contamination. Remove any leaves from the lower portion of the stem to expose at least two nodes that will be submerged in water.
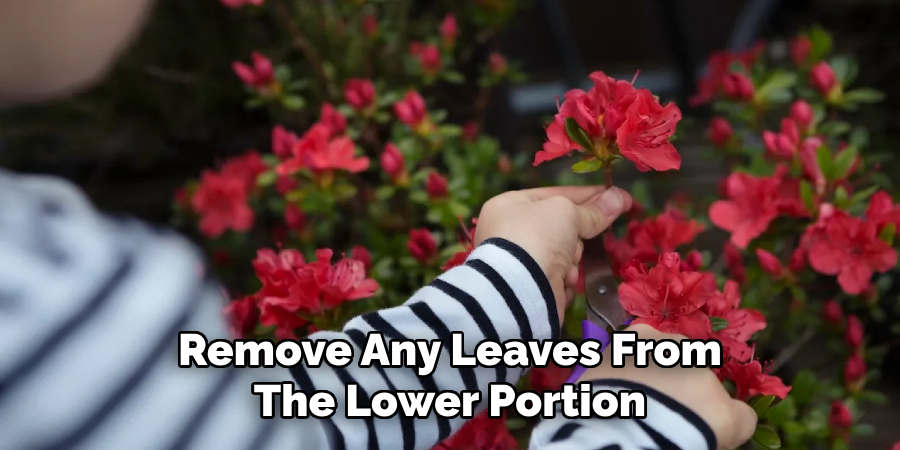
If you opt to use a rooting hormone, dip the bottom portion of the stem into the substance. This step can significantly boost root production and help protect against rot. Proper preparation ensures the cutting is ready for its next stage of growth.
How to Root Azaleas Cuttings in Water: The Water Propagation Process
Setting Up the Water Environment
Creating an optimal environment for water propagation is essential. Use a clean glass or plastic container to prevent contaminants from interfering with root development. Fill the container with distilled or filtered water, as ordinary tap water may contain minerals or chemicals that hinder root growth.
Place pebbles or support sticks in the container if multiple cuttings are gathered to keep stems upright without crowding. A clean environment not only aids in root formation but also ensures you’re fostering healthy plant development.
Placing the Cutting in Water
Immerse the bottom nodes of the cutting in water, ensuring they are submerged but that leaves remain above the surface to prevent rot. Place the container in a location that receives bright, indirect sunlight. Direct sunlight may overheat the cutting or cause the water to grow algae, which can harm the rooting process.
Monitoring temperature is also important; maintain an ambient range of 65°F–75°F for optimal results. A balanced setup encourages steady root growth with minimal intervention.
Maintaining the Cuttings as They Root
Daily Care and Observation
Vigilance is key to successful propagation. Monitor the container and top up the water regularly to maintain a suitable level for the nodes. Replace the water entirely every three to four days to ensure freshness and prevent bacteria buildup. Keep an eye on the cutting for the earliest signs of root growth, typically small white bumps that form before roots emerge. Removing any decaying leaves or stems promptly can also prevent complications.
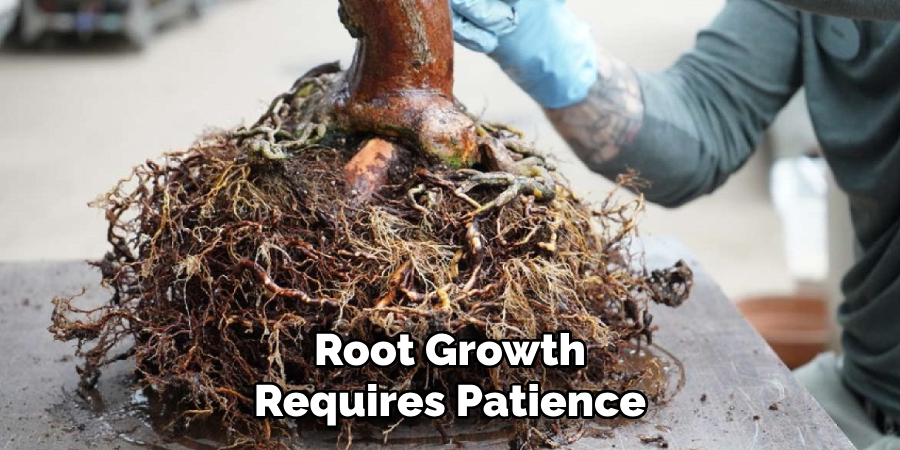
Timing Your Patience
Root growth requires patience. On average, azalea cuttings take two to six weeks to form roots, though other factors like variety or environmental care may extend this timeline. Look for roots that are at least an inch long before considering transplantation. Premature transplanting can cause shock and hinder growth progress. Persistent observation will guide you in determining the readiness of your cuttings.
Potential Challenges During Propagation
Common Problems and Solutions
Problems during water propagation aren’t uncommon, but most can be corrected with simple adjustments. Rotting stems, for instance, often indicate over-submersion or stagnating water. Address this by keeping only the nodes submerged in fresh water.
Yellowing leaves can signal stress from too much sunlight or low humidity—move the container to a shadier spot and mist occasionally. Learning to interpret and respond to these signs will improve your success rate.
Troubleshooting Growth Issues
If your cutting fails to root after several weeks, revisit your process. Was the cutting healthy? Did the container receive enough light or a suitable water change schedule? If repeated attempts fail, you might experiment with starting new cuttings directly in soil, which allows stronger initial root anchoring. Developing flexibility in your methods ensures you adapt to challenges confidently.
Transplanting Rooted Cuttings
Moving From Water to Soil
The transition from water to soil introduces your young azaleas to their new long-term environment. Prepare a pot with well-draining, acidic soil—azaleas thrive in soil with a pH of 4.5–6.0. Small containers work best initially, reducing shock potential. Gently lift each rooted cutting, taking care not to disturb the tender roots, and plant them into the prepared soil. Water lightly to settle the root system.
Caring for the New Plants
Adjusting to their new environment is a fragile period for the transplanted cuttings. To minimize stress, keep the newly potted plants in indirect sunlight and shield them from strong winds or temperature fluctuations. Gradually introduce more light over several weeks, and monitor their growth. Water only as needed, and use a diluted acid-loving plant fertilizer to encourage robust development.
Benefits of Propagation Success
Growing Your Azalea Collection
Successfully propagating azaleas brings unmatched satisfaction. Beyond the practical rewards of affordability, it allows you to experiment with growing rare or sentimental varieties. With intentional care, your azalea collection will flourish, creating a stunning showcase of your personal gardening achievements.
Sharing and Gifting Plants
Rooted azaleas carry more value as gifts than store-bought plants, symbolizing your care and effort. Share them with family or friends who love gardening or want to start their own private green space. Propagation fosters not just plants, but deeper social connections.
Common Mistakes to Avoid
Overlooking Water Quality
Failing to replace water regularly or using untreated tap water can lead to slow growth or no results at all. Prioritize quality and avoid stagnation for consistent success.
Neglecting Environmental Needs
Plants need more than water alone; light, airflow, and proper temperatures work collectively. Don’t ignore any single factor crucial to the success of rooting azaleas.

Conclusion
Rooting azaleas from cuttings in water is an enriching experience for gardeners. This straightforward yet fulfilling method opens up endless opportunities for growing stunning azaleas.
By following the steps outlined in this guide on “How to Root Azaleas Cuttings in Water,” you’ll not only expand your garden but also enjoy the profound satisfaction of nurturing life. Take the plunge into propagation and watch your efforts blossom into vibrant shrubs, bringing joy and beauty to your gardening space.