
Gardenias are beloved for their fragrant white flowers and glossy green leaves, making them a popular choice among gardeners. Successfully propagating gardenias through rooting allows you to grow new plants from cuttings, ensuring that the beauty of this ornamental shrub can be enjoyed in multiple areas of your garden.
While the process requires patience and a bit of care, it is an achievable task for gardeners of all skill levels. This guide will walk you through how to root gardenias, providing tips and techniques to help simplify the task.
Benefits of Rooting Gardenias
Rooting gardenias offers several advantages for gardening enthusiasts. Firstly, it is a cost-effective way to expand your garden, as you can grow multiple plants from a single gardenia. This method also allows you to preserve specific characteristics of a parent plant, such as particularly vibrant blooms or a strong fragrance.
Additionally, rooted gardenias can be shared with friends and family, making it a personal and thoughtful gift. By propagating your own gardenias, you also have the satisfaction of nurturing a plant from its earliest stages, enhancing your connection to your garden and further developing your gardening skills.
Methods for Rooting Gardenias
There are several effective methods for rooting gardenias, each with its own steps and benefits. The most commonly used techniques include water propagation and soil propagation. With both methods, it is crucial to select healthy, semi-hardwood cuttings from the parent plant. These cuttings should be approximately four to six inches long and have several leaves attached, but the lower leaves should be removed to expose the nodes where roots will form.
Water Propagation
Water propagation involves placing the prepared cuttings into a container of clean, room-temperature water. Be sure the exposed nodes are submerged, while the remaining stem and leaves stay above water. Place the container in a bright location with indirect sunlight and change the water every few days to prevent stagnation. Root growth may take several weeks, at which point the cutting can be transplanted into soil.
Soil Propagation
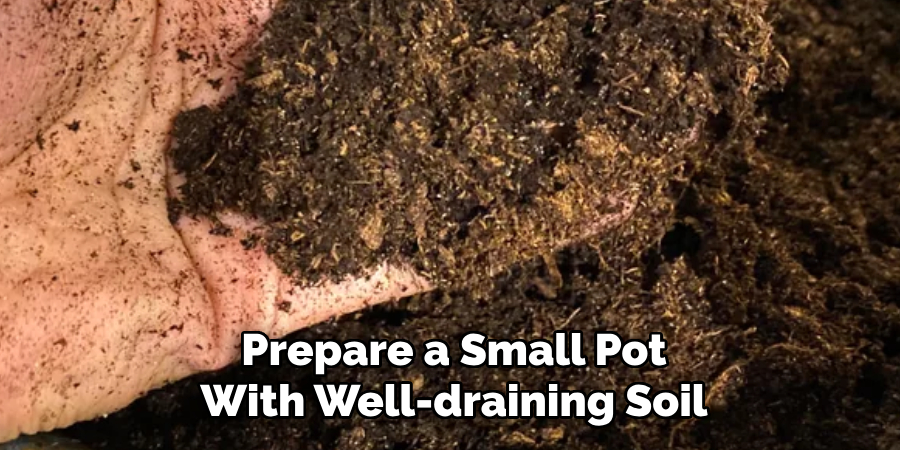
For soil propagation, prepare a small pot with well-draining soil or a mix of sand and peat moss. Dip the cut end of the gardenia cutting into rooting hormone to encourage faster root development. Insert the cutting one to two inches into the soil, ensuring the exposed nodes are well-covered. Water the soil lightly and cover the pot with a plastic bag or wrap to create a humid environment. Place the pot in a warm, bright spot with indirect light, and check regularly to maintain moisture levels. Roots should begin forming within a few weeks.
Both methods can yield successful results, so choose the one that best suits your preferences and resources. With time and proper care, your gardenia cuttings can transform into healthy, vibrant plants.
10 Methods How to Root Gardenias
1. Choosing the Right Cutting for Rooting
The first step to successfully rooting gardenias is selecting the right cutting. The best cuttings come from semi-hardwood stems—branches that are not too young and tender but not fully woody. The ideal length of the cutting should be around 4–6 inches. Select a healthy branch with several leaf nodes and no flowers or buds, as these can slow root development. Using clean, sharp pruning shears, cut the stem at a slight angle just below a node, as this is where new roots are most likely to develop.
2. Preparing the Cutting for Optimal Rooting
Once the cutting is taken, it’s essential to remove the lower leaves, leaving only a couple at the top. This reduces moisture loss and prevents excessive transpiration. If the leaves are large, cutting them in half can help reduce water loss while still allowing the plant to photosynthesize. At this stage, you can also make a small vertical slit at the base of the stem to encourage root formation. Proper preparation ensures that the cutting directs all its energy toward root development rather than maintaining unnecessary foliage.
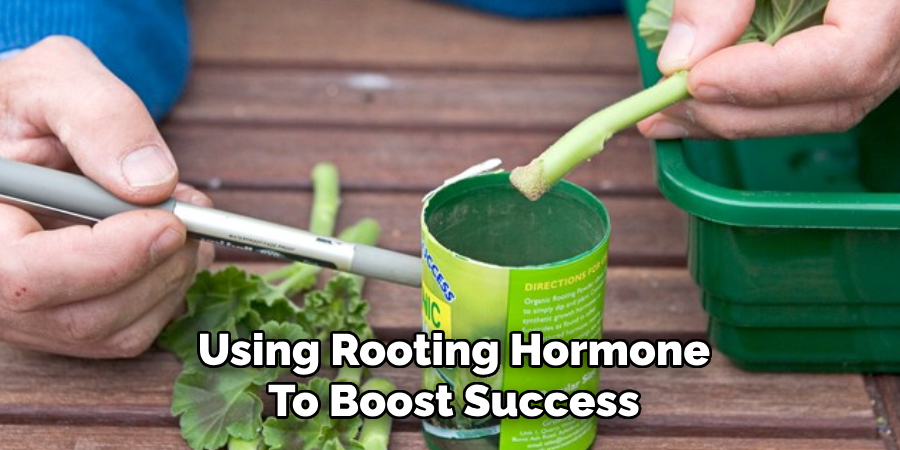
3. Using Rooting Hormone to Boost Success
Applying rooting hormone significantly improves the chances of successful gardenia propagation. Rooting hormone comes in powder, liquid, or gel form, and all work well for stimulating root growth. Dip the cut end of the gardenia stem into the rooting hormone, ensuring that at least an inch of the stem is coated. Gently tap off any excess powder before planting. This step helps speed up the rooting process and strengthens the cutting’s ability to establish itself.
4. Choosing the Right Soil or Growing Medium
The growing medium plays a crucial role in successful rooting. Gardenia cuttings need a well-draining, aerated medium to prevent rot while providing adequate moisture. A mixture of peat moss and perlite or sand and vermiculite is ideal. These mediums retain enough moisture for root development without becoming overly soggy. Avoid using garden soil, as it can be too dense and may harbor bacteria or fungi that could hinder root growth.
5. Planting the Cutting at the Correct Depth
After preparing the cutting, it’s time to plant it in the growing medium. Use a pencil or stick to create a hole in the soil to prevent the rooting hormone from rubbing off. Insert the cutting about 1–2 inches deep, ensuring at least one leaf node is below the soil level. Gently press the soil around the cutting to secure it and provide stability. Proper planting depth is essential to give the cutting the best chance of developing strong roots.
6. Creating a Humid Environment for Rooting
Gardenia cuttings require high humidity to root successfully. One of the best ways to maintain humidity is by covering the pot or tray with a clear plastic bag or a humidity dome. Make sure the plastic does not touch the leaves by propping it up with small stakes. You can mist the cutting lightly with water before covering it to enhance humidity. Keeping the humidity levels high prevents the cutting from drying out and promotes root formation.
7. Providing Indirect Light for Healthy Growth
Light plays a vital role in the rooting process. While gardenia cuttings need bright, indirect light, direct sunlight can cause dehydration. Place the cuttings in a location with filtered sunlight, such as near a north- or east-facing window. If growing indoors, using a grow light set to 12–14 hours per day can help maintain optimal light levels. Proper lighting ensures that the cutting remains healthy and continues photosynthesis without excessive stress.
8. Maintaining Optimal Temperature and Warmth
Gardenia cuttings root best in warm temperatures, ideally between 70–75°F (21–24°C). Cold temperatures slow down the rooting process, while excessive heat can cause the cuttings to dry out. Using a heating mat underneath the propagation tray can help maintain consistent warmth, especially in cooler climates. Avoid placing the cuttings near air vents, heaters, or drafty windows, as temperature fluctuations can negatively affect root formation.
9. Watering and Monitoring Moisture Levels
Proper watering is crucial for successful rooting. The soil should be kept moist but not waterlogged. Overwatering can cause the cuttings to rot, while underwatering can lead to dehydration. Check the soil daily by touching the surface—if it feels dry, mist the soil lightly with water. Using a spray bottle can help control the moisture level more effectively than pouring water directly onto the soil. Ensuring consistent moisture without over-saturation is key to healthy root development.
10. Transplanting the Rooted Cuttings
After about 6–8 weeks, the gardenia cuttings should develop roots. To check if the roots are established, gently tug on the cutting—if you feel resistance, the roots have formed. Once the roots are at least 1–2 inches long, it’s time to transplant the cutting into a larger pot with nutrient-rich, well-draining soil.
A mix of peat moss, pine bark, and perlite is ideal for continued growth. Carefully remove the cutting from its propagation medium, taking care not to damage the delicate roots. Water the newly transplanted cutting and place it in a bright, warm location.
Things to Consider When Propagating Gardenias
Propagating gardenias can be a rewarding experience, but there are several factors to keep in mind to ensure success. First, timing is crucial—gardenias propagate best during spring or early summer when the plant is actively growing. Attempting propagation during colder months can lead to slower or unsuccessful rooting. Second, hygiene is essential throughout the process.
Always use clean tools and sterile growing mediums to prevent infections or diseases that could harm the cuttings. Additionally, monitor for pests, such as spider mites or aphids, which can damage the cuttings and hinder their growth.
Lastly, patience is key—rooting gardenia cuttings takes time, and rushing the process may damage immature roots. By carefully considering these factors, you can improve the likelihood of successful gardenia propagation.
Conclusion
Rooting gardenias successfully requires careful attention to detail, from selecting the right cutting to providing the ideal growing conditions. By following these ten methods—choosing a healthy stem, using rooting hormone, maintaining high humidity, ensuring proper light and temperature, and monitoring moisture levels—you can propagate gardenias effectively.
While patience is needed, the reward is a beautiful, fragrant gardenia plant that can thrive in your home or garden for years to come. Thanks for reading our blog post on how to root gardenias! We hope you found it helpful and informative.