To separate a peace lily, carefully remove the plant from its pot and gently separate the roots with your hands. Peace lilies are popular houseplants known for their lush foliage and elegant white flowers.
If you want to propagate or repot your peace lily, it is essential to know how to separate it properly. Separating a peace lily involves delicately removing the plant from its current container and gently separating the roots. This process allows you to divide the plant into multiple sections, each with its own set of roots and leaves.
By following a few simple steps, you can successfully separate your peace lily and help it thrive in its new environment. We will provide you with a step-by-step guide on how to separate a peace lily effectively.

Credit: www.homesandgardens.com
Choosing The Right Time
Knowing the optimal time to separate your peace lily is crucial for ensuring its successful growth and development. By understanding the needs of your plant, you can choose the perfect moment to carry out this delicate process. In this guide, we will discuss the two best seasons for separating peace lilies, namely spring and early summer.
Spring Or Early Summer
Spring and early summer are the ideal seasons to separate peace lilies because they coincide with the plant’s natural growth cycle. During these periods, the peace lily is at its peak in terms of vitality and resilience. This makes it more likely to withstand the transplantation process and adjust to its new environment more easily.
By separating your peace lily during spring or early summer, you provide it with optimal conditions for root development, ensuring the best chances of survival. The plant’s energy is focused on new growth during this time, allowing it to recover swiftly from any stress caused by separation.
It’s important to remember that peace lilies are sensitive to temperature changes. Therefore, it’s advisable to wait until any potential frost has passed and the weather has warmed up consistently.
Here are a few advantages of separating your peace lily during spring or early summer:
- The plant’s active growth phase during this time promotes faster root establishment and overall development.
- Increased warmth and sunlight provide optimal conditions for post-separation recovery.
- The plant is more likely to adjust to its new environment and overcome any transplantation stress.
Remember, a healthy and thriving peace lily will have a greater chance of successfully surviving separation and flourishing in its new location. It’s essential to ensure that your plant is in good condition before proceeding with the separation process.
Healthy Plant
Optimal plant health plays a vital role in the success of separating your peace lily. A plant that is robust and disease-free will have a higher chance of surviving and thriving during and after the separation process.
Here are a few signs to look out for to determine if your peace lily is healthy:
| Signs of a Healthy Peace Lily |
|---|
| – Vibrant green leaves |
| – No signs of discoloration or yellowing |
| – Strong, sturdy stems |
| – Adequate leaf and flower production |
| – Absence of pests or diseases |
If your peace lily exhibits any signs of poor health, it’s essential to address these issues before considering separating it. Ensure that the plant is well-nourished, receiving the correct amount of water and light, and is free from any common pests or diseases.
In conclusion, spring and early summer are the ideal seasons to separate peace lilies due to their natural growth cycle. By choosing the optimal time and ensuring the plant’s health, you maximize the chances of success and help the newly separated peace lilies thrive in their new environment.
How to Separate Peace Lily : Step by Step Guide
Preparing The Plant
When separating a peace lily, prepare the plant by gently removing it from its pot. Gently tease the roots apart, ensuring each division has a good root system attached. Once divided, replant each section into its own container with fresh potting mix and water thoroughly.
Watering The Plant
Proper watering is essential to facilitate the separation process of your peace lily. Begin by thoroughly watering the plant a day or two before you plan to divide it. This ensures that the roots are well-hydrated and less likely to experience shock during the separation process. Remember: A well-watered plant is better able to withstand the stress of division.
Trimming Foliage
Trimming the foliage of your peace lily before separating it not only makes the process easier but also promotes healthier growth. Start by using clean, sharp pruning shears to trim back any excessive foliage. Pro tip: Aim to remove no more than one-third of the plant’s leaves to keep it healthy and avoid excessive stress. Remove any yellowing or damaged leaves as well.
After trimming the foliage, divide the larger clump into smaller sections. Each section should have a few stems and a healthy root system. If the roots have grown together tightly, use your hands or a clean gardening tool to gently separate them.
Note: If you have multiple sections, it becomes easier to prepare each section separately.
Separating The Plant
When it comes to propagating your peace lily, one of the most effective methods is by separating the plant. This process involves carefully removing the plant from its pot and separating the roots into individual sections. By following these steps, you can successfully propagate your peace lily and expand your indoor garden. Let’s explore how to do it.
Gently Remove From Pot
To begin, gently remove the peace lily from its pot. Carefully hold the base of the plant and tilt it to the side, assisting with your other hand if needed. Be cautious not to damage the leaves or roots during this process. Slowly lift the plant out of the pot, allowing any excess soil to fall away. If the plant seems stuck, gently tap the sides of the pot or use a clean trowel to loosen it.
Separating Roots
Once the peace lily is out of its pot, it’s time to separate the roots. Carefully inspect the root ball and identify any natural divisions or individual sections. Each section should have a healthy amount of roots and a few stems. Using clean and sharp gardening shears, carefully divide the root ball into separate sections. Make sure each section has its own set of roots and stems, as this will promote successful growth.
Unordered List
– Gently remove the peace lily from its pot.
– Lift the plant carefully, avoiding damage to leaves and roots.
– Allow any excess soil to fall away.
– If the plant is stuck, tap the sides of the pot to loosen it.
Ordered List
- Inspect the root ball and identify natural divisions.
- Ensure each section has sufficient roots and a few stems.
- Use clean and sharp gardening shears for dividing.
- Carefully separate the root ball into individual sections.
By carefully separating the roots, you ensure each section has the necessary nutrients and resources to thrive once potted separately. Remember to use clean and sterile shears to prevent any potential diseases or infections. Once you have successfully divided the peace lily, you can place each section into its own pot with fresh soil. Provide adequate water and light, and soon you’ll see new growth emerging from each of the separated sections. Now you’re ready to expand your indoor garden with healthy and vibrant peace lilies!

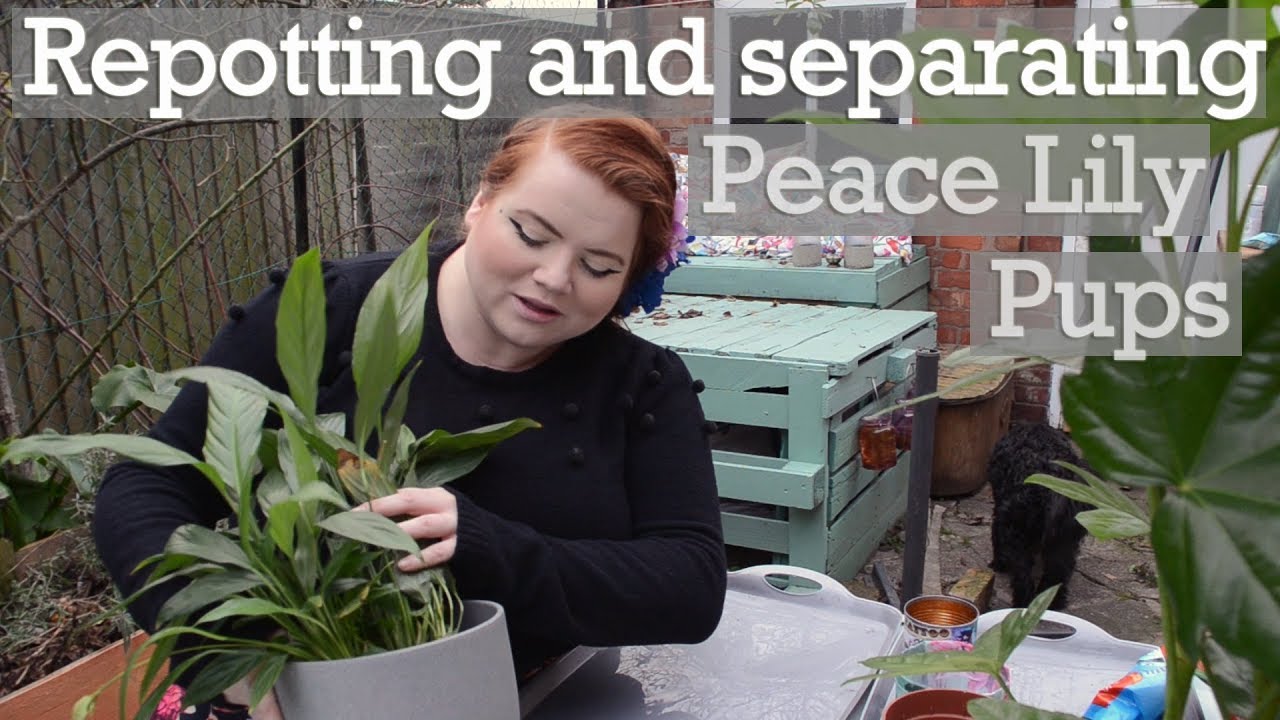
Credit: m.youtube.com
Repotting The Divisions
Once you have successfully separated your peace lilies, it’s time to repot them into fresh, spacious pots. This crucial step will provide the divided plants with enough room to grow and thrive. In this section, we will guide you through the process of selecting new pots and ensuring you use fresh soil.
Selecting New Pots
Choosing the right pots for your newly divided peace lilies is essential to their future growth. Opt for pots that are slightly larger than the previous ones, allowing the roots enough space to expand. When selecting pots, take into consideration their drainage capabilities. It’s crucial to choose pots with drainage holes, allowing excess water to escape and preventing your plant from becoming waterlogged.
Using Fresh Soil
The soil you use plays a vital role in the health and well-being of your peace lilies. Before repotting, make sure you have fresh potting soil prepared. This will ensure your peace lilies receive the necessary nutrients and avoid any potential diseases or pests. Use a well-draining potting mix that contains a good balance of organic matter to promote optimal growth.
Gently place your divided peace lilies into the fresh soil, ensuring the roots are well-covered and the plant is positioned at the same depth as in its previous pot. Press down the soil gently to ensure stability while avoiding compacting it too tightly around the roots.
Now that you have repotted your peace lily divisions into new pots with fresh soil, it’s time to give them a good watering. Be careful not to overwater – ensure the soil is moist but not waterlogged. Place the newly repotted divisions in a well-lit area with indirect sunlight to help them establish their roots in their new environment.
Caring For The New Plants
After successfully separating your peace lilies, it’s crucial to provide proper care to the new plants to ensure their healthy growth. Here are some essential tips for caring for the newly separated peace lily plants.
Proper Watering
Water the new peace lily plants when the top inch of the soil feels dry. Use room temperature water, and ensure that it drains freely from the bottom of the pot. Avoid overwatering, as this can lead to root rot. Ensure the soil is moist but not waterlogged to maintain the plant’s health.
Indirect Sunlight
Place the newly separated peace lily plants in an area with indirect sunlight. Avoid exposing them to direct sunlight, as this can cause sunburn on the leaves. Find a spot with bright, filtered light to foster healthy growth and vibrant foliage.

Credit: www.pinterest.com
Frequently Asked Questions Of How To Separate Peace Lily
How Do You Multiply Peace Lilies?
To multiply peace lilies, you can divide the root ball into smaller sections, making sure each section has several leaves and roots. Plant each section in a separate pot with fresh potting mix. Keep the plants in a warm and humid environment and water regularly.
How Do You Thin Out A Peace Lily?
To thin out a peace lily, gently remove overcrowded or damaged foliage by cutting the stems close to the base of the plant. Regularly pruning will encourage healthy growth and maintain the plant’s overall appearance.
When Should I Repot My Peace Lily?
Repot your peace lily when its roots outgrow its current container. Look for roots protruding through drainage holes or a compact root ball. The ideal time is in spring or early summer.
Do Peace Lilies Like To Be Root Bound?
Peace lilies prefer not to be root bound, as they thrive best when their roots have room to expand. Providing the right pot size allows healthy growth and prevents stunting or stress on the plant. Be sure to give your peace lily ample space to spread its roots for optimal growth.
Conclusion
Separating a peace lily can be a straightforward process with the right tools and techniques. By following the steps outlined in this guide, you can give your plant the space it needs to thrive and continue to bring beauty into your home.
Remember to be gentle with the plant’s root system and to provide proper care and maintenance after separation to ensure its successful growth. Happy gardening!