
Overcrowded pots can be a common issue for plant enthusiasts, leading to stunted growth, limited access to essential nutrients, and poor airflow. When multiple plants share the same container for an extended period, their roots become tangled, competing for space, water, and nutrients. This overcrowding not only hampers the health of the plants but also diminishes their aesthetic appeal over time.
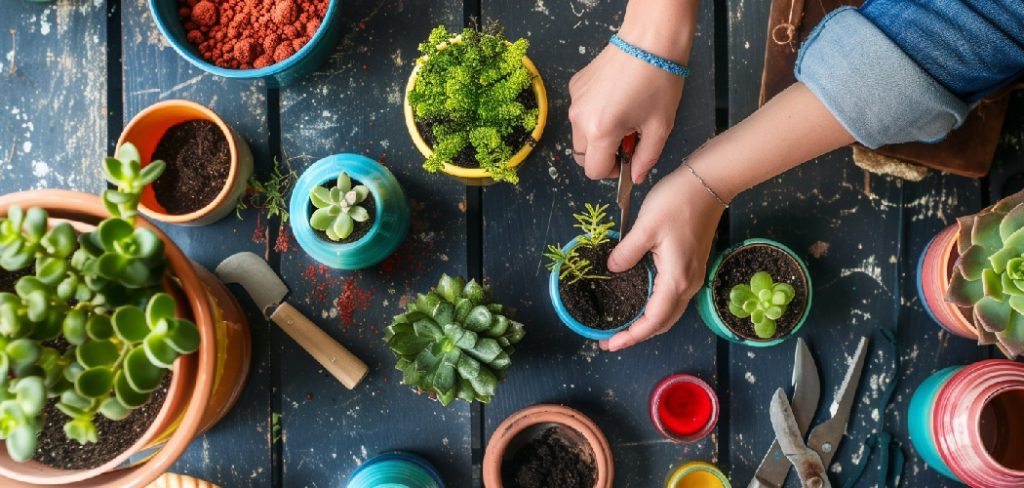
Separating plants in a shared pot is a crucial step in encouraging healthier root systems and promoting better overall plant development. By giving each plant its own dedicated space, you ensure it has the resources needed to thrive and grow stronger.
This guide will walk you through when and how to separate plants in the same pot, providing practical advice and tips to minimize transplant shock while maximizing success. With the right techniques, you can help your plants flourish, enhancing the beauty of your indoor or outdoor garden.
Signs It’s Time to Separate Your Plants
Recognizing when to separate your plants is crucial for maintaining their health and promoting continued growth. Overcrowding in a single pot can lead to several noticeable signs that it’s time to take action.
Overcrowding and Limited Growth
One of the most common indicators is when plants appear too tightly packed in the pot. Their leaves may overlap and compete for space, reducing airflow and light penetration. This can hinder photosynthesis and overall growth, especially if the crowding persists.
Root-Bound Symptoms
Another clear sign is root-bound conditions. If you notice roots circling the inside of the pot or growing out of the drainage holes, it’s a signal that the current space is too small. Root-bound plants struggle to absorb water and nutrients effectively, which can stress the plant.
Yellowing or Drooping Leaves
Yellowing or drooping leaves can indicate nutrient deficiencies caused by intense competition between plants in the same pot. When multiple plants vie for limited resources, some may fail to get the nourishment they need to thrive.
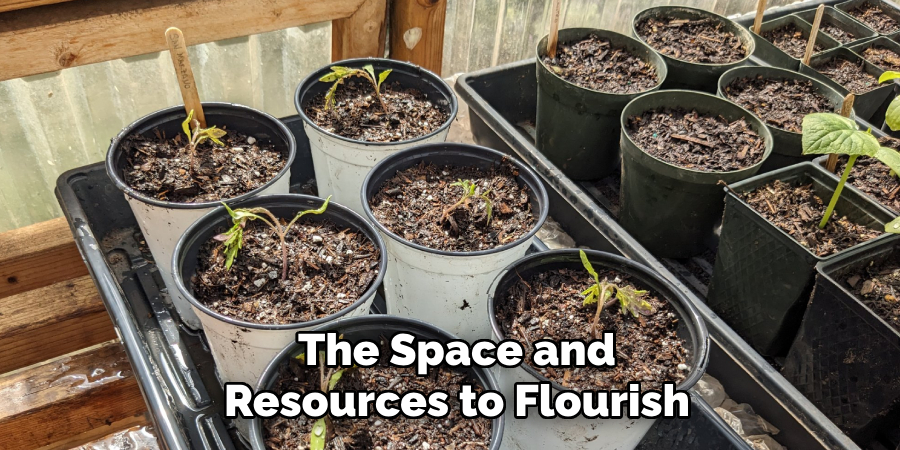
Stunted or Uneven Growth
If one plant dominates the pot while others appear weak or fail to grow, it’s a sign of unhealthy competition. Separating the plants will help restore balance and ensure each has the space and resources to flourish. By addressing these issues early, you can promote healthier, more vibrant plants in your garden.
Tools and Materials You’ll Need
When separating plants to ensure healthier growth, having the right tools and materials at hand is crucial. Here’s what you’ll need:
- Clean, sharp scissors or pruning shears – These will help you trim roots or foliage with precision, minimizing damage to the plants.
- Trowel or small garden shovel – Essential for gently lifting plants out of their current pots without harming their roots.
- Extra pots with drainage holes – Make sure each new pot is appropriately sized and allows excess water to drain, preventing root rot.
- Fresh potting soil appropriate for plant type – Using the right soil ensures proper nutrients and support for the separated plants.
- Watering can or spray bottle – Keep the soil moist to help the plants adjust after separation.
- Gloves (optional) – Useful for protecting hands while working with sensitive skin or prickly plants.
- Rooting hormone (optional) – Encourages regrowth and reduces transplant shock, especially helpful for plants with delicate root systems.
Having these items on hand will make the process smoother and improve the chances of success in replanting separated plants.
Preparing the Plants for Separation
Watering Ahead of Time
Before starting the separation process, water your plants a few hours in advance. This helps to soften the soil, making it easier to remove the plant from its pot or garden bed without causing unnecessary damage to the roots. Proper hydration also prepares the plant for the stress of being divided and reduces the risk of transplant shock.
Choosing the Right Time
Timing is crucial when separating plants. For the best recovery and regrowth, carry out this process during the active growing season, which is typically in spring or early summer. During this period, the plants are in their most vigorous phase of development, making them more resilient to the disruption caused by division.
Setting Up Your Workspace
Prepare a suitable workspace in advance to ensure the separation process goes smoothly. Choose a shaded area to protect sensitive roots from direct sunlight. Make sure you have all your tools, pots, and materials—such as fresh soil and any optional items like rooting hormone—ready and within reach. This allows you to handle the roots gently and efficiently replant them with minimal delay, giving the plants the best chance to thrive in their new environment.
How to Separate Plants in the Same Pot: Separating the Plants Step-by-Step
Step 1: Remove Plants from the Pot
Begin by gently squeezing or tapping the sides of the pot to loosen the root ball. This will help the soil and roots come away from the container without causing damage. Carefully lift the plant and soil mass out of the pot, supporting it with one hand at its base. Be cautious not to tug on the plant’s stems or leaves to avoid breakage.
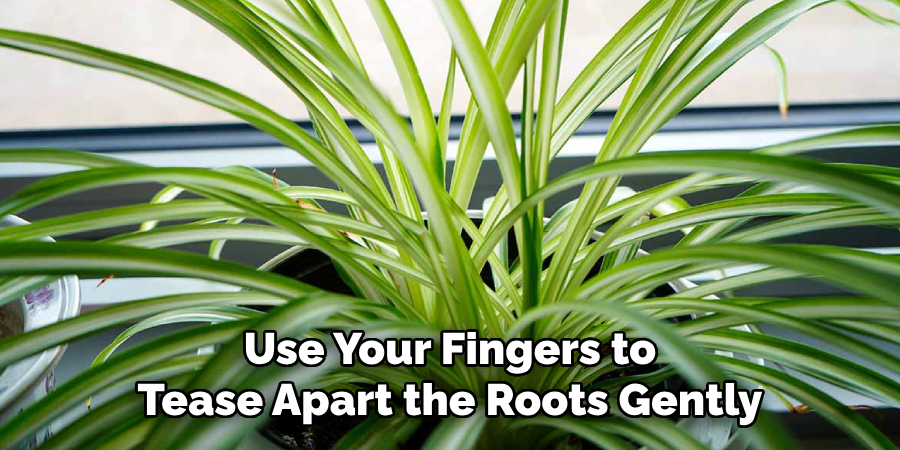
Step 2: Loosen the Root Ball
Once removed, use your fingers to tease apart the roots gently. Start from the edges of the root ball and gradually work your way inward. If the roots are particularly dense or compacted, you may need to spend a little extra time loosening them to avoid stress to the plant. This step ensures that the roots of each individual plant can spread out properly after separation.
Step 3: Separate Individual Plants
Examine the root ball to identify natural separations—these are usually plants with their own distinct stems and root systems. Gently pull these sections apart. If some roots are too entangled to separate cleanly, use a sterilized pair of scissors to cut through the tangled roots. Take your time to avoid damaging major roots, as this can hinder the plant’s recovery.
Step 4: Trim Damaged or Excess Roots
Inspect the roots of each separated plant for any signs of damage, such as brown, mushy, or dead sections. Use clean scissors to trim these areas, as well as any roots that are excessively long. Trimming helps stimulate healthier root growth and ensures the plant’s energy is directed toward thriving in its new environment.
Replanting Each Plant
Choosing the Right Pot Size
Select a pot that is slightly larger than the root ball of each separated plant. This ensures there is enough room for growth without overwhelming the plant with excess soil, which can retain too much water and lead to root rot. Proper drainage holes in the pot are also essential to prevent waterlogging.
Adding Fresh Soil
Prepare the pot by filling it with fresh potting mix designed for the specific plant type. Leave enough space in the center for the roots to sit comfortably without being crowded. The new soil will provide vital nutrients to aid in the plant’s recovery and continued growth.
Placing the Plant
Position the plant upright in the center of the pot, ensuring the roots are evenly distributed. Gradually fill the space around the roots with soil, pressing it gently to secure the plant. Avoid packing the soil too tightly, as this can restrict airflow to the roots.
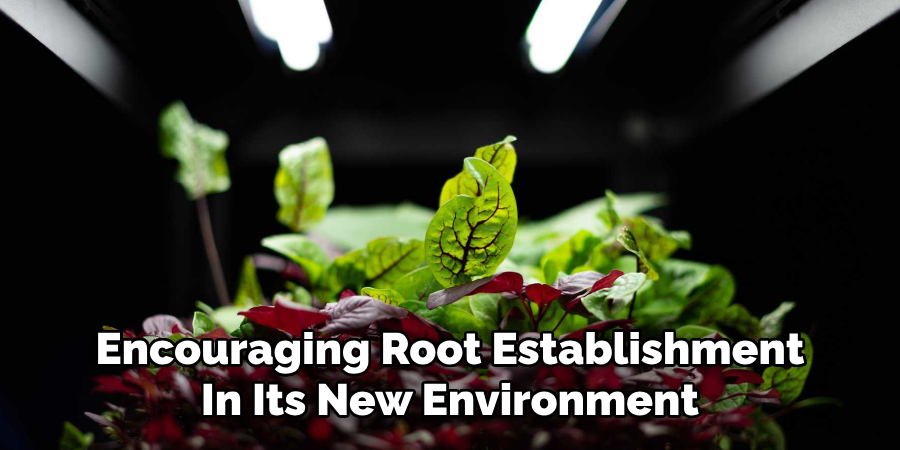
Water Thoroughly
After planting, water the soil slowly and evenly to help it settle around the roots. This initial thorough watering is critical for hydrating the plant and encouraging root establishment in its new environment.
Optional: Apply Rooting Hormone
For an added boost, lightly coat the trimmed roots with a rooting hormone before planting. This can promote faster recovery and stimulate new root growth, especially for plants that are slow to establish.
Post-Separation Care Tips
Provide Shade and Reduce Stress
After separating and repotting, place the plants in a location with indirect light for a few days. This helps reduce stress and allows the roots to adjust to their new environment without the added strain of direct sunlight.
Monitor Watering
Keep the soil consistently moist but not overly saturated during the recovery period. Proper moisture helps the plant regain its strength and supports root development while preventing overwatering issues like root rot.
Watch for Signs of Stress
It is common for plants to exhibit signs of stress after being repotted. Look out for yellowing leaves, wilting, or leaf drop, which are all typical responses. These symptoms should begin to improve within a week as the plant adapts.
Avoid Fertilizing Immediately
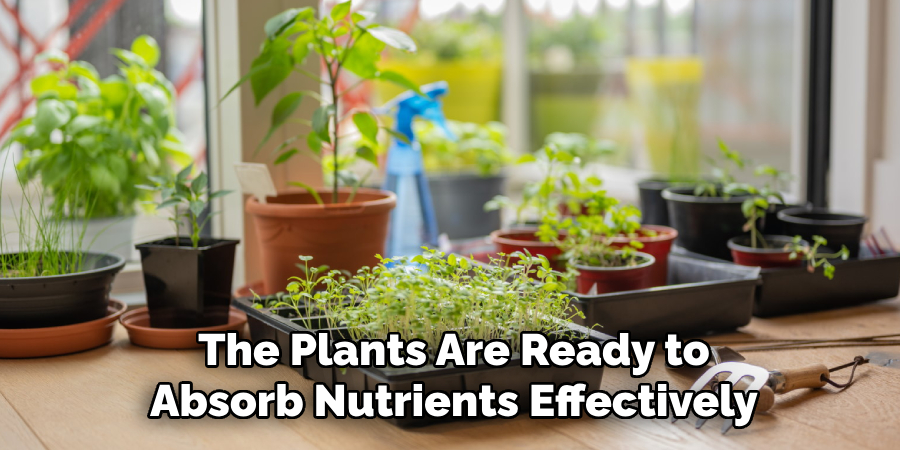
Plants need time to recover from the separation process, so it’s best to hold off on applying fertilizer for 2–4 weeks. Adding fertilizer too soon can overwhelm the roots while they are still healing and potentially cause further stress. Waiting ensures that the plants are ready to absorb nutrients effectively.
Conclusion
Separating plants in the same pot helps each one thrive with more space, nutrients, and airflow. By learning how to separate plants in the same pot, you can ensure healthier growth and reduce competition among their roots. With the right tools, gentle handling, and proper aftercare, you can easily divide and repot plants with minimal stress. Regular maintenance, including repotting and separation, promotes long-term plant health and enhances the beauty of your indoor or outdoor garden. Remember that patience and careful observation are key to helping your plants adjust and flourish after the separation process.