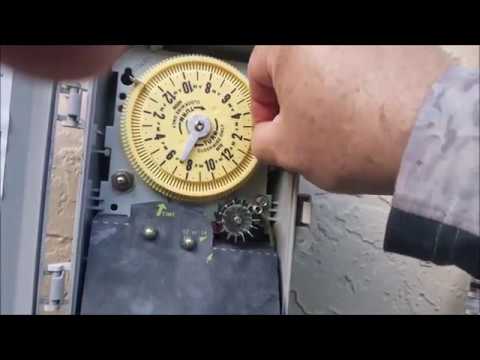
To set a sprinkler timer, locate the timer control panel, press the “set” button, and use the arrow keys to adjust the time and watering schedule. Setting the sprinkler timer is an essential task to ensure proper irrigation of your lawn or garden.
By accurately configuring the timer, you can control when and for how long your sprinklers operate, saving water and promoting healthy plant growth. We will guide you through the process of setting the sprinkler timer using simple steps that anyone can follow.
Whether you are a beginner or have experience with irrigation systems, our instructions will help you achieve an efficient and effective watering schedule for your landscape.
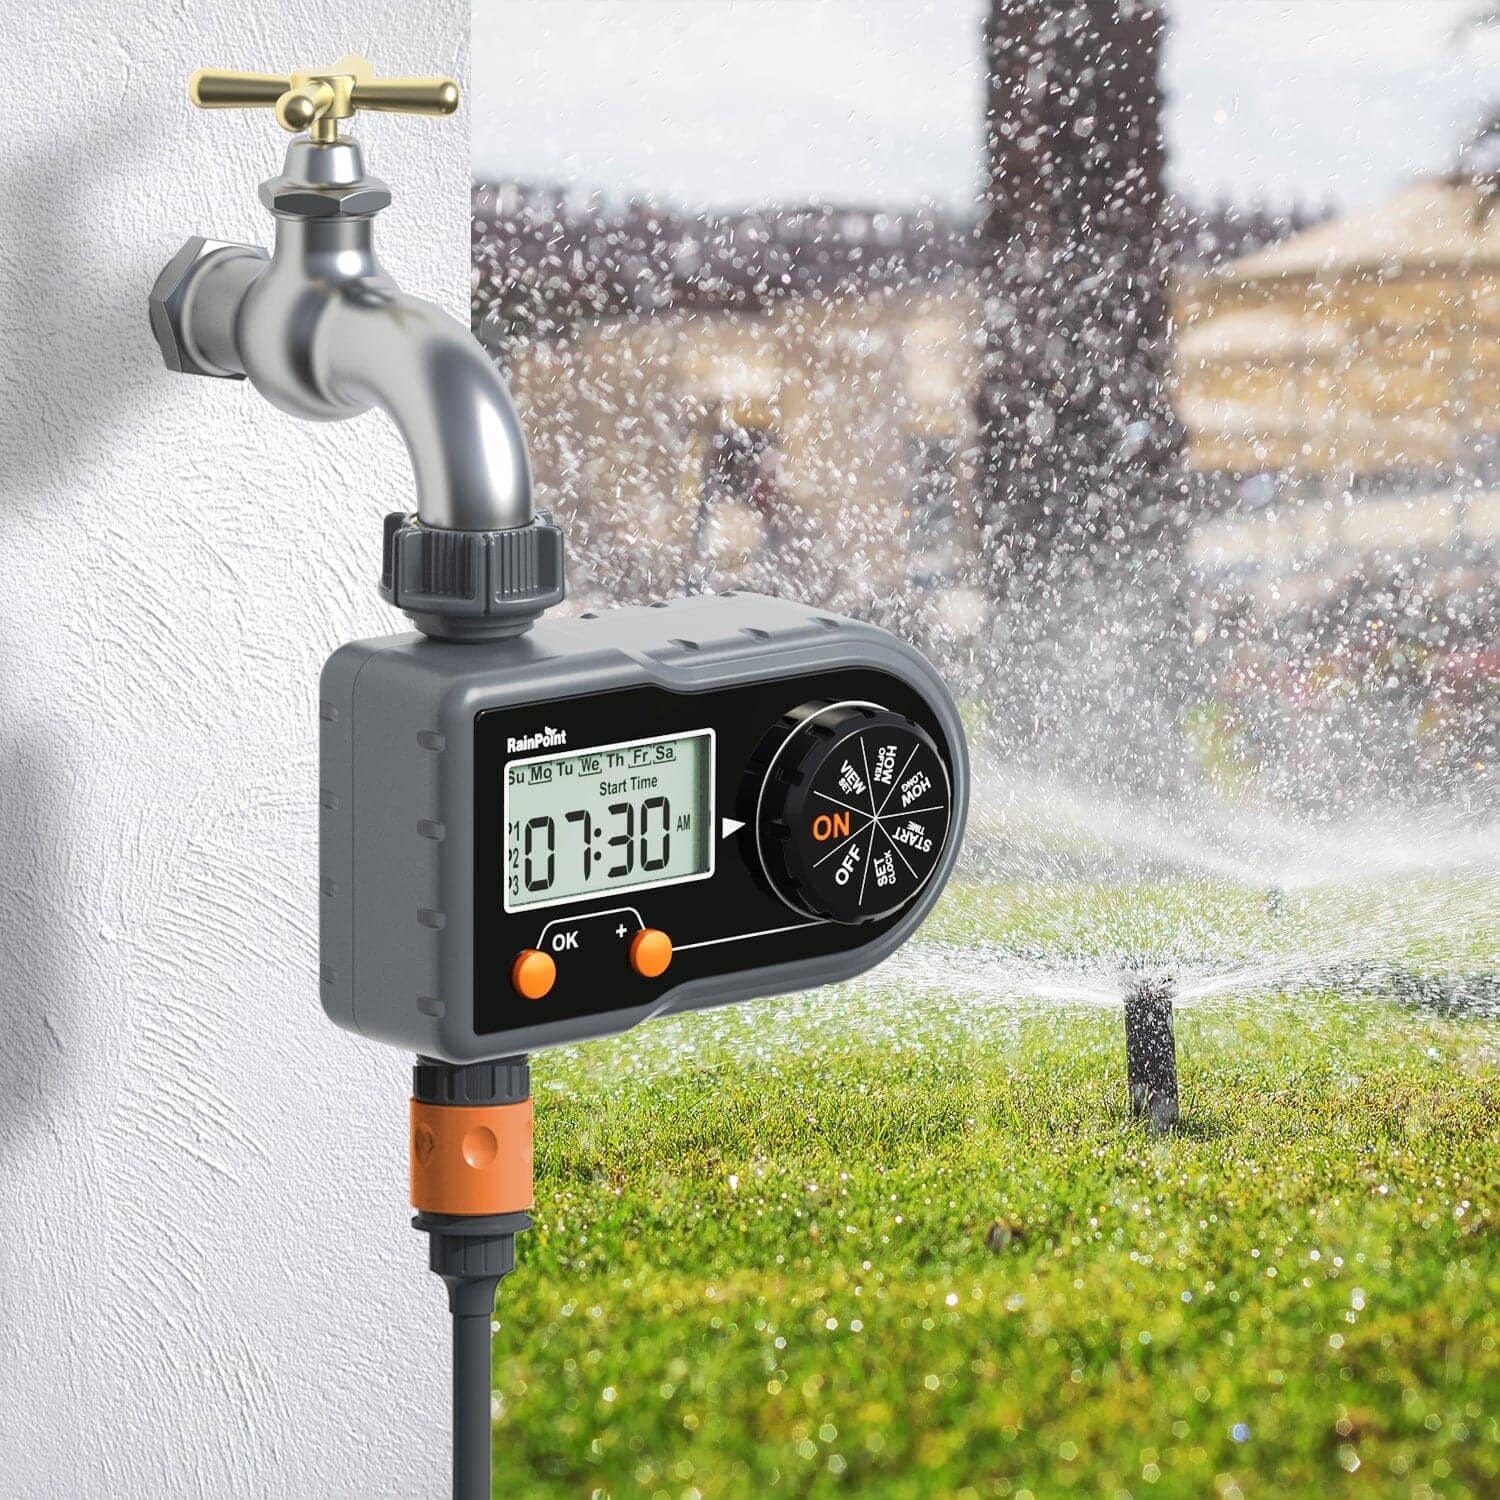
Credit: www.rainpointonline.com
Understanding Sprinkler Timers
Sprinkler timers are essential for efficient irrigation systems. They help control the watering schedule, ensuring that plants receive the right amount of water at the optimal time. Without proper timer settings, plants may be over or under-watered, leading to stress and potential damage.
Understanding how to set sprinkler timers correctly is crucial. By following the manufacturer’s instructions and considering factors like soil type, climate, and plant water needs, you can ensure that your timer is programmed accurately. It is necessary to set sprinkler timers properly to conserve water, save money on utility bills, and promote healthy plant growth.
With the right settings, you can establish a watering routine that meets the specific needs of your garden or landscape, providing consistent and adequate hydration.
Step-By-Step Guide To Set Sprinkler Timer
To set the sprinkler timer, start by checking the model and specifications of your timer. Access the controls and settings of the timer to begin the process. Examine the available programming options and choose the appropriate settings. Next, program the watering schedule according to your preferences.
Set the specific days and start times for the sprinkler system. Adjust the watering duration to ensure your lawn and plants receive the right amount of water. Finally, incorporate seasonal adjustments to accommodate changes in weather patterns. By following this step-by-step guide, you can efficiently and effectively set your sprinkler timer.
Troubleshooting Common Issues
Sprinkler timer troubleshooting involves identifying and resolving timer display, power supply, programming errors, valve, wiring, and solenoid problems. It’s important to check the timer display for any issues. In case of power supply failures, ensure the timer is properly plugged in and the circuit breaker is not tripped.
Programming errors can be fixed by carefully reviewing and correcting the settings. Valve and wiring problems require inspection for any signs of damage or loose connections. Locating faulty valves or solenoids involves testing and replacing them if necessary. Checking the wiring connections ensures they are secure and not corroded.
Regular maintenance and timely troubleshooting can help keep your sprinkler timer running smoothly and efficiently.
Tips For Efficient Watering
Setting the sprinkler timer efficiently involves utilizing water-saving features, understanding irrigation zone requirements, and maximizing water distribution and coverage. By using the water-saving features on the timer, you can ensure that your watering is both effective and efficient. Understanding the irrigation zone requirements helps you provide the right amount of water to each area of your landscape.
This prevents overwatering and saves water. Additionally, maximizing water distribution and coverage ensures that every part of your lawn or garden is adequately watered. Regular checking and maintenance of the sprinkler system is also essential to detect any leaks or malfunctions that may waste water.
By following these tips, you can set your sprinkler timer in a way that promotes environmental sustainability and maintains the health of your landscape.
Frequently Asked Questions For How To Set Sprinkler Timer
How Do You Set A Water Irrigation Timer?
To set a water irrigation timer, follow these simple steps: 1. Locate the timer control panel near your water source. 2. Press the “program” or “set” button to enter the programming mode. 3. Use the arrow keys to set the current time and date.
4. Select the watering days by highlighting and pressing the desired days. 5. Set the start time by entering the hour and minute. 6. Choose the watering duration for each zone, typically in minutes. 7. Save the settings by pressing the “save” or “done” button.
8. Test the timer by manually starting a watering cycle. Remember to adjust and update the timer as needed to account for changes in weather conditions or plant water requirements. Setting a water irrigation timer helps ensure your plants receive the right amount of water at the appropriate times, promoting their healthy growth.
How Do You Program A Rainbird Sprinkler Timer?
To program a rainbird sprinkler timer, follow these steps: 1. Start by setting the current time and date on the timer. 2. Next, decide on the watering schedule you want to set for your lawn or garden. 3. Use the timer’s programming buttons to select the desired watering start time for each day.
4. Once the start times are set, you can configure the duration of each watering cycle. 5. Some rainbird timers also offer options for different watering zones, allowing you to customize watering for specific areas. 6. After programming the timer, make sure to save your settings.
7. Test your programmed settings to ensure that the sprinklers activate at the desired times. 8. If needed, make any adjustments or reprogramming by following the same steps. With these simple steps, you can easily program your rainbird sprinkler timer for efficient and effective watering of your plants or lawn.
How Do You Set A Rainbird Sprinkler System?
To set a rainbird sprinkler system, follow these steps: 1. Start by mapping your lawn or garden area to determine the ideal placement for the sprinkler heads. 2. Dig trenches around the perimeter of the area, making sure they are deep enough for the pipes and sprinkler heads.
3. Lay the pipes in the trenches, connecting them to a water source and ensuring they are properly aligned. 4. Install the sprinkler heads at designated spots along the pipes, securing them firmly. 5. Adjust the sprinkler heads to the desired watering range and pattern, making sure they cover the entire area evenly.
6. Connect the system to an automatic timer or controller, allowing you to program watering schedules. 7. Test the system by turning on the water supply and checking for leaks or malfunctioning sprinkler heads. 8. Make any necessary adjustments or repairs before finalizing the installation.
Remember to follow the manufacturer’s instructions for your specific rainbird sprinkler system model.
How Long Should Sprinkler Timer Be On?
A sprinkler timer should be on for a specific duration depending on the needs of your lawn. Generally, it is recommended to water your lawn deeply and infrequently rather than shallowly and frequently. This promotes deep root growth and overall healthier grass.
The recommended amount of time for a sprinkler timer to be on varies depending on factors such as the type of grass, weather conditions, and soil type. As a general guideline, it is usually suggested to water your lawn for about 30 minutes to 1 hour, 2-3 times a week.
However, it is important to adjust the timer based on the specific needs of your lawn and to consider factors such as rainfall, temperature, and overall lawn health. Regularly checking the moisture level of your lawn can also help determine the appropriate watering duration for your sprinkler timer.
Conclusion
When setting up your sprinkler timer, it’s important to follow a few key steps to ensure proper functioning and optimal watering for your lawn or garden. By understanding how to set your sprinkler timer, you can take control of watering schedules and conserve water efficiently.
Start by familiarizing yourself with your specific sprinkler timer model and its features. Then, determine the watering needs of your landscape and set the appropriate watering schedule. Remember to factor in any regional or seasonal restrictions as well. Next, carefully program your sprinkler timer to align with your desired watering frequency and duration.
Double-check all settings and make any necessary adjustments. Lastly, regularly monitor and maintain your sprinkler timer to ensure it continues to operate effectively. Following these steps will help you achieve a well-watered and thriving landscape. So go ahead, take charge of your sprinkler timer and enjoy a beautiful and healthy outdoor space.