
Transplanting asparagus plants allows gardeners to give these hardy perennials a fresh start in a new location while ensuring a continued harvest of tender spears. Whether you’re relocating established plants or starting with young ones, understanding the proper techniques is essential to ensure their health and productivity.
This guide on how to transplant asparagus plants will walk you through the steps and considerations needed to successfully transplant asparagus, helping you create a thriving asparagus bed for years to come.
Best Time to Transplant Asparagus
The ideal time to transplant asparagus is during the plant’s dormant season, which typically falls in early spring or late fall. These periods allow the plants to adapt to their new environment without the stress of active growth. Early spring is particularly advantageous, as the soil begins to warm up and provide the necessary conditions for root development before the growing season kicks in.
Similarly, late fall, after the fronds have died back, provides a window to move the plants while minimizing disruption to their life cycle. Avoid transplanting during hot summer months to prevent heat stress and ensure the long-term health of the asparagus.
Tools and Materials Needed
- Shovel or Garden Fork
- Pruners or Garden Scissors
- Compost or Aged Manure
- Mulch (Straw, Wood Chips)
- Watering Can or Hose
- Optional: Root Stimulator or Transplanting Fertilizer
7 Step-by-Step Guidelines on How to Transplant Asparagus Plants:
Step 1: Choose the Right Time to Transplant
Timing is crucial when transplanting asparagus to ensure the plants establish successfully in their new location. The best time to transplant asparagus is during its dormant season, which typically occurs in early spring before new growth begins or in late fall after the foliage dies back.
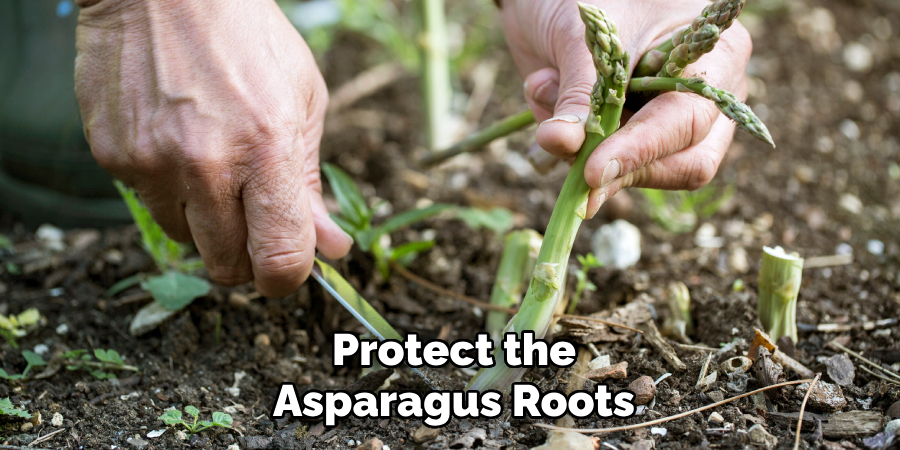
This timing minimizes stress on the plants and takes advantage of cooler weather conditions, which are ideal for root development. Avoid transplanting during periods of extreme heat or frost to protect the asparagus roots and improve their chances of thriving in their new environment.
Step 2: Prepare the New Location
Choose a sunny, well-drained area with nutrient-rich soil to ensure the asparagus thrives. Begin by removing any weeds or debris from the site to eliminate competition for resources. Next, loosen the soil with a garden fork or tiller to a depth of at least 12 inches, allowing the roots to establish themselves more easily.
Amend the soil with compost or well-rotted manure to provide essential nutrients and improve its structure. Create trenches approximately 6-8 inches deep and 12-18 inches apart for planting, ensuring ample space for the roots to spread and the plants to grow. Proper preparation of the new location sets the stage for a healthy and productive asparagus bed.
Step 3: Water Your Asparagus Plants
After planting, water your asparagus plants thoroughly to help settle the soil around the roots and provide the moisture they need to begin establishing themselves. Going forward, keep the soil evenly moist but not waterlogged.
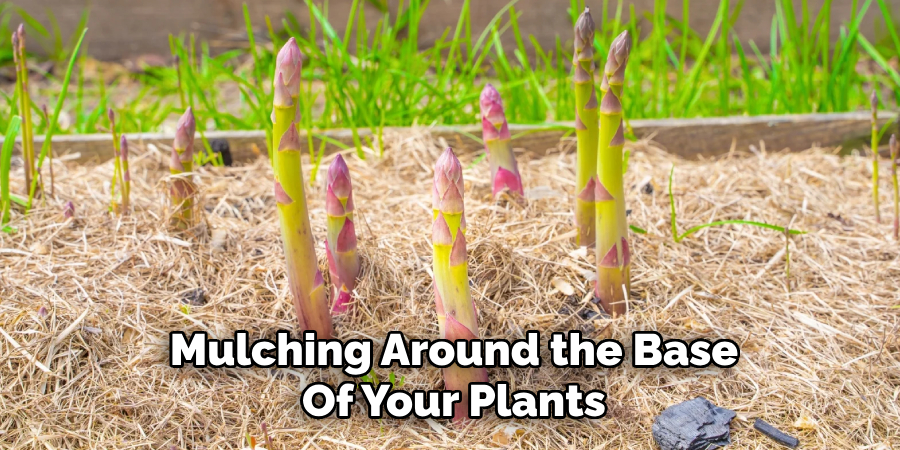
Newly planted asparagus requires regular watering, especially during dry spells, to encourage strong growth. Mulching around the base of the plants can also help retain soil moisture and regulate temperature, giving your asparagus the best chance to thrive.
Step 4: Fertilize Regularly
Asparagus plants are heavy feeders and require regular fertilization to produce strong, healthy spears. In the first year after planting, add a balanced fertilizer such as 10-10-10 at a rate of 1 pound per 50 square feet around the base of the plants.
In subsequent years, increase the amount of fertilizer to 2 pounds per 50 square feet and apply it in early spring before new growth appears. You can also use compost or well-rotted manure as a natural fertilizer for your asparagus plants.
Step 5: Control Weeds
Weeds compete with your asparagus plants for nutrients and water, so it’s important to keep them under control. Mulching around the base of your plants can help suppress weed growth and also retain soil moisture.
You can use organic mulches such as straw, shredded leaves, or wood chips. Apply a layer of 2-3 inches deep around the base of the plants, being careful not to cover the crown.
Alternatively, you can also use plastic mulch for weed control. Lay down black plastic sheeting over the bed before planting and cut holes in it to accommodate the crowns. This will prevent any weeds from growing through and provide a barrier between the soil and your plants.
Step 6: Harvesting
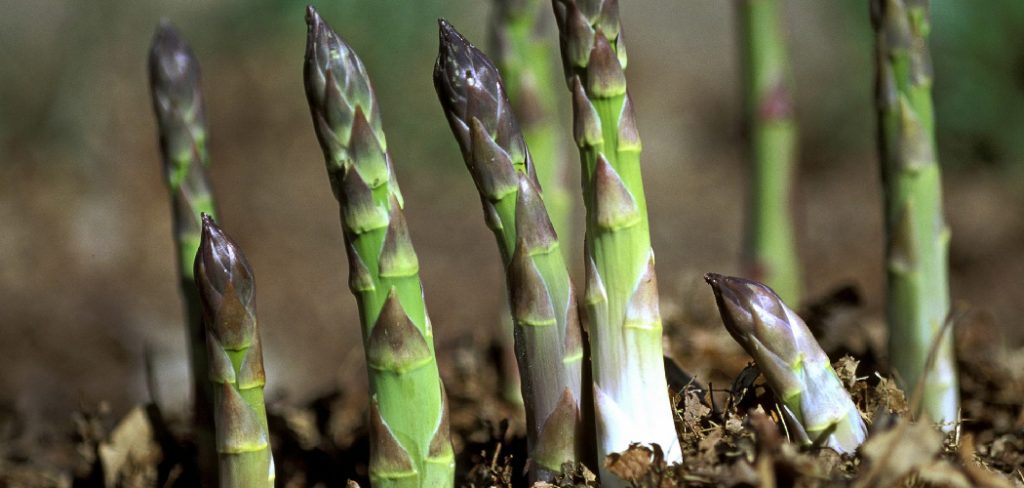
After patiently caring for your asparagus plants for two years, it’s finally time to harvest your first crop! Asparagus is typically ready for harvesting in late spring or early summer, when the spears are around 6-8 inches tall and about as thick as a pencil. Cut the spears at ground level with a sharp knife or scissors, being careful not to damage any nearby emerging spears.
It’s important to only harvest for a period of 3-4 weeks during the first year, allowing the plants to grow and establish their root system. In subsequent years, you can extend your harvesting period to 6-8 weeks.
Step 7: Storing and Preserving
Proper storage is key to maintaining the freshness and flavor of your harvested asparagus. If you plan to use the spears within a few days, store them in the refrigerator with the cut ends wrapped in a damp paper towel. Alternatively, you can stand the spears upright in a glass or jar with about an inch of water, then cover loosely with a plastic bag.
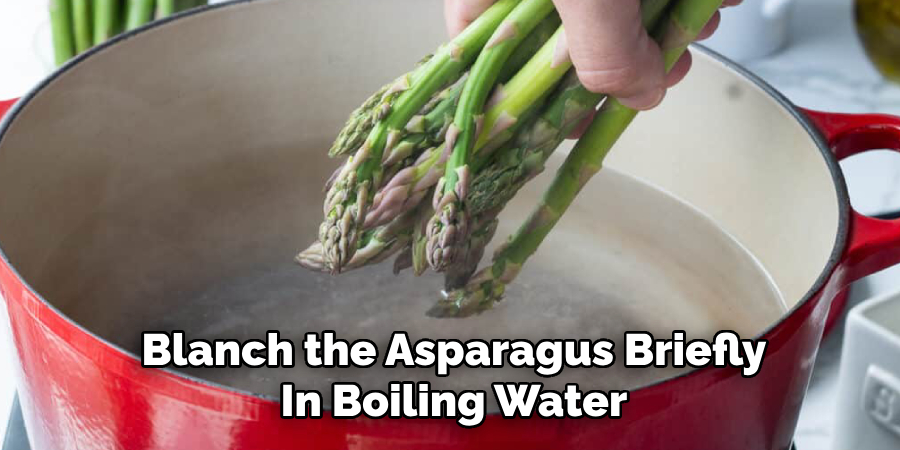
For longer preservation, blanch the asparagus briefly in boiling water, then transfer it to an ice bath to halt the cooking process. Once blanched and dried, the spears can be frozen in an airtight container or freezer bag for several months, ensuring you can enjoy your harvest long after the growing season has ended.
Following these steps on how to transplant asparagus plants and how to store them after harvesting can help ensure a successful and abundant crop year after year.
Post-Transplant Care
Proper post-transplant care is crucial to ensure that your asparagus plants establish themselves and thrive. Start by thoroughly watering the plants immediately after transplanting to help settle the soil around the roots and reduce transplant shock. Maintain consistent moisture levels during the first few weeks, as this is critical for new root development. Applying a layer of mulch around the base of the plants can help retain soil moisture, regulate temperature, and minimize weed growth.
Additionally, monitor for any signs of stress, such as yellowing or wilting leaves, and address issues promptly. It’s also important to avoid harvesting asparagus spears during the first growing season after transplanting, allowing the plants to focus on root and crown development. With attentive care and patience, your asparagus plants will become well-established and provide bountiful harvests for years to come.
Common Mistakes to Avoid
When growing asparagus, there are several common mistakes that can hinder the success of your crop. One major mistake is overharvesting too early. Removing spears in the first or even second year can weaken the plants and delay their long-term productivity. Additionally, failing to prepare and improve the soil before planting can lead to poor growth, as asparagus thrives in well-drained, nutrient-rich soil.
Neglecting to control weeds is another frequent error since weeds compete with asparagus plants for nutrients and moisture. Finally, skipping regular maintenance, such as mulching or applying compost, can reduce the vigor of your plants. Avoiding these pitfalls will ensure healthier asparagus plants and a better harvest.
Frequently Asked Questions:
Q: How Long Does It Take for Asparagus to Mature?
A: Asparagus typically takes 2-3 years to fully establish and produce a significant harvest. However, some varieties can produce small amounts of spears in the first year.
Q: When Should I Harvest My Asparagus?
A: Asparagus should be harvested in the spring, when the spears are about 6-8 inches tall and still tight. Harvesting too early or too late can result in tough or woody spears.
Q: How Do I Know When to Stop Harvesting My Asparagus?
A: You should stop harvesting asparagus when the spears start to become thinner and less robust. This usually happens after 4-6 weeks of consistent harvesting.
Q: Can I Plant Asparagus From Seeds?
A: Yes, you can plant asparagus from seeds, but it may take longer for them to establish and produce a harvest compared to planting crowns (1-2 years vs 3-4 years). It’s important to have patience and provide proper care for the seeds to successfully grow into healthy asparagus plants.
Conclusion
Growing asparagus can be a rewarding experience for gardeners willing to invest time and care into this perennial vegetable. Whether starting from seeds or crowns, patience is key, as a strong and healthy asparagus bed takes a few years to fully establish.
Proper harvesting techniques and maintenance will ensure a productive and thriving crop for many seasons to come. By understanding the needs of asparagus plants and nurturing them properly, you can enjoy fresh, homegrown asparagus straight from your garden. Thanks for reading this article on how to transplant asparagus plants.