
Transplanting bushes and shrubs can seem like a daunting task, but with the right preparation and technique, it can be done successfully.

Whether you’re moving an overgrown shrub to a better location or reimagining your garden’s layout, understanding the proper steps is key to ensuring the health and vitality of your plants.
This guide on how to transplant bushes and shrubs will walk you through the essential tools, timing, and methods needed to transplant bushes and shrubs effectively.
Best Time to Transplant Shrubs
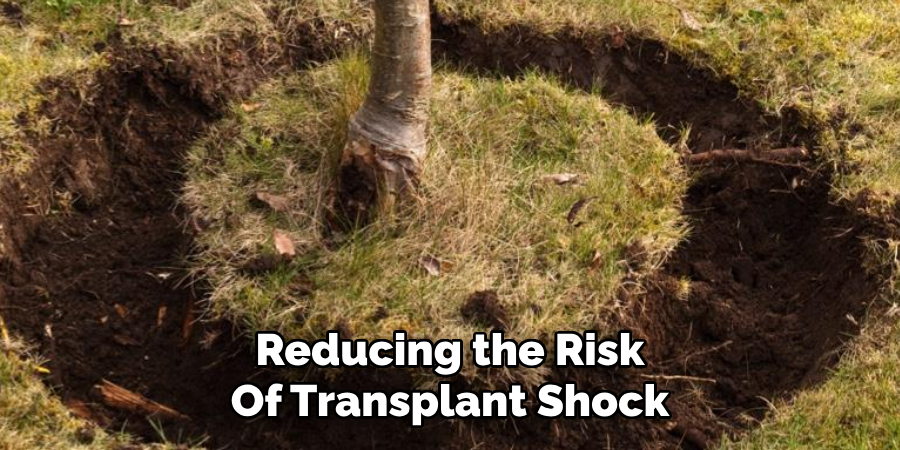
Timing is crucial when it comes to transplanting shrubs to ensure their successful relocation and continued growth. The best time to transplant shrubs is either in early spring before new growth begins or in early fall when temperatures are cooler, and the plant is entering a period of dormancy. These periods minimize stress on the plant, allowing it to focus energy on establishing its root system in the new location.
Avoid transplanting during the peak of summer, as heat and dry conditions can increase the risk of transplant shock. Similarly, transplanting during freezing winter months is not ideal, as the ground may be too hard to dig and roots may struggle to establish. By choosing the right timing, you give your shrubs the best chance to thrive in their new environment.
Tools and Materials Needed
- Shovel or Spade
- Pruning Shears
- Burlap or Tarp
- Watering Can or Hose
- Compost or Root Stimulant
- Mulch
8 Step-by-Step Guidelines on How to Transplant Bushes and Shrubs
Step 1: Choose the Right Time to Transplant
Timing is everything when it comes to successfully transplanting bushes and shrubs. The best time to move your plants is during their dormant season, typically in early spring or late fall. During this period, the plant’s growth slows down, minimizing stress and reducing the risk of transplant shock.
Avoid transplanting during extreme weather conditions, such as the peak heat of summer or freezing winter months. By carefully selecting the right time, you give your plants the optimal chance to adapt and flourish in their new location.
Step 2: Prepare the New Location
Before transplanting your plants, it’s essential to prepare their new home. Make sure that the soil in the new location is suitable for the type of plant you are moving. Some plants prefer well-draining soil, while others thrive in moist or clay-based soil. Check the pH levels and make any necessary adjustments to ensure a healthy growing environment.
If your plant requires specific conditions, such as full sun or shade, be sure to choose a spot that meets those requirements. It’s also crucial to consider future growth and spacing when selecting the new location. Avoid overcrowding your plants by giving them enough room to grow and spread their roots.
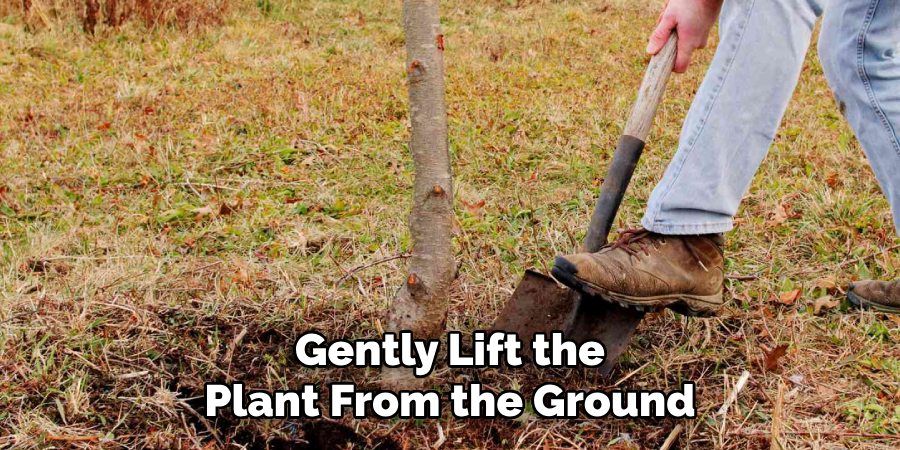
Step 3: Dig Up Your Plants
When you’re ready to move your plants, carefully dig them up to minimize stress and damage. Start by watering the soil around the plant thoroughly a few hours beforehand to make digging easier and reduce root disturbance. Use a spade or garden fork to loosen the soil around the plant, maintaining a safe distance from the roots to avoid cutting or damaging them.
Gently lift the plant from the ground, keeping as much of the root ball intact as possible. If the roots are tightly wound or compacted, you can gently tease them apart to encourage healthy growth in the new location. Remember to handle the plant with care to protect its stem and foliage during the process.
Step 4: Replant Your Plants
Once your plants are successfully dug up, it’s time to replant them in their new location. Dig a hole that is slightly larger than the root ball of your plant and gently place the plant inside. Fill in any gaps with soil and firmly press down around the base of the plant.
It’s important to water your newly transplanted plants thoroughly after replanting to help them settle into their new environment. Keep an eye on your plants over the next few weeks and make sure to water them regularly until they become established in their new location.
Step 5: Mulch and Fertilize
Once your plants are settled into their new home, it’s a good idea to mulch around them. This will help retain moisture in the soil, control weeds, and provide nutrients as it breaks down over time. You can use a variety of materials for mulching such as shredded bark, leaves, or compost.
In addition to mulching, you may also want to consider fertilizing your newly transplanted plants. If the soil in your new location is lacking in nutrients, adding a slow-release fertilizer can help give your plants a boost. Be sure to follow the instructions on the fertilizer label and avoid over-fertilizing as this can harm your plants.
Step 6: Watering
Proper watering is crucial for the survival and establishment of newly transplanted plants. It’s important to keep the soil moist, but not waterlogged. A good rule of thumb is to water deeply once or twice a week rather than lightly every day. This encourages deep root growth and helps your plants become more drought-tolerant in the long run.
You may also want to consider using a soaker hose or drip irrigation system, which can help deliver water directly to the roots while minimizing evaporation. Additionally, try to avoid getting the leaves wet when watering as this can increase the risk of fungal diseases.
Step 7: Monitoring and Care
Proper monitoring and ongoing care are essential to ensure the health and growth of your plants. Regularly inspect your garden for signs of pests, diseases, or nutrient deficiencies. Look for discolored leaves, unusual spots, or stunted growth, as these can indicate underlying issues that need attention. Remove any weeds promptly, as they compete with your plants for nutrients and water.
Following these steps on how to transplant bushes and shrubs will help you successfully move your plants to a new location with minimal stress and adaptation time. By carefully preparing the soil, choosing the right time and method for transplanting, and providing proper care, your bushes and shrubs will thrive in their new home. Happy gardening!
Additional Tips for Transplanting Plants
- Choose a cool, cloudy day to transplant your plants as this will reduce stress on the plant.
- Water your plants well before digging them up to help keep the roots intact during the transplanting process.
- If possible, prepare the new planting hole ahead of time so you can quickly move the plant from one location to another.
- Consider adding some compost or organic matter to the soil when replanting to provide added nutrients for your transplanted plants.
- Avoid fertilizing your plants for at least a week after transplanting to allow them to adjust to their new environment.
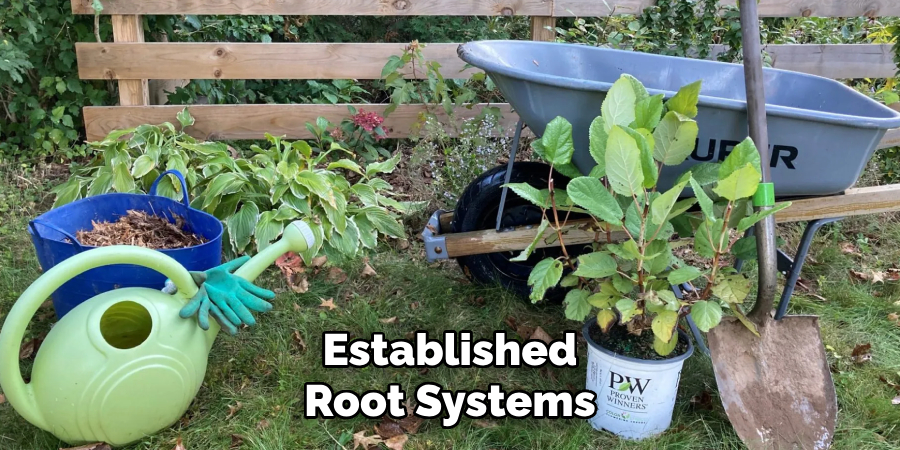
Special Considerations for Large or Mature Shrubs
Transplanting large or mature shrubs requires additional planning and care due to their size and established root systems. Begin by pruning back the shrub slightly to reduce stress on the plant and make handling more manageable. When digging up the shrub, create a wide, deep root ball to preserve as much of the root system as possible.
Use burlap or a tarp to securely wrap and transport the root ball to prevent it from falling apart. Enlist help or use appropriate equipment, like a wheelbarrow or dolly, to move the shrub safely. Once transplanted, water deeply and monitor the shrub closely over the following weeks to ensure it adjusts well to its new location.
Common Mistakes to Avoid
When transplanting shrubs, there are several common mistakes that can hinder the success of the process. One frequent error is failing to properly prepare the new planting site beforehand. Ensure the soil is loosened and enriched with compost to provide optimal conditions for the shrub’s growth. Another mistake is digging an insufficiently large root ball when removing the shrub, which can damage critical roots and lead to transplant shock. Additionally, rushing the process without allowing the shrub to acclimate to its new environment can stress the plant.
Always water the transplanted shrub thoroughly and avoid over-fertilizing immediately after the move, as this can burn the roots. Finally, neglecting regular monitoring in the weeks following the transplant can prevent you from identifying early signs of stress, such as wilting or discoloration, before it’s too late to address them.
Frequently Asked Questions
Q1: How Do I Know if My Transplanted Shrub is in Shock?
A: Signs of shock in a transplanted shrub can include wilting, discoloration, and lack of new growth.
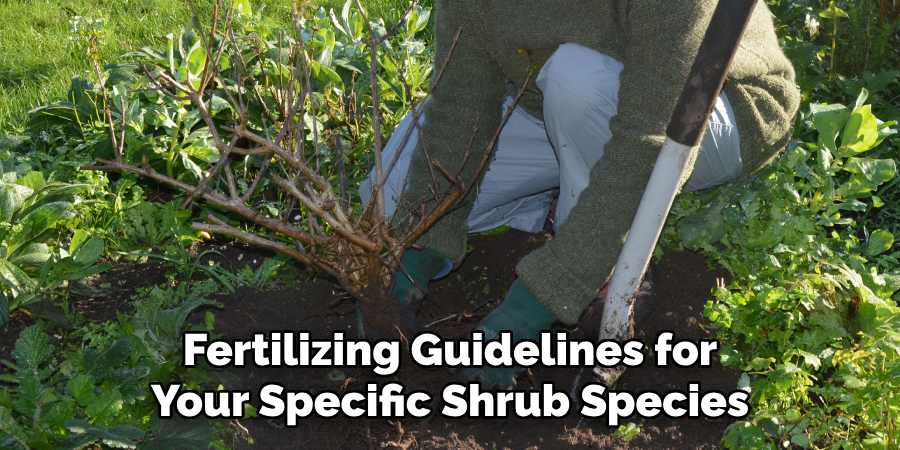
Q2: Can Overwatering or Over-fertilizing Harm the Transplanted Shrub?
A: Yes, excessive water or fertilizer can stress the plant and cause damage to its roots. It’s important to follow proper watering and fertilizing guidelines for your specific shrub species.
Conclusion
In conclusion, successful shrub transplantation requires careful planning, proper technique, and attentive aftercare. By avoiding common mistakes, such as damaging roots or failing to monitor the plant’s condition, you can ensure the shrub adapts well to its new location.
With patience and consistent care, your transplanted shrub will thrive and continue to enhance your garden for years to come. Thanks for reading this article on how to transplant bushes and shrubs.