To transplant Hoya Krimson Queen, choose a new pot, remove the plant gently, and plant it in fresh soil. If you have a Hoya Krimson Queen plant that has outgrown its current pot or needs new soil, it’s time to transplant it.
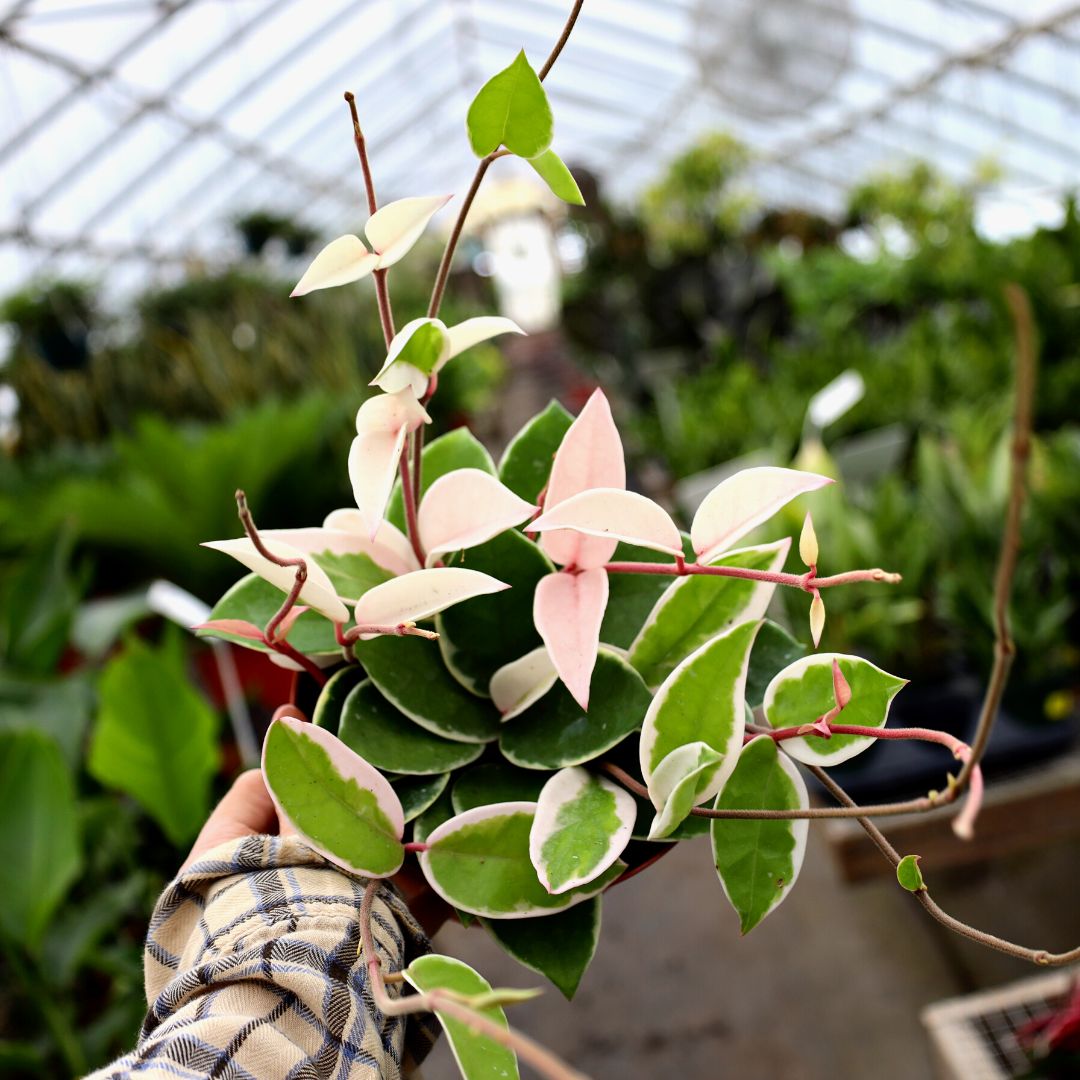
Credit: www.etsy.com
Transplanting is a process of moving the plant into a new pot with fresh soil, providing it with more space to grow and thrive. In this guide, we will explain a step-by-step process to transplant Hoya Krimson Queen successfully. By following these instructions, you can ensure that your plant remains healthy and continues to flourish in its new pot.
Let’s get started with the transplanting process.
Choosing The Right Pot
To transplant Hoya Krimson Queen successfully, choose a pot that is slightly larger than the current one to prevent root bound. Ensure the pot has good drainage to avoid waterlogged soil, promoting healthy growth for your plant. Remember to use high-quality potting mix suitable for succulents to provide the ideal environment for your Hoya Krimson Queen.
Selecting The Proper Size
When it comes to selecting the right pot for transplanting your Hoya Krimson Queen, size matters. A pot that is too small will restrict the growth of the plant, while a pot that is too large can lead to overwatering and root rot. It is best to choose a pot that is 1-2 inches larger in diameter than the current pot. This will allow the plant’s roots to have enough space to grow, while still maintaining a cozy environment. Additionally, a pot that is too large may also take longer to dry out after watering, which can lead to moisture-related issues. By selecting the proper size pot, you can ensure that your Hoya Krimson Queen will thrive and flourish.
Drainage Holes
When choosing a pot for your Hoya Krimson Queen, it is crucial to consider the presence of drainage holes. Proper drainage is essential for the health of your plant as it allows excess water to escape and prevents the roots from becoming waterlogged. Without adequate drainage, the risk of root rot and other moisture-related problems increases significantly. When inspecting a pot for drainage holes, ensure that there are enough small holes in the bottom to allow water to flow freely. Moreover, it is recommended to place a layer of stones or broken pottery in the bottom of the pot before adding soil. This will further enhance drainage and help prevent any water accumulation at the bottom. By prioritizing drainage, you can create a favorable environment for your Hoya Krimson Queen, promoting its overall growth and vitality.
How to Transplant Hoya Krimson Queen : Step by Step Guide
Preparing The Potting Mix
One of the most important aspects of successfully transplanting a Hoya Krimson Queen is ensuring that you have the right potting mix. A well-draining soil mix is essential to prevent the roots from becoming waterlogged and to promote healthy growth. In this section, we will guide you through the process of preparing the potting mix for your Hoya Krimson Queen.
Well-draining Soil
Hoya Krimson Queen plants prefer a soil mix that allows excess water to drain away quickly. This helps prevent the roots from sitting in water, which can lead to root rot and other diseases. To achieve a well-draining soil, you can create a mix using equal parts of potting soil, perlite, and orchid bark.
Using potting soil as the base provides the necessary nutrients for your plant, while perlite and orchid bark help improve drainage. The perlite is a lightweight material that creates air pockets in the soil, allowing excess water to escape more easily. On the other hand, orchid bark is known for its ability to provide good drainage while retaining moisture.
Adding Amendments
In addition to the basic potting mix, you can also add amendments to further enhance the soil quality. One popular amendment for Hoya plants is coconut coir. This fibrous material helps improve moisture retention while still allowing for proper drainage.
You can also consider adding a slow-release fertilizer to provide your Hoya Krimson Queen with a continuous supply of nutrients. Keep in mind that it’s important to choose a fertilizer specifically formulated for houseplants. Follow the instructions on the packaging to determine the appropriate amount to add, and be careful not to over-fertilize, as it can cause fertilizer burn.
Remember to mix all the ingredients thoroughly to ensure a consistent blend. This will help distribute the nutrients and improve the overall structure of the potting mix. Once your mix is ready, you’re all set to start transplanting your Hoya Krimson Queen into its new home.
Transplanting Process
Transplanting Hoya Krimson Queen is a simple process that involves carefully uprooting the plant and replanting it in a bigger pot or a new location. Ensure to minimize root disturbance and provide adequate water and sunlight to promote healthy growth.
Gently Removing The Plant
Gently removing the Hoya Krimson Queen plant from its current pot is the first step in the transplanting process. To do this, start by placing your hand on the soil surface and carefully turning the pot upside down.
Tap the bottom of the pot lightly to help release the plant’s root system. If the plant doesn’t easily come out, gently use your fingers to loosen the soil around the edges of the pot.
Once the plant is free, hold it at the base and slowly pull it out. Be cautious not to damage the stems or leaves during this process.
Inspecting The Roots
Inspecting the roots of the Hoya Krimson Queen plant is an important step to ensure its health and vitality. Examine the roots for any signs of disease or rot.
If you notice any black, mushy, or slimy roots, carefully trim them away using clean pruning shears. Cut back these damaged roots until you see healthy, white roots.
Additionally, if the roots are tightly wound around the root ball, gently tease them apart. This will help stimulate new growth and prevent the roots from becoming root-bound in the new pot.
Now comes the time to transfer the plant into the new pot, which will promote healthy growth and give the roots more space. Be mindful of the plant’s delicate nature and handle it with care to avoid any damages. Remember, inspecting the roots is crucial as it allows you to remove any unhealthy parts and create room for new growth. So, let’s move on to the next step in the transplanting process.
Placing And Watering
Transplanting your Hoya Krimson Queen into a new pot is a crucial step in ensuring its growth and health. Placing the plant correctly and providing the right amount of water are important factors to consider during this process. In this section, we will discuss the proper positioning of the plant in the new pot and the watering schedule after the transplant.
Positioning In The New Pot
When it comes to positioning your Hoya Krimson Queen in its new pot, there are a few key points to keep in mind:
- Choose a pot that is slightly larger than the current one to allow for growth.
- Ensure the new pot has good drainage holes to prevent waterlogging.
- Place a layer of well-draining soil in the bottom of the pot.
- Remove the plant gently from its old pot, taking care not to damage the roots.
- Position the plant in the center of the new pot, making sure it sits at the same depth as before.
- Add more well-draining soil around the roots, gently firming it in place.
Watering After Transplanting
Proper watering after transplanting is crucial for the Hoya Krimson Queen’s acclimation to its new environment. Follow these guidelines:
- Water the plant thoroughly immediately after transplanting to settle the soil and hydrate the roots.
- After the initial watering, allow the top few inches of soil to dry out before watering again.
- Check the moisture level by inserting your finger into the soil. If it feels dry, it’s time to water.
- Avoid overwatering, as this can lead to root rot. Ensure the soil is well-drained.
- During the hot summer months, you may need to water more frequently to prevent the soil from drying out completely.
- Remember to adjust the watering schedule according to the specific needs of your Hoya Krimson Queen.
By carefully positioning your Hoya Krimson Queen in the new pot and following the proper watering techniques, you can ensure a smooth transplantation process and promote healthy growth for your beloved plant.
Aftercare And Maintenance
After transplanting your Hoya Krimson Queen, aftercare and maintenance are essential to ensure its healthy growth and continued success. Follow these guidelines to monitor for stress, fertilize, and prune your plant effectively.
Monitoring For Stress
Keep a close eye on your Hoya Krimson Queen after transplanting to monitor for stress. Look out for any signs of wilting, yellowing leaves, or drooping foliage, which could indicate that the plant is struggling to adjust to its new environment. Check the moisture level in the soil regularly to ensure it is neither too dry nor too soggy.
Fertilizing And Pruning
Proper fertilizing and pruning also play a significant role in the aftercare of your Hoya Krimson Queen. Upon transplanting, wait for at least a month before introducing any fertilizers. Afterward, use a balanced liquid fertilizer at half strength every two to four weeks during the growing season. When it comes to pruning, remove any dead or yellowing leaves to promote healthy growth and enhance the visual appeal of your plant.
Credit: www.reddit.com

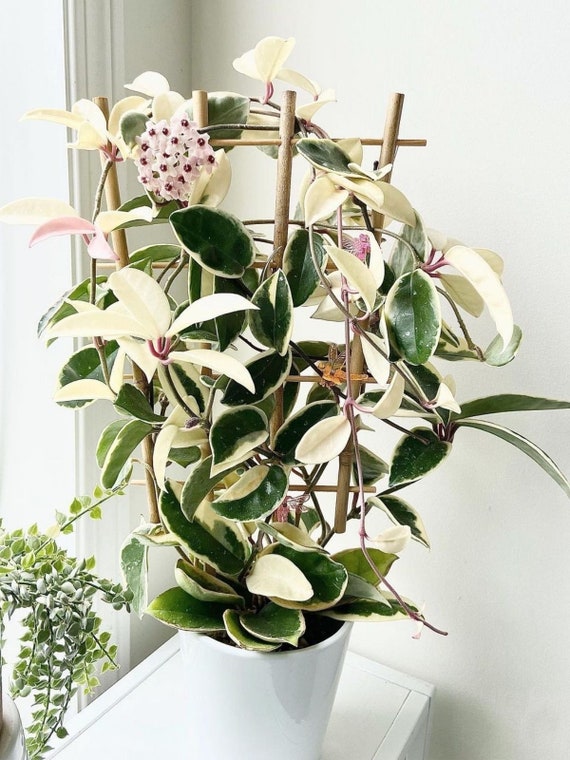
Credit: gardengoodsdirect.com
Frequently Asked Questions On How To Transplant Hoya Krimson Queen
When Can I Transplant A Hoya Plant?
You can transplant a Hoya plant during the spring or early summer to give it the best chance of thriving. Make sure to choose a well-draining pot and soil mixture, and avoid disturbing the roots too much during the transplant process.
Keep the plant in a warm, bright location and water it regularly to help it adjust to its new home.
What Is The Best Potting Mix For Hoya Krimson Queen?
The best potting mix for Hoya Krimson Queen is a well-draining mix that consists of equal parts of peat moss, perlite, and orchid bark. This mix allows for proper air circulation and moisture retention, promoting healthy growth for your Hoya Krimson Queen.
What Kind Of Soil Does A Hoya Plant Need?
The Hoya plant thrives best in well-draining soil that has good moisture retention. It prefers a mix of regular potting soil, sand, and perlite to ensure proper drainage. Avoid overwatering, as it can lead to root rot.
Should I Water My Hoya After Repotting?
Yes, you should water your Hoya after repotting. This helps to settle the soil and support the plant’s growth. Water thoroughly and allow excess water to drain. Keep the soil lightly moist, but avoid overwatering.
Conclusion
Transplanting Hoya Krimson Queen can be a rewarding and satisfying process for any plant enthusiast. By following the steps outlined in this guide, you can ensure the successful relocation of your Hoya Krimson Queen and promote its healthy growth. Remember to consider the season, prepare the potting mix properly, and provide the necessary care post-transplant.
With a little love and attention, your Hoya Krimson Queen will thrive in its new home. Happy gardening!