To transplant Cymbidium orchids, choose a new pot that is slightly larger than the current one and fill it with orchid potting mix. Gently remove the orchid from its current pot, being careful not to damage the roots, and place it in the new pot.

Credit: www.youtube.com
Best Times For Transplanting Orchids Cymbidium
Spring and fall are the best times for transplanting orchids cymbidium. These seasons provide optimal growing conditions and climate for successful transplantation. It is important to consider the specific region where you are located, as different areas may have varying conditions.
By transplanting in the right season, you give your orchids the best chance to establish themselves and thrive. Take into account the temperature, moisture levels, and sunlight exposure when choosing the appropriate time for transplantation. By following these guidelines, you can ensure that your orchids cymbidium have a smooth transition and continue to flourish in their new environment.
Essential Tools For Transplanting Orchids Cymbidium
To transplant Orchids Cymbidium successfully, you will need a few essential tools. Firstly, make sure to have clean and sterilized pots. This step is crucial to prevent any potential plant diseases. Secondly, invest in high-quality potting mix. It provides the necessary nutrients and drainage for the orchids.
Additionally, sharp and clean pruning shears are necessary to trim any damaged or dead roots before transplantation. Lastly, labels are essential for identification. They help keep track of the different orchid varieties and their specific care requirements. Transplanting orchids Cymbidium can be a rewarding process with the right tools, ensuring healthy growth and vibrant blooms.
Careful Inspection And Assessment
To successfully transplant orchids cymbidium, start by carefully inspecting and assessing their overall health. Look for any signs of pests or diseases that could impact their growth. Additionally, evaluate the size of the container and the root system to determine if transplanting is necessary.
If the root system is overcrowded or the container is too small, it may be time to transplant the orchids. The health of the orchids is crucial for their survival and blooming. It’s important to have a thorough understanding of their condition before proceeding with the transplanting process.
By following these guidelines and taking the necessary precautions, you can ensure the successful transplantation of orchids Cymbidium.
How to Transplant Orchids Cymbidium : Step by Step Guide
Preparing The Orchids For Transplanting
Preparing the Orchids for Transplanting involves trimming damaged or overgrown roots, removing old or dead pseudobulbs, and gently loosening the root ball without causing damage. By taking these steps, you can ensure a successful transplant for your Cymbidium Orchids. Carefully assessing the roots and removing any damaged or overgrown ones will enhance the plant’s health and growth.
Removing old or dead pseudobulbs will provide more space for new growth and prevent the plant from becoming overcrowded. Gently loosening the root ball will allow the roots to establish themselves in the new pot while minimizing stress and potential damage.
Overall, proper preparation is key to successfully transplanting and caring for your orchids, ensuring their continued beauty and vitality.
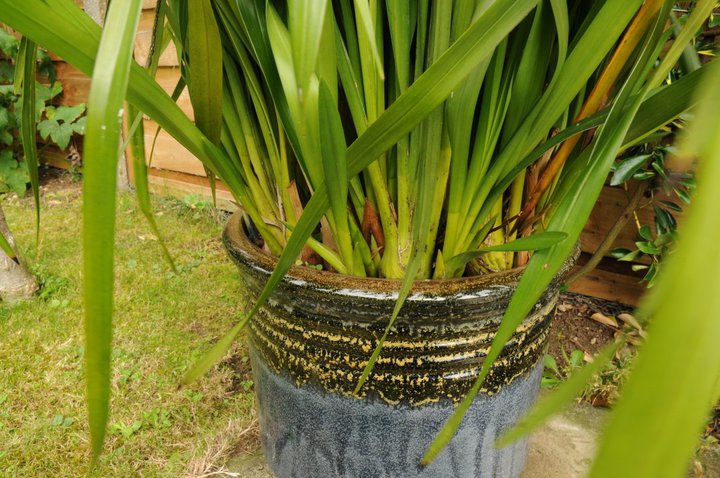
Selecting The Right Pot And Potting Mix
When transplanting orchids cymbidium, selecting the right pot and potting mix is crucial. Opt for a pot with an appropriate size and sufficient drainage holes to ensure proper air circulation and water drainage. For the potting mix, choose a well-draining and balanced one specifically formulated for orchids cymbidium.
This type of mix typically consists of materials like bark, perlite, and sphagnum moss, providing a suitable environment for the orchid roots to grow and thrive. The potting mix should also retain enough moisture without becoming waterlogged. By following these guidelines, you can give your orchids cymbidium the best chance to flourish in their new home.
Transferring The Orchids To A New Pot
When transplanting your orchids cymbidium, take care to transfer them to a new pot. Place the orchid gently in the center of the pot, then fill it with potting mix. Ensure that the roots are covered and stable in the mix.
Press the mix firmly around the roots to eliminate air pockets. By following these steps, you can successfully transplant your orchids cymbidium and provide them with a healthy environment for growth.
Post-Transplant Care For Orchids Cymbidium
Transplanting and caring for Cymbidium orchids require appropriate watering and misting techniques. These orchids thrive in moisture, so it’s crucial to water them properly and avoid overwatering. Additionally, providing the right amount of light and temperature is essential for their growth.
Place the orchids in a well-lit area, preferably with indirect sunlight, and maintain the temperature between 60-75 degrees Fahrenheit. By monitoring the orchids regularly, you can identify any signs of stress or complications. Check for yellowing or wilting leaves, root rot, or pests, and take necessary measures to address these issues promptly.
Proper post-transplant care ensures healthy growth and vibrant blooms for your Cymbidium orchids.
Addressing Root Rot And Fungal Infections
Transplanting orchids, specifically Cymbidiums, requires addressing root rot and fungal infections. These problems can be identified through specific signs. For root rot, look out for dark, mushy roots. Fungal infections are often indicated by discolored leaves or spots on the leaves.
Once identified, you can explore different treatment options for each type of infection. Treating root rot involves removing the affected roots and replanting the orchid in fresh, well-draining medium. Fungal infections can be treated with fungicides or by cutting away the infected areas.
Proper care and hygiene practices, such as providing adequate airflow and avoiding overwatering, can also help prevent future infections. Regularly inspecting your orchids and promptly addressing any signs of root rot or fungal infections is crucial to maintaining their health.
Dealing With Transplant Shock
Transplant shock can occur when moving orchids cymbidium to a new pot or location. Symptoms include droopy leaves, yellowing or browning foliage, and decreased flowering. To help your orchids recover, provide a stable environment with proper lighting, temperature, and humidity.
Avoid direct sunlight and extreme temperature fluctuations. Water the plants regularly, but be careful not to overwater, as it can lead to root rot. Use a well-draining potting mix and avoid disturbing the roots unnecessarily. Provide nutrients through fertilizers specifically formulated for orchids.
Patience is key, as it may take some time for the orchids to regain their strength. With proper care and attention, your orchids cymbidium will overcome transplant shock and thrive in their new home.
Preventing Pests And Diseases
Transplanting cymbidium orchids requires implementing preventive measures against common pests and diseases. Maintaining good hygiene by regularly cleaning tools and pots can minimize the risk of infections. Avoid cross-contamination by using separate tools for each orchid and cleaning them thoroughly.
Inspect the plants regularly for signs of pests such as aphids, scales, or spider mites. In case of any infestation, isolate the affected plant and treat it promptly with organic pest control methods. Consider using natural predators or insecticidal soaps to keep pests under control.
Regularly remove dead leaves or flowers to prevent diseases like rot or fungal infections. By implementing these preventive measures, you can ensure the health and vitality of your cymbidium orchids.
Frequently Asked Questions For How To Transplant Orchids Cymbidium
How Do You Separate And Repot Cymbidium Orchids?
To separate and repot cymbidium orchids, follow these steps: 1. Gently remove the orchid from its current pot without damaging the roots. 2. Carefully separate the individual bulbs, ensuring each has roots attached. 3. Select a new pot that provides enough space for the bulbs to grow.
4. Place the bulbs in the new pot, ensuring the roots are spread out and covered with potting medium. Remember, be gentle with the roots to avoid damaging the orchid during the separation and repotting process.
What Is The Best Potting Medium For Cymbidium?
The best potting medium for cymbidium is a mix of orchid bark, perlite, and sphagnum moss.
Do Cymbidium Orchids Like To Be Root Bound?
Cymbidium orchids prefer to be slightly root bound for better blooming and growth.
Can I Use Potting Soil For Cymbidium Orchids?
Potting soil is not recommended for cymbidium orchids as they prefer a well-draining orchid mix.
Conclusion
Transplanting orchids Cymbidium can be a rewarding and fulfilling experience. By following the proper techniques and guidelines, you can ensure the health and longevity of your orchids. Remember to choose the right timing, prepare the necessary materials, and be gentle during the process.
Don’t be afraid to trim the roots and remove any damaged or dead sections. Choosing a suitable pot with proper drainage is crucial for your orchids’ well-being. Finally, provide the right care and conditions after transplanting, including proper watering, lighting, and fertilization.
With patience and care, your orchids will thrive and grace your space with their vibrant blooms. Happy transplanting!