Transplanting a Queen of the Night plant requires careful handling and attention to detail. This guide will provide step-by-step instructions for successfully transplanting your Queen of the Night plant, ensuring its healthy growth and adaptation in its new location.
The Queen of the Night plant, also known as Selenicereus grandiflorus, is a unique and beautiful flowering cactus native to Central America and the Caribbean. Its captivating and fragrant blooms only open at night, adding an enchanting element to any garden or indoor space.

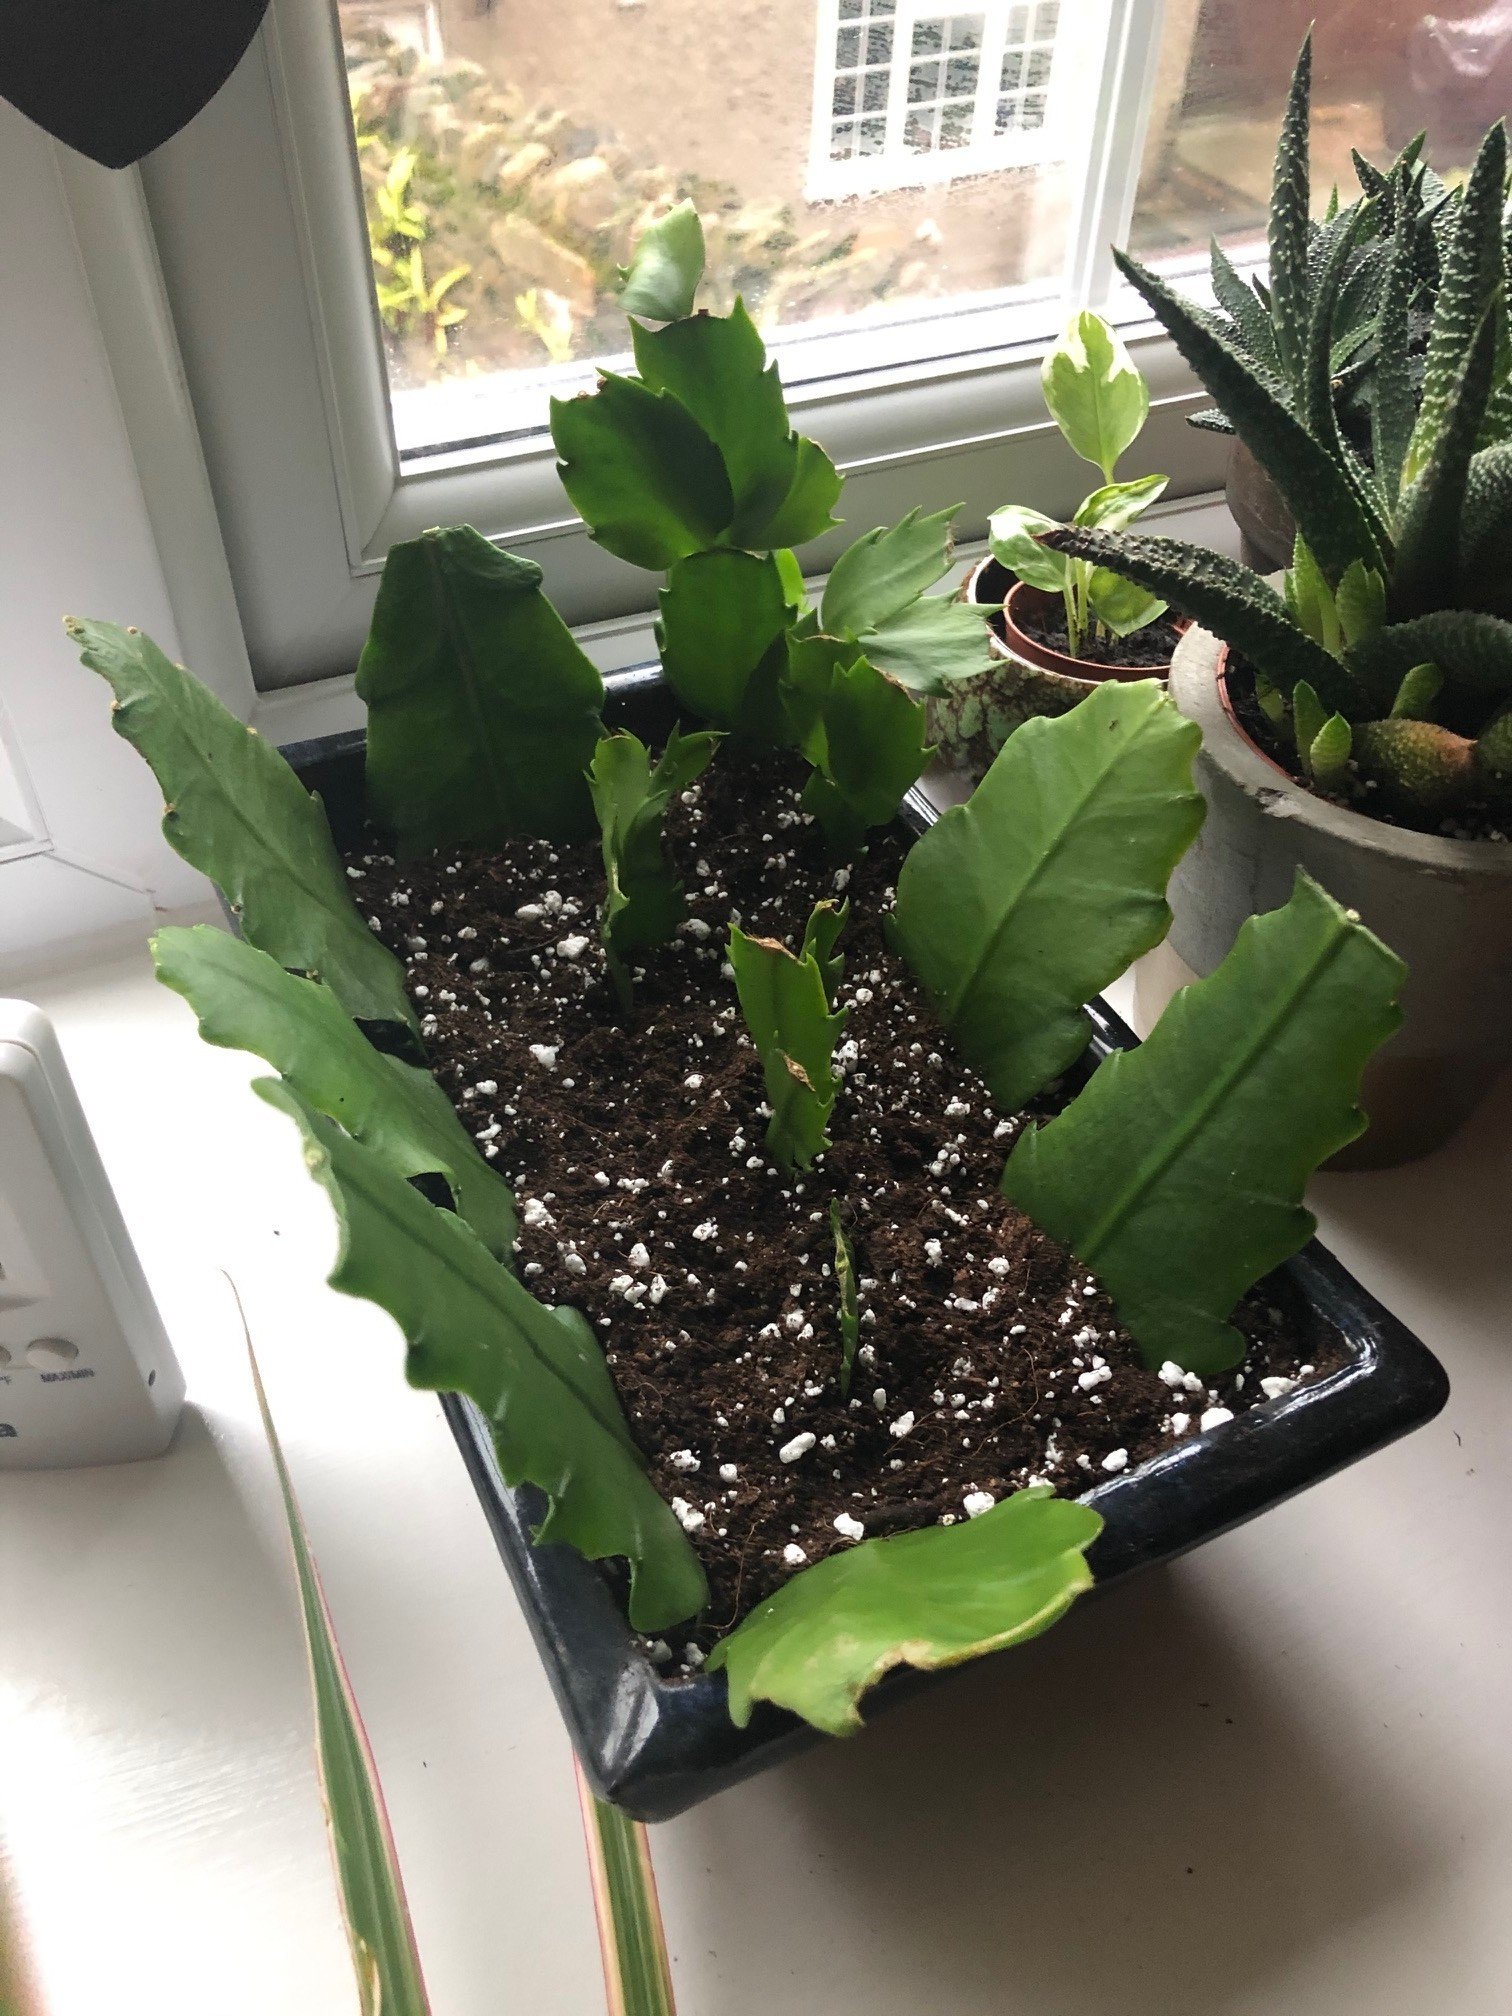
Credit: m.youtube.com
If you’ve decided to move your Queen of the Night plant to a new spot in your garden or transfer it to a larger pot for indoor cultivation, transplanting it properly is crucial for its well-being. We will guide you on how to transplant your Queen of the Night plant successfully, ensuring its continued growth and blooming potential.
Understanding The Queen Of The Night Plant
The Queen of the Night plant, known for its unique characteristics and features, requires a thorough understanding for successful transplantation. This plant has a natural habitat and growth conditions that must be replicated for optimal results. Maintaining the right balance of moisture, light, and temperature is crucial.
It is important to carefully choose a new location that provides the necessary conditions to ensure the plant’s growth and development. Additionally, proper preparation and handling techniques should be followed to minimize stress on the plant during the transplantation process.
By taking these factors into consideration and following the correct procedures, you can successfully transplant the Queen of the Night plant and enjoy its beauty in your own garden or home.
Signs Indicating The Need For Transplanting
Signs indicating the need for transplanting include an overcrowded root system, slow growth, and lack of flowering. Transplanting the Queen of the Night plant becomes necessary when the root system becomes too crowded. As the roots struggle to expand, the plant’s growth becomes stunted, resulting in a lack of new blooms.
Another indication is soil depletion or nutrient deficiency. Over time, the plant may have exhausted the nutrients present in the current soil, hindering its growth and overall health. Transplanting the plant to fresh soil will provide it with the necessary nutrients for renewed growth and vibrant flowering.
Remember to choose the right timing and provide proper care during the transplanting process to ensure the plant’s successful adaptation to its new environment.
How to Transplant Queen of the Night Plant : Step by Step Guide
Choosing The Right Time And Location
Transplanting a Queen of the Night plant requires careful consideration of both timing and location. The best season for this process is typically during the spring or early summer when the plant is in its active growth phase. When selecting a location, it’s important to choose a spot that provides adequate sunlight, preferably with morning sun and afternoon shade.
Additionally, ensure that the soil is well-draining and fertile to promote healthy root development. Prior to transplanting, water the plant thoroughly to reduce stress on its roots. Gently dig around the plant, taking care to minimize damage to the root system.
Once the desired location is prepared, carefully remove the plant from its current pot and gently place it in the new hole, ensuring that it sits at the same depth as before. Finally, water the newly transplanted Queen of the Night plant and monitor its progress closely in the following weeks.
Gathering The Necessary Tools And Materials
To transplant a Queen of the Night plant, you will need a few essential tools and materials. Garden gloves are necessary to protect your hands while handling the prickly plant. Use pruning shears to trim any excessive growth or damaged parts.
Make sure you have a suitable potting mix that drains well and provides the right nutrients. Choose a container or pot that is large enough to accommodate the root system of the plant. Before transplanting, prepare the new container by filling it with the potting mix.
Once you have gathered all the necessary items, you are ready to begin the transplanting process.
Assessing The Health Of The Plant
Assess the plant’s health by checking for pests or diseases and trim any damaged or unhealthy parts. Ensure that the plant is free from common issues such as aphids, mealybugs, or fungal infections. Look closely at the leaves, stems, and roots for signs of damage or discoloration.
Remove any affected areas using clean and sharp tools to prevent further spread of diseases or pests. Remember to wear protective gloves while handling the plant to avoid any allergic reactions or skin irritation. It’s important to transplant a healthy Queen of the Night plant to promote successful growth and ensure its longevity in its new location.
Regularly inspect and maintain the plant to keep it vibrant and thriving.
Removing The Plant From Its Current Pot Or Garden Bed
To transplant the Queen of the Night plant, start by loosening the soil around its roots.
Preparing The New Planting Container
Preparing the new planting container involves selecting an appropriate size and type. Consider the dimensions and material to ensure proper growth. Additionally, drainage is crucial – add suitable materials for effective water flow. This blog post will guide you through the process of transplanting Queen of the Night plant.
Transferring The Queen Of The Night Plant To The New Container
Transferring the Queen of the Night plant to a new container requires some specific steps. First, carefully place the plant in the center of the container, ensuring it is secure. Then, fill the container with potting mix, making sure to cover the roots completely.
Gently pat down the soil to remove any air pockets. Afterward, water the plant thoroughly to help settle the soil. It’s important to provide adequate drainage to avoid waterlogging. Place the container in a well-lit area, but avoid direct sunlight, as it can be too harsh for the plant.
Regularly monitor the moisture levels and adjust watering accordingly. With proper care, your Queen of the Night plant will thrive in its new container.
Watering And Caring For The Transplanted Plant
Transplanting the Queen of the Night plant requires proper watering and care. Make sure to provide adequate moisture to the transplanted plant, avoiding stress or shock. Monitor the plant for any signs of distress or shock, such as yellowing leaves or wilting.
Adjust the watering schedule based on the plant’s needs, ensuring the soil remains evenly moist but not waterlogged. Use well-draining soil to prevent waterlogging and root rot. Maintain a consistent watering routine, especially during the plant’s growing season. Avoid overwatering or underwatering, as it can cause the plant’s health to decline.
Remember to water at the base of the plant, rather than on the leaves, to prevent fungal diseases. With proper watering and care, the transplanted Queen of the Night plant will thrive in its new location.
Ensuring Proper Watering And Drainage
Transplanting a Queen of the Night plant requires careful consideration of watering and drainage. It is crucial to strike the right balance between providing sufficient water without overwatering or causing waterlogging. One effective way to prevent overwatering is to allow the top inch of soil to dry out before watering again.
This helps ensure that the roots have enough oxygen and prevents water from sitting around the roots for too long. Additionally, using well-draining soil mixtures and pots with drainage holes can further help in avoiding waterlogging. It is also essential to keep an eye on the plant’s water requirements, adjusting the frequency based on its needs.
By following these guidelines, you can ensure the successful transplantation of your Queen of the Night plant.
Providing The Necessary Sunlight And Temperature Conditions
To transplant a Queen of the Night plant successfully, it is crucial to provide ideal light exposure. Place the plant in a location where it will receive bright, indirect sunlight. Avoid direct sunlight, as it can scorch the leaves. Additionally, protect the plant from extreme temperatures.
The Queen of the Night plant prefers temperatures between 60°F and 80°F (15°C and 27°C). Avoid placing it near drafty windows or heating vents. If the temperature drops below 50°F (10°C), the plant may suffer damage. By following these guidelines, you can ensure that your Queen of the Night plant thrives in its new location.
Applying Appropriate Fertilizers And Nutrients
Transplanting the Queen of the Night plant successfully involves using appropriate fertilizers and nutrients. It is essential to choose the right type and frequency of fertilization to ensure the plant’s health. Organic options for fertilization are a great choice, as they promote long-term soil fertility and minimize environmental impact.
By using organic fertilizers, such as compost or well-rotted manure, you can provide the necessary nutrients without harmful chemicals. It’s essential to follow the instructions on the fertilizer packaging carefully, paying attention to the recommended application rates and frequency. Regularly feeding the Queen of the Night plant with organic fertilizers will provide it with the nourishment it needs to thrive.
This will contribute to its overall health and robust growth, resulting in beautiful blooms that will enhance your garden or indoor space.
Dealing With Transplant Shock
Transplant shock can be a challenging process when it comes to moving the Queen of the Night plant. Identifying signs of shock is crucial. Leaf drooping and wilting are common indicators. To minimize the impact, carefully prepare the new planting site.
Dig a hole slightly larger than the root ball and make sure it is properly drained. Gently remove the plant from its current location, being cautious not to damage the roots. Place it in the prepared hole and backfill with soil, firmly pressing it down.
Water thoroughly and provide adequate sunlight for the plant to recover. By following these steps, you can successfully transplant the Queen of the Night plant and minimize the risk of shock.
Managing Pest And Disease Problems
Managing pest and disease problems requires recognizing common issues that may arise when transplanting the Queen of the Night plant. Pay attention to signs of infection or infestation, such as wilting leaves or discoloration. To tackle these problems with natural remedies, consider using organic insecticides or homemade pest repellents.
Additionally, regularly inspect your plant for any fungal or bacterial diseases, such as powdery mildew or leaf spots. Should you notice any symptoms, try applying neem oil or a mixture of water and baking soda to combat these issues. Remember to avoid overwatering and provide adequate sunlight and airflow to prevent future problems.
By staying proactive and taking appropriate action, you can maintain a healthy and thriving Queen of the Night plant in your garden.
Addressing The Challenges Of Root Bound Plants
Addressing the challenges of root bound plants involves recognizing symptoms and employing techniques for untangling or pruning roots. Symptoms such as stunted growth or roots emerging from the bottom of the pot indicate that your Queen of the Night plant requires transplanting.
To begin, gently remove the plant from its current container, being cautious to avoid damaging the roots. Next, carefully untangle the roots, ensuring they have space to spread out. If the roots are excessively tangled, consider pruning them with sharp, sterilized shears.
Once the roots have been prepared, select a new pot that provides adequate drainage and fill it with a well-draining potting mix. Place the plant in the new pot, ensuring that the roots are spread evenly, and gently press the soil around them.
Water the plant thoroughly and place it in a suitable location with the right amount of sunlight. By addressing the challenges of root bound plants, you can ensure the healthy growth of your Queen of the Night plant.
Celebrating The Successful Transplantation
Transplanting your Queen of the Night plant can be a cause for celebration. Witnessing its success in adjusting to a new environment is truly rewarding. To ensure that it thrives, it is important to maintain its health and growth. Provide it with proper care and attention, such as regular watering and sufficient sunlight.
Avoid excessive watering, as this can lead to root rot. Additionally, it is advisable to use a well-draining potting mix to prevent waterlogging. Furthermore, make sure to monitor the plant for any signs of pests or diseases, promptly treating and addressing these issues as needed.
With proper care, your Queen of the Night plant will continue to flourish, providing you with its stunning night-blooming flowers.
Frequently Asked Questions Of How To Transplant Queen Of The Night Plant
How Do You Transplant A Night Blooming Cereus?
To transplant a night blooming cereus: 1. Choose a new location with well-draining soil and partial sunlight. 2. Gently remove the plant from its current pot, being careful not to damage the roots. 3. Place the plant into the new hole, ensuring it is level with the soil surface.
4. Water the plant thoroughly and continue to water regularly, allowing the soil to dry out between waterings.
How Do You Take Cuttings From The Queen Of The Night?
To take cuttings from the Queen of the Night, carefully select a healthy stem and remove it from the main plant.
What Is The Best Soil For Queen Of The Night?
The best soil for Queen of the Night is a well-draining mixture with organic matter.
What Kind Of Potting Soil For Epiphyllum?
For epiphyllum plants, use a well-draining potting soil to prevent waterlogging and promote healthy growth.
Conclusion
Overall, transplanting a Queen of the Night plant requires proper preparation and care to ensure its successful growth. By following these steps, you can confidently relocate your Queen of the Night plant to a new and more suitable environment. Begin by selecting the right pot or location, ensuring it has proper drainage.
Gently remove the plant and its root ball from the current pot, taking care not to damage the delicate roots. Prepare the new pot with fresh, well-draining soil and place the plant in the center, making sure it is stable.
Finally, water the plant thoroughly and place it in a location with indirect sunlight. Regularly monitor and care for your transplanted Queen of the Night plant, providing it with the appropriate amount of moisture and sunlight. With patience and proper attention, your plant will flourish in its new home, adding beauty and elegance to any space.