To transplant squash seedlings, dig a hole, gently remove the seedling from its container, place it in the hole, and water thoroughly. Now, I will provide a comprehensive guide on how to transplant squash seedlings.
It is important to transplant squash seedlings carefully for successful growth and to ensure they adapt well to their new environment. Transplanting squash seedlings involves a simple process that requires digging a hole in the garden bed, gently removing the seedling from its container, placing it in the hole, and watering it thoroughly.
By following these steps, you can transplant your squash seedlings effectively and promote healthy plant growth.

Credit: www.flickr.com
How to Transplant Squash Seedlings : Step by Step Guide
Choosing The Right Time And Location For Transplanting Squash Seedlings
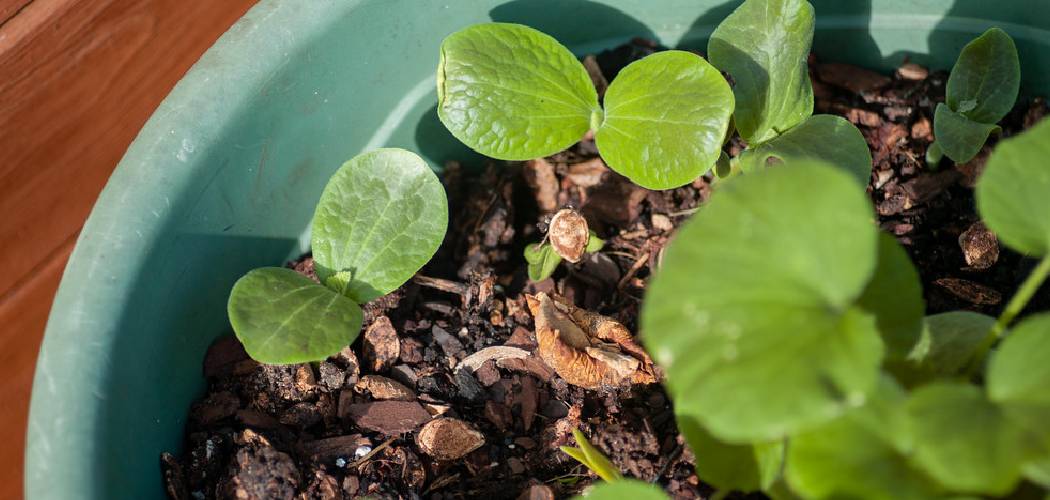
Transplanting squash seedlings is a crucial step in ensuring a successful squash harvest. When it comes to selecting the right time and location for transplanting, timing is key. Ideally, squash seedlings should be transplanted when they have at least two sets of true leaves and the risk of frost has passed.
Understanding the ideal time to transplant squash seedlings is crucial for their survival and growth. The weather plays a significant role in determining whether it’s the right time to transplant. Make sure to check the local climate and average last frost date to plan accordingly.
Factors to consider when selecting a location for transplanting include sunlight, soil quality, drainage, and spacing. Squash plants thrive in full sun, so choose a location that receives at least 6-8 hours of direct sunlight daily. Additionally, ensure the soil is well-draining and rich in organic matter.
| Factors to Consider for Location | Guidelines |
|---|---|
| Sunlight | Choose a location that receives 6-8 hours of direct sunlight daily. |
| Soil Quality | Ensure the soil is well-draining and rich in organic matter. |
| Drainage | Avoid areas with poor drainage to prevent waterlogged soil. |
| Spacing | Provide enough space between plants to allow air circulation and prevent overcrowding. |
By carefully considering these guidelines, you can select the right time and location for transplanting squash seedlings, ensuring their healthy growth and a bountiful harvest.
Preparing Squash Seedlings For Transplantation
Squash seedlings require careful preparation and hardening off before they can be successfully transplanted into the garden. To ensure strong and healthy roots, it is important to follow a few key guidelines.
Firstly, avoid transplanting squash seedlings too early. Wait until all danger of frost has passed and soil temperatures have warmed up.
Secondly, gently remove the seedlings from their original containers. Loosen the roots slightly, being careful not to disturb them too much.
Next, gradually expose the seedlings to outdoor conditions through a process called hardening off. This involves placing them in a partially shaded area for a few hours each day, gradually increasing their exposure to direct sunlight and outdoor elements over the course of a week.
Water the seedlings regularly to keep the soil moist but not waterlogged. Be mindful of not overwatering, as this can lead to root rot and other issues.
Lastly, when transplanting the seedlings into the garden, ensure that the soil has been properly prepared. Amend with compost or well-rotted manure to provide nutrients and improve drainage.
By following these guidelines, you can successfully transplant squash seedlings and give them the best chance at thriving in your garden.
Step-By-Step Guide To Transplanting Squash Seedlings
| Step 1: | Digging the Holes |
| To transplant squash seedlings successfully, start by preparing the soil. Clear any weeds or debris and loosen the soil using a garden fork. Dig holes for the seedlings, making sure they are wide and deep enough to accommodate the roots. Keep a distance of about 2-3 feet between each hole, allowing the plants enough space to grow. | |
| Step 2: | Preparing the Soil |
| Prior to transplanting squash seedlings, amend the soil with compost or well-rotted manure. This will help provide necessary nutrients and improve drainage. Mix the amendment into the soil thoroughly to ensure even distribution. The enriched soil will promote healthy growth and development of the young seedlings. |
Transplanting Squash Seedlings With Care
Transplanting squash seedlings is a crucial step in ensuring their healthy growth. Removing the seedlings from their containers requires delicacy to avoid damaging the fragile roots. Gently tap the bottom of the container to loosen the soil and carefully lift each seedling, holding it by the leaves rather than the stem. Placing the seedlings in the prepared holes should be done with precision. Make sure the holes are wide and deep enough to accommodate the roots, and space them appropriately to allow sufficient airflow. Position the seedlings vertically, ensuring that the top of the root ball is level with the surrounding soil. Gently firm the soil around the seedlings, avoiding excessive pressure. Adequate watering after transplanting is essential to mitigate transplant shock.
Watering And Mulching Transplanted Squash Seedlings
Proper watering is crucial after transplanting squash seedlings. The key is to provide enough moisture without overwatering. During the initial stages, water the seedlings gently to prevent washing away the soil or damaging the delicate roots. Keep an eye on the soil moisture level and adjust watering accordingly. It’s important not to let the soil dry out completely, but also avoid waterlogged conditions as they can lead to root rot or fungal diseases. Mulching around the seedlings offers several benefits. It helps retain moisture in the soil, reduces weed growth, regulates soil temperature, and prevents soil erosion. Apply a layer of organic mulch, such as straw or shredded leaves, around the plants, but avoid direct contact with the stems to prevent rotting. Remember, proper watering and mulching are essential for the healthy growth and development of transplanted squash seedlings.
Monitoring And Caring For Transplanted Squash Seedlings
The key to successfully transplanting squash seedlings is to monitor and care for them diligently. Regularly checking for signs of stress or disease is essential to ensure the health and well-being of the seedlings. Look out for wilting leaves, discoloration, or any unusual growth patterns that may indicate problems. Promptly address any issues by adjusting watering, providing proper nutrients, or applying organic pest control methods. Additionally, supporting the seedlings is crucial to prevent them from bending or breaking under their own weight. Use stakes or cages to provide the necessary support as they grow. It’s also important to protect the seedlings from harsh weather conditions such as strong winds or intense sunlight. Consider sheltering them with row covers or providing shade when needed. By closely monitoring and caring for transplanted squash seedlings, you can increase their chances of thriving in their new environment.
Troubleshooting Common Issues During Transplantation
Transplanting squash seedlings can sometimes be challenging, but understanding and addressing common issues during the process is essential. One common problem is **transplant shock**, which occurs when the seedlings experience stress from being moved to a new environment. To minimize transplant shock, it helps to harden off the seedlings by gradually exposing them to outdoor conditions before transplanting. Additionally, ensure that the seedlings are well-hydrated before transplantation and water them immediately after planting to support their establishment.
Another challenge that may arise after transplanting squash seedlings is dealing with **pest and disease problems**. Regularly inspect the plants for any signs of insect infestation or disease symptoms, such as wilting, yellowing leaves, or abnormal growth. Early detection can prevent further damage, and applying organic pest control methods or appropriate fungicides can help manage these issues effectively.
| Problem | Solution |
|---|---|
| Transplant Shock | – Harden off seedlings gradually |
| – Ensure proper hydration before transplanting | |
| – Water immediately after planting | |
| Pest and Disease | – Regularly inspect for signs of infestation or disease |
| – Apply organic pest control methods or fungicides as needed |
By addressing these common issues during transplantation, you can improve the success rate of transplanting squash seedlings and ensure healthy growth in your garden.
Harvesting And Utilizing Transplanted Squash Seedlings
Harvesting squash seedlings at the right time is crucial for successful transplantation. **Timing is key** when it comes to identifying the ideal moment for this process. Look for **fully developed leaves and stems** before attempting to harvest the seedlings. By doing so, you ensure their ability to adapt to their new environment. After the seedlings are transplanted, they can be utilized in various ways. **One option is to replant them in a larger garden bed**, giving them more space to grow and produce abundant squash. **Another option is to share the seedlings with other gardeners**, allowing them to enjoy the benefits of squash plants as well. Additionally, these seedlings can be **donated to local community gardens** or school gardens, promoting sustainability and providing nutritious produce to those in need.
Maintenance Tips For Healthy Transplanted Squash Plants
Transplanting squash seedlings is an essential step in ensuring healthy squash plants. To maintain their health, it is important to focus on pruning and training the squash vines. Pruning helps control the growth of the vines and ensures better air circulation, reducing the risk of disease. Regularly prune any damaged or diseased leaves, as well as any vines that are overcrowding or competing for space.
Training the vines involves gently guiding them to grow in a specific direction, such as along trellises or stakes. This helps support the weight of the growing fruits and prevents them from getting damaged or touching the ground, where they can be exposed to pests or diseases.
In addition to pruning and training, maintaining proper nutrition and soil fertility is crucial. Squash plants require regular feeding with a balanced fertilizer to provide essential nutrients. It is recommended to conduct a soil test beforehand to determine any deficiencies and amend the soil accordingly.
By following these maintenance tips for healthy transplanted squash plants, you can ensure vigorous growth, improved fruit production, and a bountiful harvest.
Frequently Asked Questions On How To Transplant Squash Seedlings
Do Squash Seedlings Transplant Well?
Squash seedlings transplant well and adapt easily to new environments with minimal hassle.
When Should You Transplant Squash?
Transplant squash when the soil has warmed up, after the last frost, and the seedlings have developed sturdy leaves.
How Deep To Plant Squash Seedlings?
Plant squash seedlings at a depth of one inch in the soil.
How Deep To Bury Squash Seedlings?
Dig a hole deep enough for the squash seedlings, ensuring that the roots are covered.
Conclusion
Transplanting squash seedlings is a crucial step in ensuring their successful growth and development. By following these simple guidelines, you can give your squash plants the best chance of thriving in their new location. Remember to choose a well-prepared planting site, dig deeply to ensure the roots have space to spread out, and carefully handle the seedlings to prevent damage.
Watering the seedlings immediately after transplanting and regularly thereafter will help them establish and adapt to their new environment. Providing adequate support, such as stakes or trellises, can also promote upward growth and prevent sprawling. With proper care and attention, your transplanted squash seedlings will soon bear delicious and abundant fruits for you to enjoy.
So get your gardening gloves on, and start transplanting your squash seedlings with confidence!