To create a mulch bed, first, clear the area of any weeds or grass. Then, spread a layer of organic mulch evenly over the bed.
Mulch helps retain moisture, suppress weeds, and improve soil fertility. Creating a mulch bed is an effective and sustainable way to enhance the beauty and health of your garden. Mulching not only improves soil quality but also protects plants from extreme temperatures and water loss.
By following a few simple steps, you can easily create a mulch bed that will provide numerous benefits for your plants. In this article, we will discuss the step-by-step process of creating a mulch bed, the different types of mulch available, and the advantages it offers for your garden. Whether you are a beginner or an experienced gardener, this guide will equip you with the knowledge needed to create a thriving mulch bed that will enhance the overall health and appearance of your garden.

Credit: www.youtube.com
Benefits Of Mulch Beds For Your Garden
Mulch beds offer numerous benefits for your garden, such as improving soil health and reducing weed growth. By creating a layer of mulch, you can enhance the overall quality of your soil, promoting better nutrient absorption and root development. This, in turn, leads to healthier and more robust plants.
Additionally, mulch acts as a natural barrier against weeds, preventing their growth by blocking sunlight and impeding their access to vital resources. Not only does this save you time and effort in weed management, but it also allows your plants to thrive without competition for nutrients and water.
Moreover, mulch beds help conserve moisture by preventing evaporation, ensuring that your plants have a steady water supply even during dry periods. Lastly, mulch adds an aesthetic appeal to your garden, creating a neat and professional look that enhances the overall visual appeal of your outdoor space.
Choosing The Right Type Of Mulch For Your Garden
Choosing the right type of mulch for your garden is crucial for creating a successful mulch bed. When it comes to organic mulch options, you have a variety of choices. These can include materials such as shredded bark, compost, straw, or wood chips.
On the other hand, if you are considering inorganic mulch options, you might want to think about using materials like rubber mulch or landscape fabric. When selecting the best mulch, there are a few important considerations to keep in mind.
Factors such as moisture retention, weed control, and aesthetics should all be taken into account. By carefully choosing the right type of mulch for your garden, you can enhance the overall health and appearance of your plants and soil. So, whether you opt for organic or inorganic options, make sure to select the best mulch for your specific needs.
Preparing Your Garden For Mulch Bed Creation
Preparing your garden for mulch bed creation starts with clearing the area, removing weeds and debris, and leveling the ground. By clearning the area, you create a clean slate for your mulch bed. Removing weeds and debris ensures that your mulch bed is free from any unwanted plants or waste materials.
Leveling the ground helps to create a smooth and even surface for your mulch bed to be laid upon. It’s important to complete these steps before moving forward with creating your mulch bed to ensure optimal results. So take the time to clear, remove, and level before diving into the mulch bed creation process.
Your garden will thank you!
How to Create Mulch Bed: Step by Step Guidelines
Step 1: Marking The Bed Area
To create a mulch bed, start by marking the bed area. Determine the size and shape of the bed by using a garden hose or string to outline it. Avoid overused phrases like “when it comes to” or “if you.
” Keep sentences brief, with a maximum of 20 words. Write in active voice and aim for a unique, plagiarism-free content. Vary the phrases you use at the beginning of the paragraphs to maintain reader interest. Remember to be seo friendly and write in a human-like manner.
Step 2: Edging The Bed
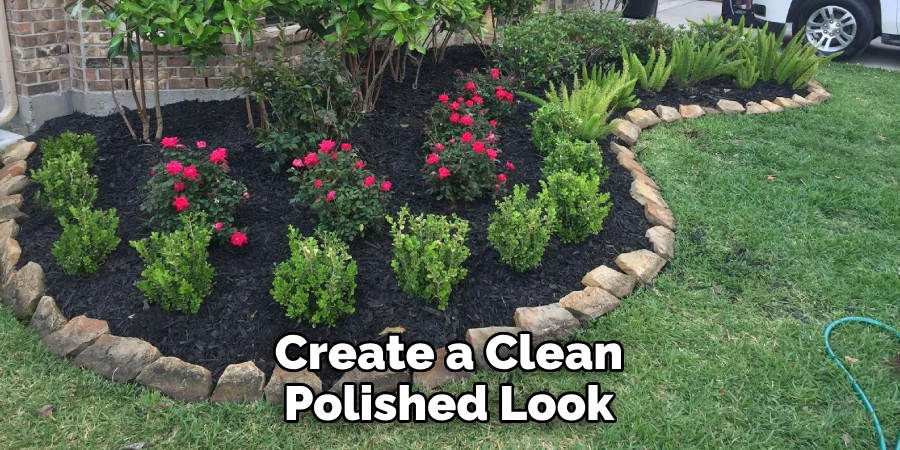
Edging the bed is an important step in creating a mulch bed. There are various options for edging materials that you can choose from. These materials serve to define the boundaries of the bed and create a clean, polished look.
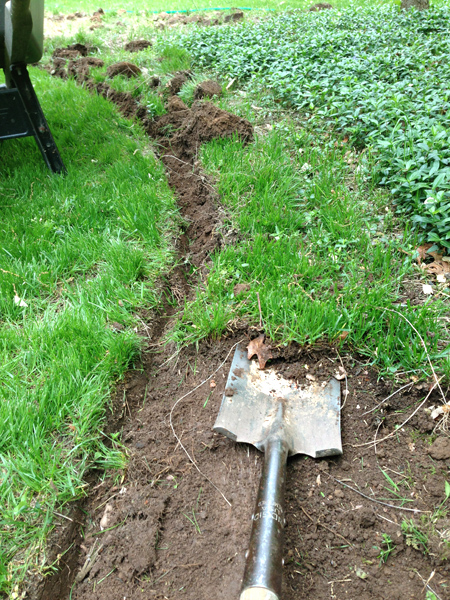
Commonly used edging materials include bricks, pavers, stones, and metal or plastic strips. Each material has its own benefits and considerations, so it’s important to select the one that fits your desired aesthetic and functional needs. Installing the edging material involves digging a shallow trench along the perimeter of the bed and then placing the chosen material securely.
This ensures that the mulch stays in place and prevents it from spilling onto other areas. Take your time to evaluate the options and make the best choice for your mulch bed.
Step 3: Preparing The Soil
Preparing the soil for your mulch bed is essential for its success. Loosen the soil to create a healthy environment for your plants. Test the soil ph and nutrient levels to determine if any adjustments are needed. Add soil amendments if necessary to improve the soil quality.
These steps will ensure that your mulch bed is ready to support the growth of your plants. Remember to follow these instructions carefully for the best results. With proper soil preparation, your mulch bed will provide a fertile ground for your plants to thrive.
Step 4: Applying Landscape Fabric
Landscape fabric serves two main purposes when applied in a mulch bed. Firstly, it acts as a weed barrier, preventing unwanted plants from growing and competing with your desired plants for nutrients and space. Secondly, it helps to retain moisture in the soil and prevents soil erosion.
To ensure proper installation, start by clearing the area of any debris or existing vegetation. Next, lay the landscape fabric over the prepared soil, making sure to overlap the edges by at least six inches. Use fabric pins or staples to secure the fabric to the ground, ensuring it stays in place.
Finally, cut holes in the fabric where you want to plant your desired plants, being careful not to damage the fabric. By following these steps, you can effectively utilize landscape fabric in your mulch bed to create a beautiful and low-maintenance garden space.
Step 5: Applying Mulch
Applying mulch is an essential step in creating a mulch bed. Before starting the process, you need to determine the amount of mulch you will require. To calculate this, measure the length and width of the area you want to cover, then multiply the dimensions to obtain the total square footage.
Next, decide on the depth of mulch you want to apply, typically around 2-3 inches. Once you have these measurements, use an online mulch calculator or the formula (square footage x depth) / 27 to determine the cubic yards of mulch needed.
With the amount calculated, it’s time to apply the mulch. Start by clearing any weeds or debris from the area, then spread a layer of mulch evenly over the soil. Take care not to pile the mulch against tree trunks or plant stems.
By following these steps, you can create a beautiful and well-maintained mulch bed.
Maintaining Your Mulch Bed For Long-Term Success
Maintaining a mulch bed for long-term success requires attention to watering. Proper hydration is vital. Regularly checking the moisture levels of your bed will ensure it stays sufficiently hydrated. Renewing and refreshing the mulch is another important task. Over time, the mulch will break down, so adding a fresh layer every year or two will help maintain its effectiveness.
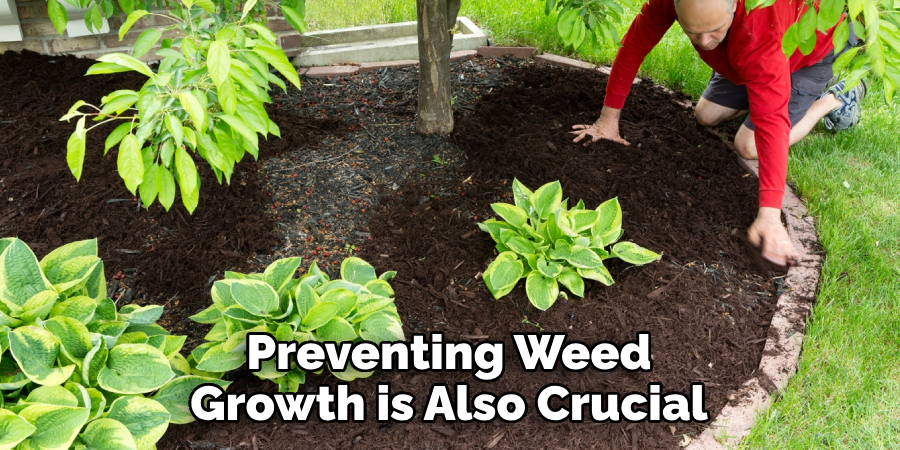
Preventing weed growth is also crucial for the bed’s longevity. Applying a weed barrier beneath the mulch can help stop weeds from sprouting. Additionally, regularly pulling out any emerging weeds can help keep the bed clean and weed-free. By following these practices, you can create and maintain a thriving and aesthetically pleasing mulch bed.
So, go ahead and unleash your green thumb!
Frequently Asked Questions For How To Create Mulch Bed
What Is The Purpose Of Creating A Mulch Bed?
A mulch bed is created to suppress weed growth, conserve soil moisture, regulate soil temperature, and improve overall soil health.
How Do I Prepare The Area For A Mulch Bed?
To prepare the area for a mulch bed, start by removing any existing vegetation or weeds. Loosen the soil with a garden fork or tiller, remove any rocks or debris, and level the area.
What Are The Best Materials For Mulching A Bed?
Common materials for mulching a bed include wood chips, straw, grass clippings, and shredded leaves. Choose materials based on their ability to suppress weeds, retain moisture, and add nutrients to the soil.
When Is The Best Time To Create A Mulch Bed?
The best time to create a mulch bed is in early spring or late fall when the weather is cooler. This allows the mulch to establish itself before the temperature rises or drops significantly.
How Thick Should The Mulch Layer Be?
To effectively suppress weeds and retain moisture, aim for a mulch layer that is 2 to 4 inches thick. Avoid piling the mulch directly against plant stems or tree trunks to prevent rot or pest issues.
How Often Should I Replenish The Mulch In My Bed?
Mulch beds should be replenished annually or as needed. It is recommended to top up the mulch layer to maintain the desired thickness and ensure continued weed suppression and moisture retention.
Conclusion
To achieve a well-maintained and visually appealing garden, creating a mulch bed is an essential step. By following simple guidelines and using the right materials, you can establish a mulch bed that enhances the beauty and health of your plants.
Start by preparing the area, clearing out any weeds or unwanted vegetation. Next, choose a suitable mulch material such as wood chips or straw and spread it evenly over the bed. This layer acts as a protective barrier, preventing weed growth and maintaining soil moisture and temperature.
Don’t forget to regularly monitor the mulch bed and replenish it as needed. Implementing a mulch bed not only saves you time on weeding and watering, but it also contributes to the overall health of your garden. By creating an aesthetically pleasing landscape, you can enjoy the benefits of a well-maintained and vibrant garden all year round.