
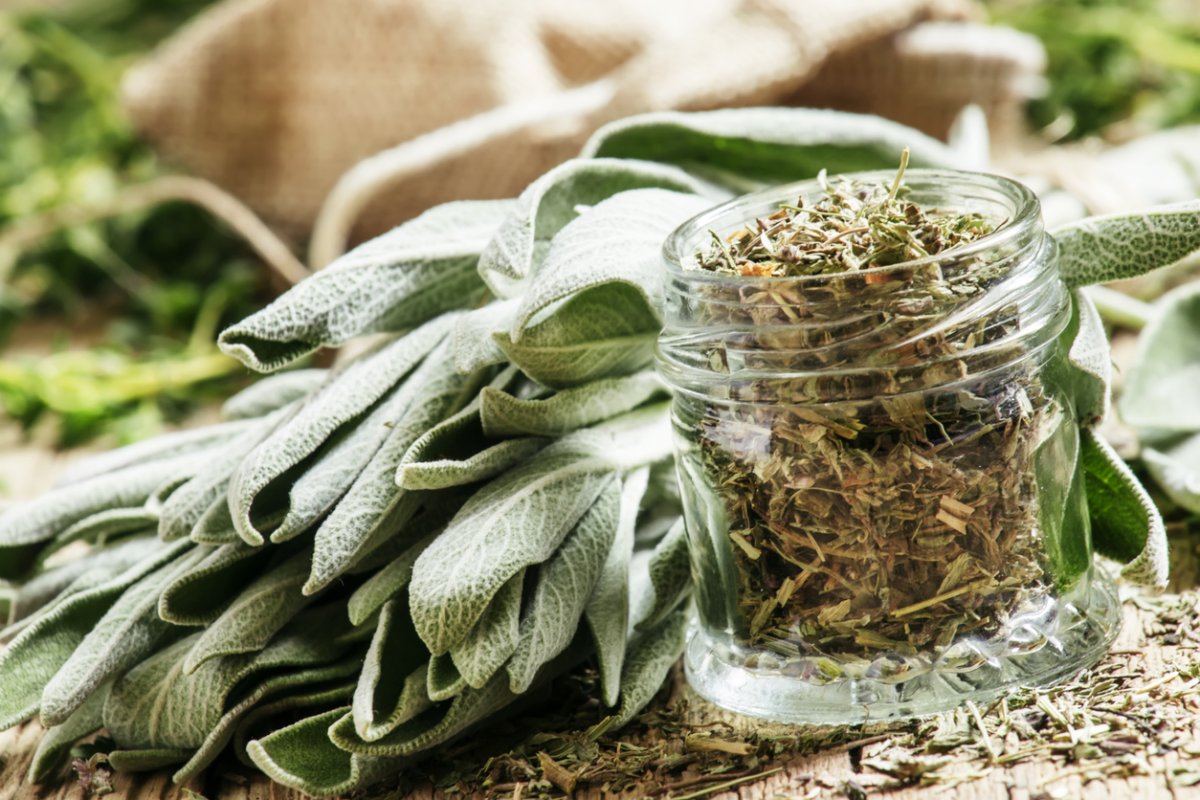
To preserve sage for winter, air-dry the leaves by hanging them upside down in a well-ventilated area and store them in an airtight container. Properly preserving sage ensures its availability throughout the winter months.
Credit: foodgardening.mequoda.com
Benefits Of Preserving Sage
To enjoy the aromatic and flavor benefits of sage even during the winter months, preserving this herb is essential. By preserving sage, you can extend its shelf life and have fresh sage readily available whenever you need it. There are several methods you can use to preserve sage:
- Drying: One of the simplest ways to preserve sage is by drying it. Spread the sage leaves in a single layer and allow them to air dry or use a dehydrator or oven to speed up the process.
- Freezing: Another method is freezing sage. Wash and pat dry the sage leaves, then freeze them either individually or in small bundles. Freezing retains the flavor and aroma of sage remarkably well.
- Oil Infusion: Creating an oil infusion with sage is a great way to preserve its flavor. Simply fill a sterilized jar with sage leaves and cover them with oil. Let the oil infuse for a few weeks before using it as a seasoning or for cooking.
- Herb Butter: Incorporating sage into herb butter is a delicious way to use and preserve this herb. Mix finely chopped sage with softened butter, then roll it into a log or freeze it in ice cube trays for individual portions.
- Herb Salt: Making herb salt with sage allows you to add its flavor to a wide range of dishes. Combine dried sage with coarse salt and store it in an airtight container for future use.
By employing these preservation methods, you can enjoy the benefits of sage all year round and elevate the flavor of your winter dishes.
Harvesting Sage For Preservation
Harvesting sage at the right time is crucial for preserving its flavor and aroma throughout the winter months. The best time to harvest sage is in the morning when the dew has dried but before the sun is at its peak. This ensures that the leaves are dry and contain the highest concentration of essential oils.
| Technique | Description |
|---|---|
| Pinch and snip | Gently pinch the stem right above a pair of leaves and snip it off using sharp garden shears or scissors. |
| Bundle and cut | Hold a bunch of sage stems together and cut them about 1-2 inches above the base. This method is ideal for drying sage. |
After cutting the sage, remove any damaged or discolored leaves and discard them. Gently rinse the leaves under cold water to remove any dirt or debris. Pat them dry with a clean cloth or paper towel. For immediate use, chop the leaves finely. Alternatively, you can dry the leaves to preserve them for later use.
How to Preserve Sage for Winter: Step by Step Guide
Drying Sage For Winter Use
- Air Drying Sage
- Drying Sage with a Dehydrator
To preserve sage for winter use, it is important to properly dry the leaves. Begin by cleaning the sage leaves, ensuring they are free of dirt and debris. Once cleaned, the leaves can be laid out on a clean, dry surface for air drying. Leave them exposed to the air until they become crisp and dry to the touch, which may take several weeks. Alternatively, a dehydrator can be used to speed up the drying process.
Simply place the sage leaves in a single layer on the dehydrator trays and set the temperature according to the manufacturer’s instructions. After the leaves are dried, they can be stored in airtight containers or freezer bags to retain their flavor. Properly dried sage will add a delightful touch of herbal flavor to your winter dishes.
Freezing Sage Leaves
Preserving sage for the winter is an excellent way to enjoy its flavors throughout the colder months. Freezing sage leaves is a simple and effective method that retains their freshness. To freeze sage, start by blanching the leaves in boiling water for a short period, then transfer them to an ice bath to stop the cooking process. Once blanched, drain and carefully pat dry the sage leaves before flash freezing them on a lined baking sheet.
This prevents them from sticking together during storage. Once the leaves are frozen, transfer them to airtight freezer-safe containers or bags, ensuring to remove as much air as possible. Label and date the containers before storing them in the freezer. Frozen sage leaves can be conveniently used in recipes by crumbling or using them whole directly from the freezer. With this preservation method, you can savor the flavors of sage all winter long.
Making Sage Infused Oil
Preserving sage for winter is essential to ensure its availability even when the plant is dormant. One way to preserve sage is by making sage infused oil. To start, you need to carefully wash and dry the sage leaves. Make sure to remove any dirt or debris. Once the leaves are clean, you can proceed to infuse them in oil.
Choose a high-quality oil such as olive or avocado oil and heat it gently in a saucepan. Add the sage leaves to the warm oil and let it steep for a few hours. The longer you let the sage infuse, the stronger the flavor will be. Once the oil is infused, strain out the sage leaves and transfer the oil to a glass jar or bottle. Store it in a cool, dark place to maintain its freshness. Sage infused oil can be used in various culinary dishes and even for aromatherapy purposes.
Creating Sage Salt
To preserve sage for winter, start by preparing the sage leaves. Harvest fresh sage leaves from your garden or buy them from a local farmer’s market. Gently wash the leaves and pat them dry using a clean kitchen towel. Ensure that the leaves are completely dry before moving on to the next step.
Once the sage leaves are dried, it’s time to mix them with salt. Take a large bowl and add a generous amount of coarse salt to it. Crush the sage leaves by hand or chop them finely using a knife. Add the crushed or chopped sage leaves to the bowl and mix well with the salt. Make sure the sage leaves are evenly distributed throughout the salt.
After mixing the sage with salt, transfer the sage salt to an airtight container. Mason jars or glass containers with tight-fitting lids work best for storing sage salt. Label the container with the date and content for easy identification. Store the sage salt in a cool, dry place away from direct sunlight.
Using Preserved Sage In Cooking
Proper measurement conversions are crucial when using preserved sage in cooking. Rehydrating dried sage is necessary before use, and you’ll need to adjust the measurements accordingly. Generally, 1 tablespoon of fresh sage is equivalent to 1 teaspoon of dried sage. To rehydrate dried sage, simply add 2 tablespoons of water to every 1 teaspoon of dried sage, and let it sit for about 10 minutes.
When substituting frozen sage for fresh, keep in mind that the texture may be slightly different, but the flavor remains intact. Use 1 1/2 teaspoons of frozen sage for every 1 tablespoon of fresh sage called for in your recipe. By following these proper measurement conversions, you can seamlessly incorporate preserved sage into your winter dishes.
Tips For Successfully Preserving Sage
Preserving sage for the winter is a great way to ensure you have this flavorful herb on hand when you need it most. Here are some key tips for successfully preserving sage:
Choosing The Right Sage Varieties
When it comes to selecting sage varieties for preservation, it’s important to choose those with a strong aroma and flavor. Popular choices include common sage, golden sage, and purple sage. These varieties offer a good balance of flavor and aroma that will enhance your dishes.
Proper Storage Methods
Properly storing sage is crucial to maintaining its flavor and quality. One effective method is to air-dry the leaves, as this helps to retain the herb’s essential oils. To do this, simply tie the stems together and hang them upside down in a cool, dry place. Another option is to freeze sage leaves in an airtight container or freezer bags. This method preserves their flavor and allows for easy access during the winter months.
Labeling And Organizing Preserved Sage
Labeling and organizing your preserved sage is essential for easy identification and use. Make sure to label the containers or bags with the date of preservation and the type of sage. Additionally, you may want to consider storing different varieties separately to maintain their unique flavors. By taking these steps, you can ensure that your preserved sage stays fresh and readily available throughout the winter.
Frequently Asked Questions On How To Preserve Sage For Winter
How Can I Preserve Sage For Winter?
To preserve sage for winter, you can dry the leaves or freeze them. To dry sage, harvest the leaves and tie them in bundles. Hang the bundles upside down in a cool, dry place for about 1-2 weeks. To freeze sage, wash and pat dry the leaves, then chop or leave them whole.
Place them in an airtight container or freezer bag and freeze.
Can I Store Sage In The Refrigerator?
While you can store fresh sage in the refrigerator for a short period, it is best to preserve it for longer use. Drying or freezing sage helps retain its flavor and aroma better than refrigeration.
How Long Can Dried Sage Last?
When stored properly in an airtight container, dried sage can last for up to 1-3 years. Regularly check the aroma and flavor to ensure freshness. If the sage loses its scent or tastes weak, it’s time to replace it.
Can I Freeze Sage In Ice Cube Trays?
Yes, freezing sage in ice cube trays is a convenient method. Chop the sage leaves and place them into each compartment of an ice cube tray. Fill each compartment with water or olive oil, then freeze. Once frozen, transfer the sage cubes to a freezer bag for easier storage and use.
Conclusion
Preserving sage for the winter is a simple yet essential task for any herb enthusiast. By following the methods outlined in this blog post, you can ensure that your sage retains its rich flavor and aroma throughout the colder months.
From air drying to freezing and making homemade sage-infused oils, there are various options to choose from. So, don’t let your sage go to waste—start preserving it now and enjoy the taste of summer all year round.