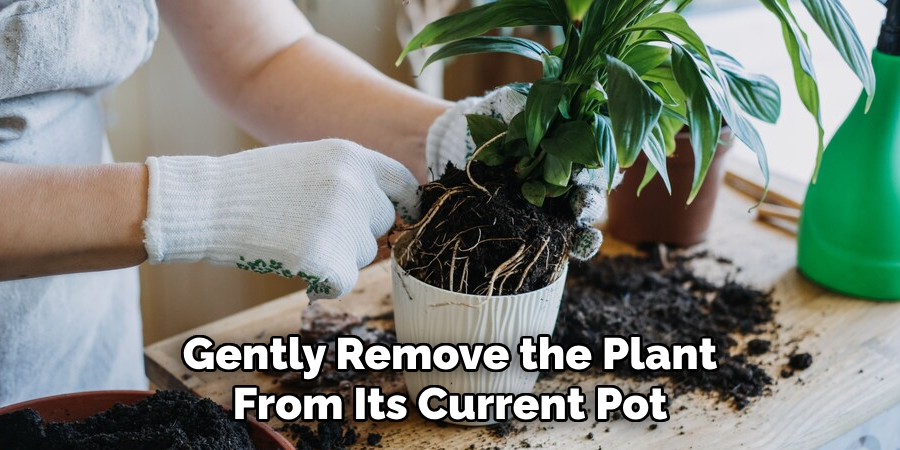
To repot a spider plant, gently remove it from its current container, separate any overcrowded roots, and place it into a new pot with fresh potting soil. When repotting, make sure to choose a slightly larger pot to allow for growth and water the plant immediately after repotting.
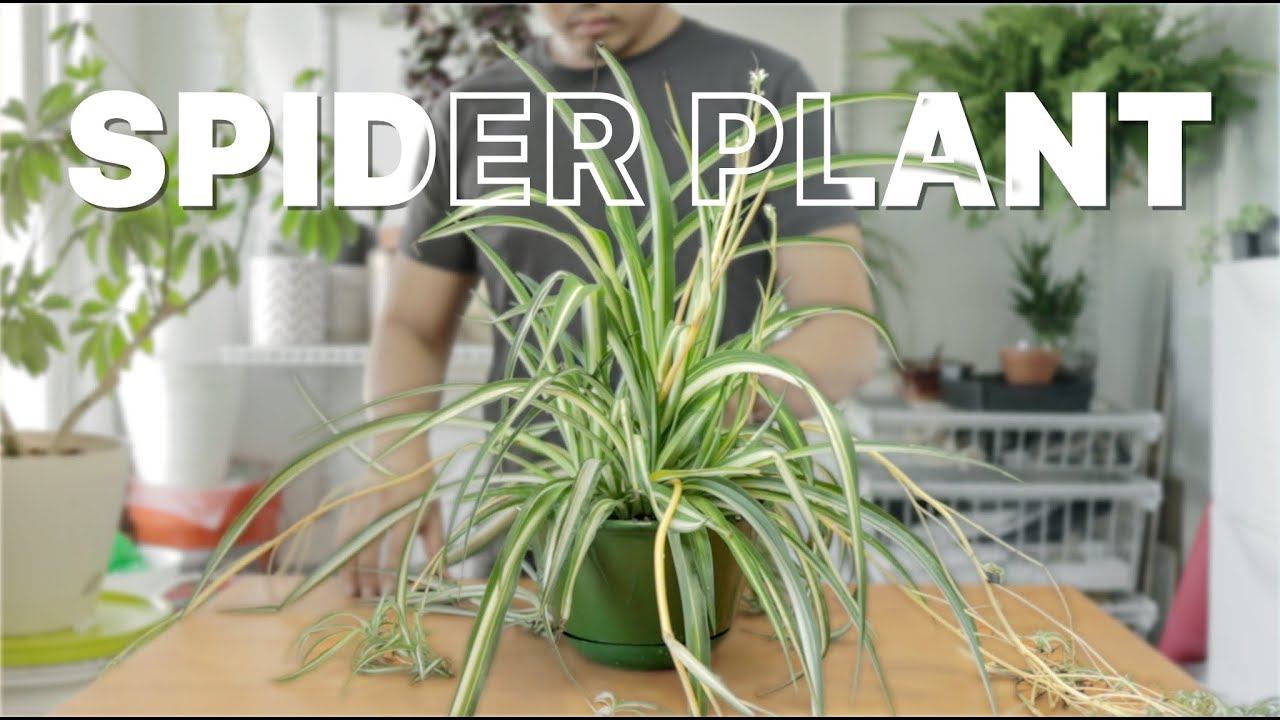
Spider plants, also known as chlorophytum comosum, are popular houseplants known for their cascading foliage and air-purifying capabilities. Repotting is a crucial step in the care of spider plants, as it allows them to thrive and continue their growth. Whether you are repotting an overgrown plant or giving it a fresh start in new soil, understanding how to repot a spider plant is essential.
We will guide you through the process of repotting a spider plant, providing you with step-by-step instructions for a successful repotting experience. By following these guidelines, you can ensure the health and vitality of your spider plant, allowing it to continue beautifying your indoor space.
Credit: www.floridayards.org
How to Repot Spider Plant in 9 Effective Methods
1: Assessing Pot Size And Type
Assess the size and growth rate of your spider plant before repotting it. Find a pot with proper drainage to prevent root rot. Choose the pot material based on your personal preferences.
2: Selecting The Best Soil Mix
Spider plants are easy to repot. The soil mix you choose is important. Opt for well-draining soil. Mix in organic matter for moisture retention. Avoid heavy clay or dense soil. These guidelines will ensure a successful repotting process.
3: Timing The Repotting Process
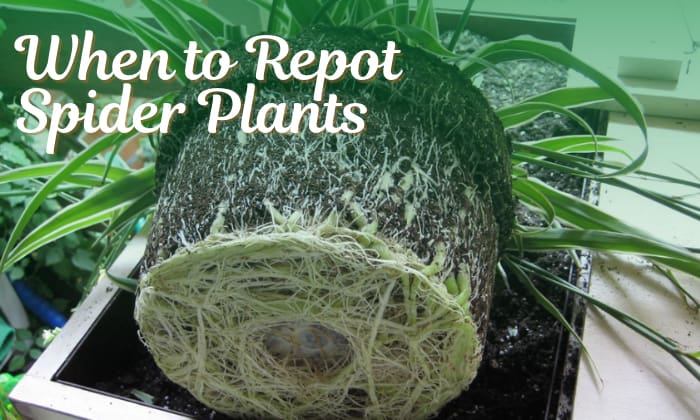
Timing the repotting process for your spider plant is crucial to its health and growth. To start, identify signs that your spider plant needs repotting, such as roots growing out of the drainage holes or a crowded root system. Once you notice these signs, choose the optimal time of year for repotting, typically during spring or summer when the plant is actively growing.
When repotting, follow these six guidelines to ensure success: 1. Select a larger pot with drainage holes to provide ample space for root expansion. 2. Use well-draining soil to prevent waterlogged roots and promote healthy growth. 3. Gently loosen the roots and remove any dead or damaged ones before transferring the plant to the new pot.
4. Position the plant in the center of the pot, ensuring it sits at the same level as before repotting. 5. Fill the pot with soil, firming it gently around the roots to secure the plant. 6. Water thoroughly and place the plant in a bright location, avoiding direct sunlight.
By following these steps, you can successfully repot your spider plant and support its overall well-being.
4: Preparing The Plant
Water the spider plant a day before repotting to prepare it for the process. Gently remove the plant from its current pot, being careful not to damage the roots. By loosening the roots, you are encouraging growth in the plant.
Remember to follow these guidelines to ensure your writing is seo friendly, unique, and easy to understand. Use different phrases at the beginning of paragraphs to keep the reader engaged. Avoid overused words or phrases to maintain a natural and human-like writing style.
Lastly, write in a concise manner with sentences under 20 words.
5: Adding Fresh Soil To The New Pot
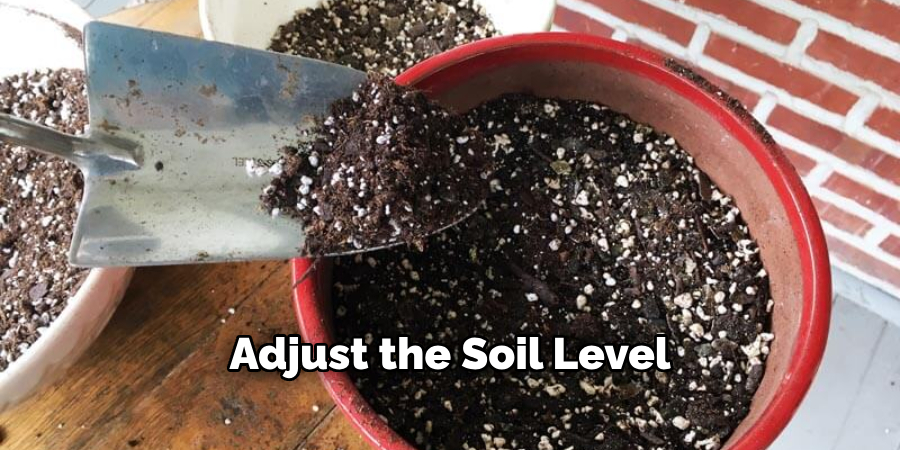
Place a layer of soil at the bottom of the new pot. Adjust the plant’s height within the pot. Fill the remaining space with fresh soil. This will provide a stable base for your spider plant. Make sure to choose a pot that is slightly larger than the current one.
Gently remove the plant from its old pot, being careful not to damage the roots. Position the plant in the new pot, ensuring that it sits at the same depth as before. Avoid covering the crown of the plant with soil.
Once the plant is secure, fill in the gaps with fresh soil, pressing it gently to eliminate any air pockets. Water the plant thoroughly to settle the soil. Place the newly repotted spider plant in a well-lit area and continue to care for it as usual.
By following these steps, your spider plant will thrive in its new pot.
6: Transferring The Spider Plant
Repotting a spider plant is a simple process that begins with carefully transferring the plant. Position the plant in the center of the new pot, ensuring that its roots are spread out evenly. Adjust the soil level and lightly firm it around the plant, giving it stability.
Taking these steps will help promote healthy growth and ensure the spider plant thrives in its new home. By following these instructions, you can successfully repot your spider plant and enjoy its beauty for years to come. So go ahead and give your spider plant the new pot it deserves!
7: Watering And Moisture Control
Spider plants are easy to repot. After repotting, water the plant thoroughly to ensure proper hydration. However, be cautious about overwatering as it can lead to root rot. To maintain the plant’s health, monitor the moisture levels regularly.
8: Providing Proper Lighting And Temperature
Providing proper lighting and temperature is crucial when repotting a spider plant. Find a suitable location that avoids direct sunlight and extreme temperature fluctuations. It’s important to maintain a consistent and moderate temperature for the repotted plant to thrive. Remember not to start sentences with overused phrases or words, keeping them brief and within 20 words.
The writing should be seo friendly, easy to understand, and in active voice. Use various phrases at the beginning of paragraphs to engage the reader’s interest. Avoid including a conclusion paragraph and aim for unique and plagiarism-free content.
9: Fertilizing And Maintenance
To fertilize and maintain your spider plant, feed it with a balanced liquid fertilizer.
Frequently Asked Questions Of How To Repot Spider Plant
How Often Should I Repot My Spider Plant?
Spider plants generally need to be repotted every 1-2 years, or when the plant has outgrown its current pot. Keep an eye out for crowded roots or if the plant starts to look cramped in its container. Repotting allows the spider plant to grow and thrive in fresh soil with more space.
What Type Of Soil Should I Use When Repotting My Spider Plant?
When repotting your spider plant, use a well-draining potting mix that is specifically formulated for houseplants. A mix that contains peat moss, perlite, and vermiculite is a good choice. This type of soil allows for proper drainage and aeration, preventing the plant from becoming waterlogged and prone to root rot.
How Do I Repot A Spider Plant?
To repot your spider plant, choose a slightly larger pot with drainage holes. Gently remove the plant from its current pot and loosen the roots. Place the plant in the new pot and fill in with fresh soil, pressing gently to secure the plant.
Water thoroughly after repotting and place in a well-lit area.
Can I Repot My Spider Plant In The Same Pot?
If your spider plant hasn’t outgrown its current pot or if you prefer to keep it in the same container, you can simply replace the soil instead of repotting. Carefully remove the plant from its pot, shake off excess soil, and replace with fresh potting mix.
This helps refresh the nutrients and promotes healthy growth.
What Are The Signs That My Spider Plant Needs To Be Repotted?
Some signs that your spider plant needs to be repotted include roots growing out of the drainage holes, the plant becoming top-heavy or falling over easily, or the soil drying out quickly after watering. Additionally, if the plant has been in the same pot for a long time, it may be time to give it a fresh start in a larger container.
Conclusion
Repotting your spider plant is an important task that will keep your plant healthy and thriving. By following the simple steps outlined in this blog post, you can give your spider plant the best chance at continued growth and vitality.
Remember to choose a suitable pot with proper drainage, use a well-draining soil mix, and gently remove the plant from its old pot to avoid damaging the roots. Additionally, remember to water your newly repotted spider plant thoroughly and adjust its light exposure accordingly.
By providing your plant with the right conditions, it will continue to flourish and bring a fresh burst of greenery to your space. So don’t hesitate, grab your gardening gloves and get ready to give your spider plant a fresh start!