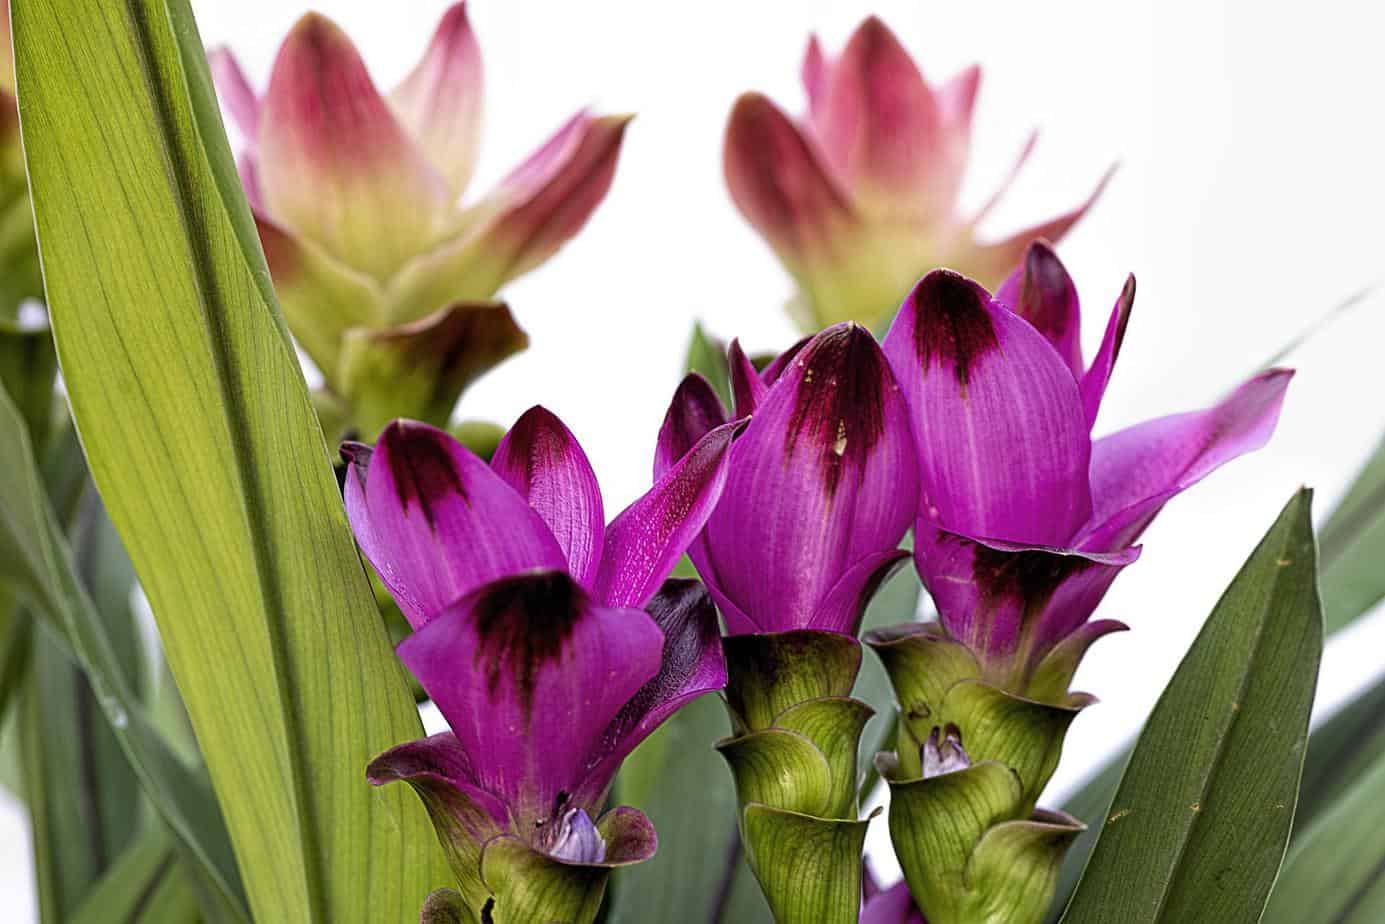
To trim a curcuma plant, use a sharp and clean pair of scissors or pruning shears.
Credit: www.palmwoodtropicals.com.au
Why Trimming Is Essential For Curcuma Plants
Trimming is vital for curcuma plants as it promotes healthier growth and enhances their visual appeal. Regular pruning helps maintain the plant’s shape and prevents it from becoming leggy or overgrown. Trimming also encourages the production of more vibrant and abundant flowers, making the plant a beautiful addition to any garden or indoor space.
By removing dead or diseased foliage, pruning prevents the spread of diseases and pests, ensuring the overall health of the plant. It is important to use sharp and clean tools when trimming curcuma plants to prevent any damage or infection.
Overall, proper trimming techniques are essential for the well-being and aesthetic appeal of curcuma plants.
Best Time To Trim Curcuma Plants
Trimming curcuma plants requires understanding their growth cycle and determining the best timing. Curcuma plants go through different stages of growth, and knowing when to trim is crucial for their overall health. Trimming at the appropriate time helps promote new growth and prevents the plant from becoming dormant.
It is best to trim curcuma plants after they have finished blooming and when the foliage starts to turn yellow. This indicates that the plant is entering its dormant phase. During this time, the energy is focused on storing nutrients in the rhizome for the next growing season.
Trimming too early or too late can disrupt this process. By following these guidelines, you can ensure that your curcuma plants thrive and continue to beautify your garden.
Tools And Materials Needed For Trimming Curcuma Plants
To trim your curcuma plant, you will need certain tools and materials. Start by using secateurs or pruning shears to cut away any dead or damaged foliage. Protect your hands with gardening gloves to avoid thorns or injuries. It’s also recommended to have a disinfectant spray on hand to clean your tools and prevent the spread of diseases.
Lastly, keep a clean cloth or tissue nearby to wipe off any sap or residue from the plant. Remember to trim your curcuma plant regularly to promote healthy growth and maintain its overall appearance. By following these guidelines, you can ensure that your curcuma plant remains vibrant and beautiful throughout the year.
How to Trim Curcuma Plant: 8 Easy Steps
Step 1: Assessing The Curcuma Plant
Trimming a curcuma plant involves assessing its overall health and identifying the parts that need pruning. In order to properly trim the plant, you should carefully examine its condition, considering factors such as leaf discoloration, withered stems, or any signs of disease.
By observing the overall health, you can determine which specific areas of the plant require attention. This assessment will help you understand where to begin the trimming process, ensuring you maintain the plant’s beauty and promote its growth. Remember, a healthy and well-maintained curcuma plant will not only be visually appealing, but also thrive in its environment.
So, take the time to assess your plant and identify the areas that need trimming to keep it at its best.
Step 2: Preparing For Trimming
Trimming a curcuma plant requires careful preparation. In step 2, we focus on cleaning and sterilizing the tools needed for the task. It is important to wear protective gear to ensure your safety. Cleaning the tools helps prevent any potential infections or diseases from spreading.
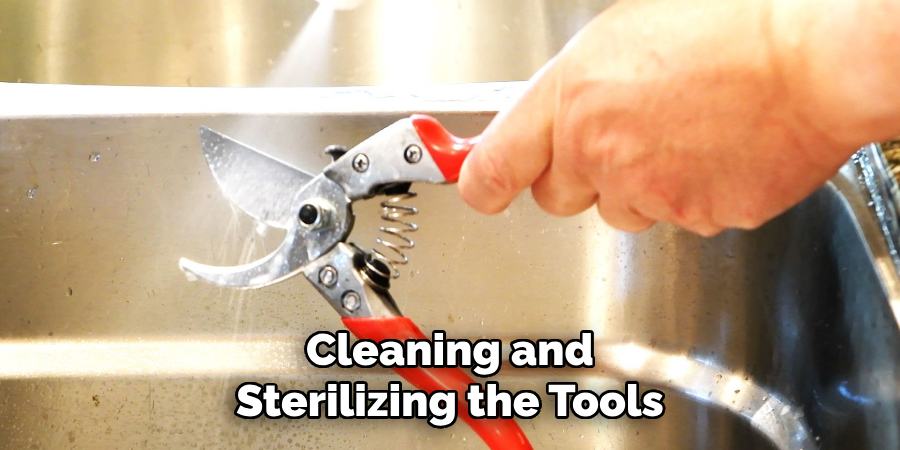
Sterilizing the tools eliminates any remaining bacteria or pathogens that may harm the plant. By following these guidelines, you can ensure a successful trimming process for your curcuma plant. Remember to be cautious and thorough in your preparations to keep your plant healthy and thriving.
Step 3: Trimming The Faded Or Damaged Leaves
To trim a curcuma plant, start by identifying yellowed or wilted leaves that need to be removed. Cut these leaves close to the base without causing any damage to the surrounding foliage. This step is crucial for the overall health and appearance of the plant.
By getting rid of faded or damaged leaves, you create space for new growth and prevent any potential diseases from spreading. It’s important to be gentle and precise in your trimming to avoid harming the plant. Remember to follow these guidelines to ensure a successful trimming process and maintain the beauty of your curcuma plant.
Step 4: Removing Dead Flowers And Inflorescences
Removing dead flowers and dried inflorescences from your curcuma plant is an essential step in maintaining its health. By recognizing spent flowers and dried inflorescences, you can ensure the plant’s vitality and encourage fresh growth. Carefully pruning these parts, without causing harm to the healthy sections of the plant, is crucial.
Regularly inspecting your curcuma plant and removing any dead or dried flowers will promote its overall appearance and prevent the spread of diseases. Be mindful of the plant’s natural growth pattern and trim accordingly. By following these guidelines, you can effectively trim your curcuma plant and keep it flourishing.
Keep in mind that maintaining the health and aesthetics of your curcuma plant requires regular care and attention.
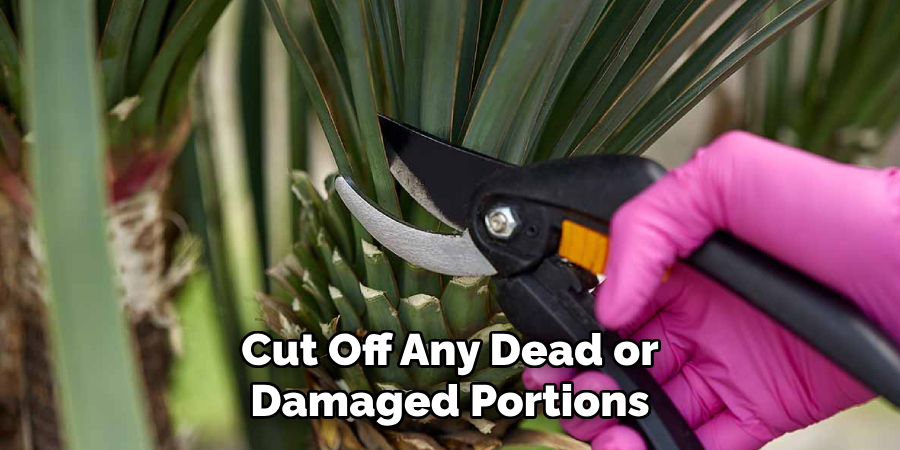
Step 5: Trimming The Stems And Rhizomes
Trimming the stems and rhizomes of a curcuma plant is an essential step in promoting better growth and development. By removing excess stems, you encourage the plant to allocate its energy more efficiently, leading to stronger and healthier growth. Additionally, trimming the rhizomes helps promote healthier development by allowing the plant to focus its resources on new shoots and roots.
To trim the stems, carefully cut off any dead or damaged portions using clean and sharp pruning shears. When trimming the rhizomes, remove any old or shriveled sections, ensuring that each remaining rhizome segment has at least one bud or eye.
By following these guidelines and giving your curcuma plant regular trimming, you’ll help it thrive and flourish in your garden.
Step 6: Preventing And Treating Diseases Or Pests
Trimming curcuma plants requires more than just cutting off excess foliage. It also involves keeping a close eye for any signs of diseases or pests that could harm the plant. Regular inspections are necessary to catch any potential issues early on.
If you notice any unusual spots, discoloration, or pests on your curcuma plants, it’s important to take immediate action. This can involve using appropriate treatments to control and eradicate diseases or pests. By being proactive and diligent in inspecting and treating your curcuma plants, you can ensure their health and longevity.
So remember to regularly inspect your plants for signs of disease or infestation and promptly address any issues that arise.
Step 7: Proper Disposal Of Trimmed Parts
Proper disposal of the trimmed parts of the curcuma plant is crucial to maintain a healthy garden. Collecting the foliage and flowers that have been trimmed and disposing of them responsibly is essential for effective plant care. It is important to avoid composting or using any affected trimmings to prevent the spreading of diseases or pests.
In order to achieve this, you should ensure that the trimmed parts are collected separately and disposed of in a manner that does not pose a risk to the garden or surrounding environment. This can include placing them in a designated green waste bin or following any specific guidelines provided by your local waste disposal authorities.
By following these guidelines, you can ensure the proper disposal of trimmed parts, promoting the overall health and well-being of your curcuma plants.
Step 8: Maintenance And Aftercare
Trimming a curcuma plant requires proper maintenance and aftercare. This involves providing adequate water and sunlight to ensure the plant thrives. Regular monitoring is essential to spot any recurring issues that may affect its growth. By following these guidelines, you can keep your curcuma plant healthy and vibrant.
Frequently Asked Questions On How To Trim Curcuma Plant
How Do I Trim A Curcuma Plant?
To trim a curcuma plant, first, identify the dead or damaged leaves and remove them at the base. Next, cut back the remaining healthy stems to about 2 inches above the soil surface. Ensure you use clean, sharp pruning shears to make clean cuts.
Finally, water the plant and provide it with proper care for new growth.
When Should I Trim My Curcuma Plant?
Trim your curcuma plant in early spring or after it finishes blooming. Trimming during these times allows the plant to focus its energy on producing new growth and developing beautiful flowers. Avoid trimming it in late fall or winter when it is entering dormancy.
Can I Trim My Curcuma Plant After It Has Finished Blooming?
Yes, you can trim your curcuma plant after it has finished blooming. Once the flowers start to fade, wait for them to completely wither before trimming. Trim the flower stalk back to the base, and if desired, cut back the remaining healthy stems to about 2 inches above the soil surface.
How Often Should I Trim My Curcuma Plant?
You should trim your curcuma plant once a year, preferably in early spring or after it finishes blooming. This allows the plant to rejuvenate and encourages new growth. Regular trimming also helps maintain the plant’s size and shape, promoting overall health and vitality.
Will Trimming My Curcuma Plant Promote New Growth?
Yes, trimming your curcuma plant promotes new growth. By removing dead or damaged leaves, you allow the plant to focus its energy on producing new healthy foliage. Trimming also stimulates the plant to develop more flower buds, resulting in a more vibrant and lush display.
Conclusion
Trimming your curcuma plant is an essential part of its care routine. By following the proper techniques, you can help your plant maintain its health and appearance. Start by identifying any dead or damaged foliage and trimming it near the base.
This will prevent any diseases from spreading and improve the overall aesthetic of your curcuma plant. Additionally, remove any yellowing leaves or spent flowers to promote new growth. Remember to clean your tools with rubbing alcohol after each cut to prevent the spread of bacteria or fungi.
Regular trimming will also encourage your plant to produce more vibrant blooms and lush foliage. With these simple guidelines and a little bit of patience, you can keep your curcuma plant thriving for years to come. Happy trimming!